Sunday, September 29, 2019

Doll Drawer Decision

The dolly drawers have been shelved as I cannot get them historically correct. Take One is not historically correct for a pioneer girl of the 1850's as they did not use French seams. That would be correct for Anne of Green Gables if the setting was in the early 1900's. Then they would need to be shortened. Take One has been retired, Take Two and Three are in the trash. I'm not unhappy with where I got to but had to shelve them due to the stress they were causing me. I was trying to do something to fit into both the early and late Victorian era. 

Decisions

As the stress was making this project an unhappy one, I decided to have a time out. One reason was to do a bit of organization (once again) and the other reason was to decide where I was going. Historically correct or neatly finished. 
Neatly finished won out so I am working on getting a nice 3 thread serger finish for doll clothes. I need to tweak the tension a bit and work on sewing nicer on the curves. 
There will be a bit of practice at the beginning of each sewing session. 
The outfit I am making will be pioneer girl. I will be using Lumineria's pattern "Carrots" as the dress and pinafore style was worn the 1850's. I have Prairie Girl by the same designer and will do the bonnet and drawers from it. I'm set. The goal is to have neatly served seam finishes with a few couture finishes put in where necessary. The size will fit the American Girl dolls. 
The goal for October is to do the drawers neatly. Yes, they have an elastic waist but I'm fine with that. Neat will be trump. 

Happy Doll Sewing............................

Monday, September 23, 2019

Drawers From Another Era

I stumbled across this picture on Pinterest. I can not find out who made it or who the designer is. I had thought Keepers Dolly Duds, whom I admire, but it isn't in her photos. I would love to give the designer/sewer credit.
The next era I want to sew will between 1910-1920. When I saw these drawers, I knew I would adapt the pattern I have to this style. Research shows the drawers got shorter over the years and they were similar to this. There was a bit on the combination which I am sure this set is. 
In the mean time, I will be focusing on the 1850-90's period and am planning on doing both Anne of Green Gables and Laura Ingalls Wilder as children and as young adults. That should keep me busy for a while. 
Back to Take Two of the 1850-60's drawers that await me in the sewing room. 
Happy Doll Sewing..................

Sunday, September 22, 2019

Take One - The Drawers

The first muslin for the drawers was sewn and there were a few issues. Most were operator issues. 

I added 1/4" seams to the the center front and back plus the leg seams. 1/4" french seams are too big for doll's clothing. 
Sewing all the seams but the center back were easy to do. The back created a problem as a fold showed up where it should have been flat. Good or bad? Who knows but I didn't like the look of it. 
The casing at the waist was to be sewn on with it folded in half and a raw edge showing. The raw edge would have to be finished. I put it on like a waist band to hide the raw edge. 

What Will I Do Next? Take Two


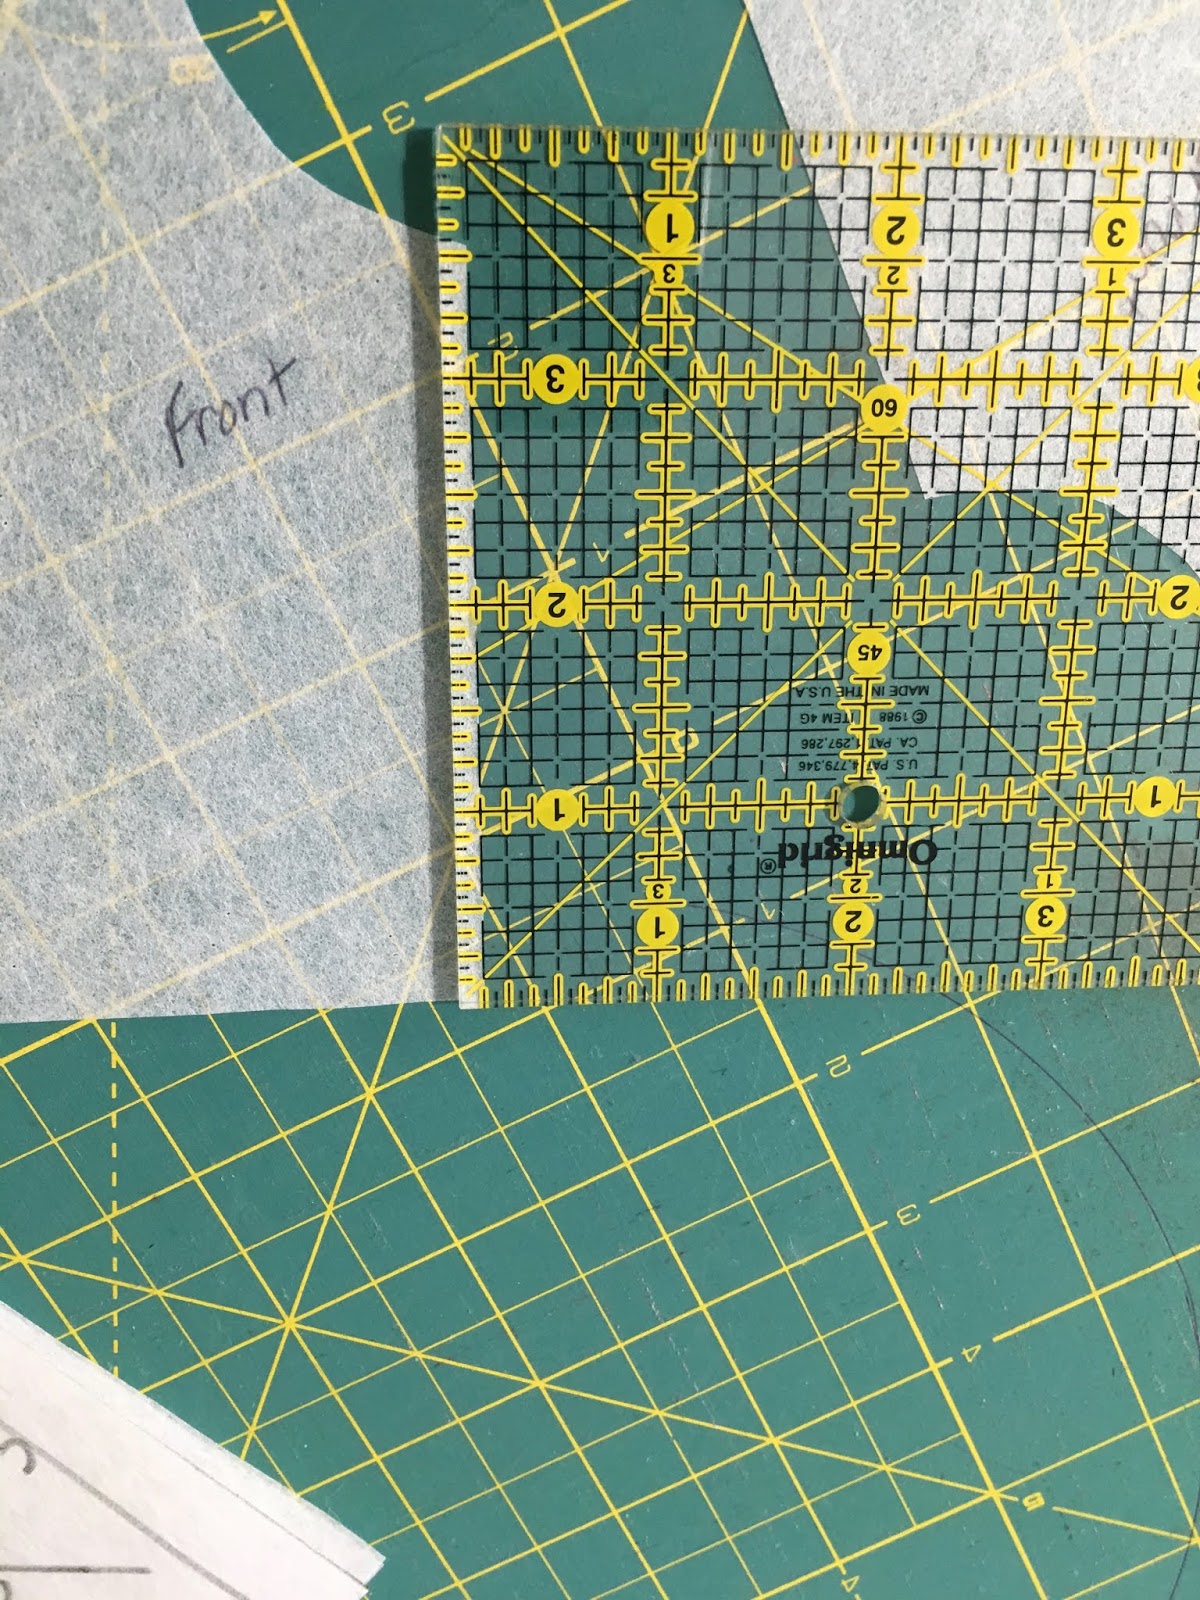
  • Cut the extra 1/4" seam allowances off the pattern. The french seams will be 1/8" wide rather than 1/4". 
  • Start with the back seam rather than the front.
    • Do the fold over piece first, then the seam. 
    • Do the center front seam next
  • Shorten the leg length first by pinning it up and making a decision. 
It would be very easy to go back to just finishing the seams with a zig-zag stitch or on the serger. But, I am to make the under clothes using french seams and working through how to do them with the patterns I have. 

Point of Interest

In researching drawers for children I have looked at a lot of pictures from the 1850's to 1890's. I looked at pictures of Anne of Green Gables movies and no drawers are shown. I'm sure children of that era living in PEI had drawers as the cold north wind blows down onto the province in the winter. I also looked for pictures of Laura Ingalls Wilder and there are none of her as a young child. But I did find a picture of the original cover of "On The Banks Of Plum Creek" and Laura and Mary's drawers are showing as they play in the Plum Creek. I guess these items were not readily displayed as they were known as "unmentionables".
Happy Doll Sewing.............................

Friday, September 20, 2019

The UnMentionables - The Research of Drawers

The time is here to start the pantalettes. I've been doing a lot of research on them while sewing other items on my September Accountability List.

What I Learned

I did a lot of wading through pictures and information and as I went along I found a few things in common. My favorite article is from Kate Tattersall. But I did find a few other tidbits while researching. Most indicate that these undergarments were worn starting in the 1850-60's.
  • Pantalettes refers to drawers from a specific time period. Drawers were referred to as underlinens as they were next to the skin to protect the outer garments from the skin and the skin from them.  I will begin referring the pantalettes as drawers.
  • Most drawers were made of linen and silk and were hand made for the wealthy ladies. The rest wore cotton which were mass produced thanks to the sewing machine. 
  • Flannel may have been used and flannel was usually made of wool for warmth. 
  • Drawers started off longer in length and shortened over the years. 
  • With the onset of the cage crinoline in the 1850s, it became essential to wear drawers, for warmth and due to the risk of embarrassing accidents. 
In the era I'm sewing for, the 1850's drawers were often two separate legs with a casing a the top. They were tied at the top with a cord of some sort and overlapped for modesty. Over time they were sewn together with a back or side opening. 

My Take

McCalls 7227 OOP
The drawers in this pattern are not quite historically correct. They have a drawstring waist (used in Victorian times) but the legs are too baggy. If you wanted to you could sew up the front seam and leave the back open. At the moment it isn't about being historically correct but being able to adapt a pattern to sew using with french seams. Once I get this in place, I will do these drawers. Start with the easy and move to the more difficult. 
The next post will have the tracing of the pattern pieces and how I adjusted them for sewing french seams. 
Happy Doll Sewing................................

Tuesday, September 17, 2019

Bodice - Under Arm Issues

The bodice pattern for the My Life As A.....doll was cut out and made. I followed the instruction in the bodice tutorial I wrote. It fit the doll like the it should in the chest and waist. But under the arm was another story. 
It is too far down for my liking. So we begin to fix the under arm part of the pattern. I drew the pattern onto paper so you can see what we plan on doing. 
The underarm seam allowance will be added to so it will cover more of the bodice and fit closer to the arm. 
First I measured under the arm of the doll. It is 1/4" that needs to be added.
I used some scraps of the tracing pellon and added 1/4" to the underarm seam and blended it in. I started about 1/2" up the arm hole at nothing and redrew the line to the underarm. 
The next muslin is ready to make. 
Happy Doll Sewing................................

Sunday, September 15, 2019

Bodice Sloper/Pattern Tutorial

A slight deviation from sewing historical clothing but a subject that is very important to those who collect dolls that are not American dolls. I will be discussing how to make a bodice pattern for those dolls. 

The Models

Measurements of the Dolls

Pleasant Company AGMattel AGCITITOY MY LIfe AS GIRLCitiToy My LIfe As Boy
height18" / 46cm18" / 46cm18 1/2" / 47cm18 1/2" / 47cm
head12 1/4" / 32cm12" / 30.5cm12 1/2" / 32 cm13" /33cm
chest11 1/2" / 29cm11 1/4" /28.5cm11" / 28cm10 1/2" / 27cm
waist11 1/4" /28.5cm10 1/2" / 27cm11" / 28cm9 1/2" / 24cm
hips12 1/2" / 32cm12" / 30.5cm11 3/4" / 30cm10 1/2" / 27cm

Materials Needed


  •  18" doll pattern. Mine is Butterick 6265. Front and back pieces are needed.
  • tracing paper or pellon. I can get this at my local shops or look for it here.
  • pen (you can use a sharpie or a water soluble pen)
  • 1/4 meter of broadcloth or other muslin type fabric. I like broadcloth for doll muslins.
  • contrasting thread
  • pins, scissors, tape measure

Process

  • Trace the 2 pattern pieces onto the tracing pellon. Cut them out. You will notice I have the bodice cut out as a full bodice. You don't need to do it but if you do put the fold line down the middle. Lay the pieces onto your fabric as shown. 
  • Thread your machine with a contrasting thread. I chose a bright yellow so it would stand out. 
  • Using a regular stitch length start to stitch 1/4" from the neck and sleeve edges. This is your stitching line and you will be needing this later on. 
  • You will notice that the center back line is 1/2" from the cut edge. You will stitch the center backs 1/4" and 1/2" from the cut edge. 
  • Sew the front and backs together at the shoulder seams. Press open (which I hadn't done in this picture).
  • Sew up the side seams using a longer stitch. This is just in case you need to rip them out. 
  • Try it on your doll. I put mine on the American Girl doll first and then onto the My Life As A......doll to see the comparison. You can see the difference.
  • The starting point for me was the back. I pinned the back in 1/2" (second stitch line from the cut edge) and pressed it. 
  • I then put it back on the doll and folded it over 1/2" and pinned it in place. The back was looking better but the front had this too big in the center front issue. 
  • I removed the bodice, folded it carefully in half down the center front and stitched a 1/8" seam. I pressed it to one side and tried it on the doll. A very good fit. The curve at the neckline looked good so I didn't note to fix it up when drawing the pattern again. 
  • I checked the under arms and they are fitting well. If they are too low in another muslin, I would draw a new line up to fill in that spot. Very easy to do. 
  • I knew the under arm was two different lengths so kept that in mind while I traced a new pattern. The new pattern is exactly as the old one so we can do our modifications on it. Label your pieces with front and back. 
  • The first job is to remove 1/8" from the center front. I also printed fold on that edge. 
  • I next cut 1/2 inch off the center back. 
  • I also drew the 1/4" and 1/2" lines at the center back. I also drew 1/4 lines at the side seams. 
  • Next up we will true the bottom edge. Lay the front and back side by side with the seam line on top of each other. 
  • The front is a tiny bit longer than the back. I cut that extra bit off and it was trued up. That 1/16th" isn't noticeable until you start to sew the side seams up. 
Your pattern is done. Write your doll's name (My Life As...Walmart for me) on the pattern pieces. You are ready to make another muslin to see how much better this bodice fits. I'll be making mine in a couple of days so you can see how it turned out. 
Happy Doll Sewing...............................

Monday, September 2, 2019

What's On My Mind - Undergarments

I'm taking a bit of a break from doll sewing and allowing myself some time to think about
  • what level do I want to take my doll sewing to
  • what do I want to make next
  • how am I going to deal with the inventory I have
As I put items I've made into the inventory bin, I haven't been keen on selling them. I don't think they are perfect enough on the inside. I've serged as many seams as possible and used a triple zig-zag stitch on others. I know others use these seam finishes and are successful at selling their items. Something wants me to make the finish on my doll clothes different. 
The first question for me is what level do I want to take my doll sewing to. 

  • Serger and zig-zag 
  • Couture sewing only
  • Combination of both

As I have the Couture Sewing Academy, I will be focusing on couture seam finishes. I love the way clothing looks when the steps are taken to do couture work. 
I want to try french seams first. With that in mind, I watched the video on this topic. With my mind rolling about what I needed to do to achieve this, I thought about something that would be easy to do.
Which brought me to the second question; what do I want to sew next.
  • Modern (today's look)
  • Historical (1850's to 1880's, Edwardian, 1920's)
  • Whimsical
The 1850's to 1880's won out. I have a nice selection of patterns in this era that I can learn to do couture sewing on. With that decided upon, I have decided to work on undergarment for this era. I can easily do french seams on the drawers or pantalettes. 
McCalls 7227 OOP
I've decided to start with this pattern as it is fairly easy to sew. Though out of production (OOP), it can still be bought on Etsy. The goal is do the undergarments for this pattern, Kirsten's Pretty Clothes (free), and Thimble & Acorn's Victorian Unmentionables all of which I have. I feel I will have plenty of opportunity to learn how to do french seams. 
I will be starting this pattern shortly. I have assembled the pattern, fabric, lace all from the stash. Under the pattern is the pattern tracing pellon use. 
As I prepare the pattern, I will tutorial how I did each step to make the drawers with french seams. Join in if you wish. 
I haven't answered the last question but will be going over my inventory with a fine tooth comb to see how I am going to deal with it. 
Happy Doll Sewing.......................