The Models

Measurements of the Dolls
| Pleasant Company AG | Mattel AG | CITITOY MY LIfe AS GIRL | CitiToy My LIfe As Boy | |
|---|---|---|---|---|
| height | 18" / 46cm | 18" / 46cm | 18 1/2" / 47cm | 18 1/2" / 47cm |
| head | 12 1/4" / 32cm | 12" / 30.5cm | 12 1/2" / 32 cm | 13" /33cm |
| chest | 11 1/2" / 29cm | 11 1/4" /28.5cm | 11" / 28cm | 10 1/2" / 27cm |
| waist | 11 1/4" /28.5cm | 10 1/2" / 27cm | 11" / 28cm | 9 1/2" / 24cm |
| hips | 12 1/2" / 32cm | 12" / 30.5cm | 11 3/4" / 30cm | 10 1/2" / 27cm |

Materials Needed
- 18" doll pattern. Mine is Butterick 6265. Front and back pieces are needed.

- tracing paper or pellon. I can get this at my local shops or look for it here.
- pen (you can use a sharpie or a water soluble pen)
- 1/4 meter of broadcloth or other muslin type fabric. I like broadcloth for doll muslins.
- contrasting thread
- pins, scissors, tape measure
Process
- Trace the 2 pattern pieces onto the tracing pellon. Cut them out. You will notice I have the bodice cut out as a full bodice. You don't need to do it but if you do put the fold line down the middle. Lay the pieces onto your fabric as shown.

- Thread your machine with a contrasting thread. I chose a bright yellow so it would stand out.
- Using a regular stitch length start to stitch 1/4" from the neck and sleeve edges. This is your stitching line and you will be needing this later on.

- You will notice that the center back line is 1/2" from the cut edge. You will stitch the center backs 1/4" and 1/2" from the cut edge.

- Sew the front and backs together at the shoulder seams. Press open (which I hadn't done in this picture).

- Sew up the side seams using a longer stitch. This is just in case you need to rip them out.

- Try it on your doll. I put mine on the American Girl doll first and then onto the My Life As A......doll to see the comparison. You can see the difference.


- The starting point for me was the back. I pinned the back in 1/2" (second stitch line from the cut edge) and pressed it.

- I then put it back on the doll and folded it over 1/2" and pinned it in place. The back was looking better but the front had this too big in the center front issue.

- I removed the bodice, folded it carefully in half down the center front and stitched a 1/8" seam. I pressed it to one side and tried it on the doll. A very good fit. The curve at the neckline looked good so I didn't note to fix it up when drawing the pattern again.

- I checked the under arms and they are fitting well. If they are too low in another muslin, I would draw a new line up to fill in that spot. Very easy to do.

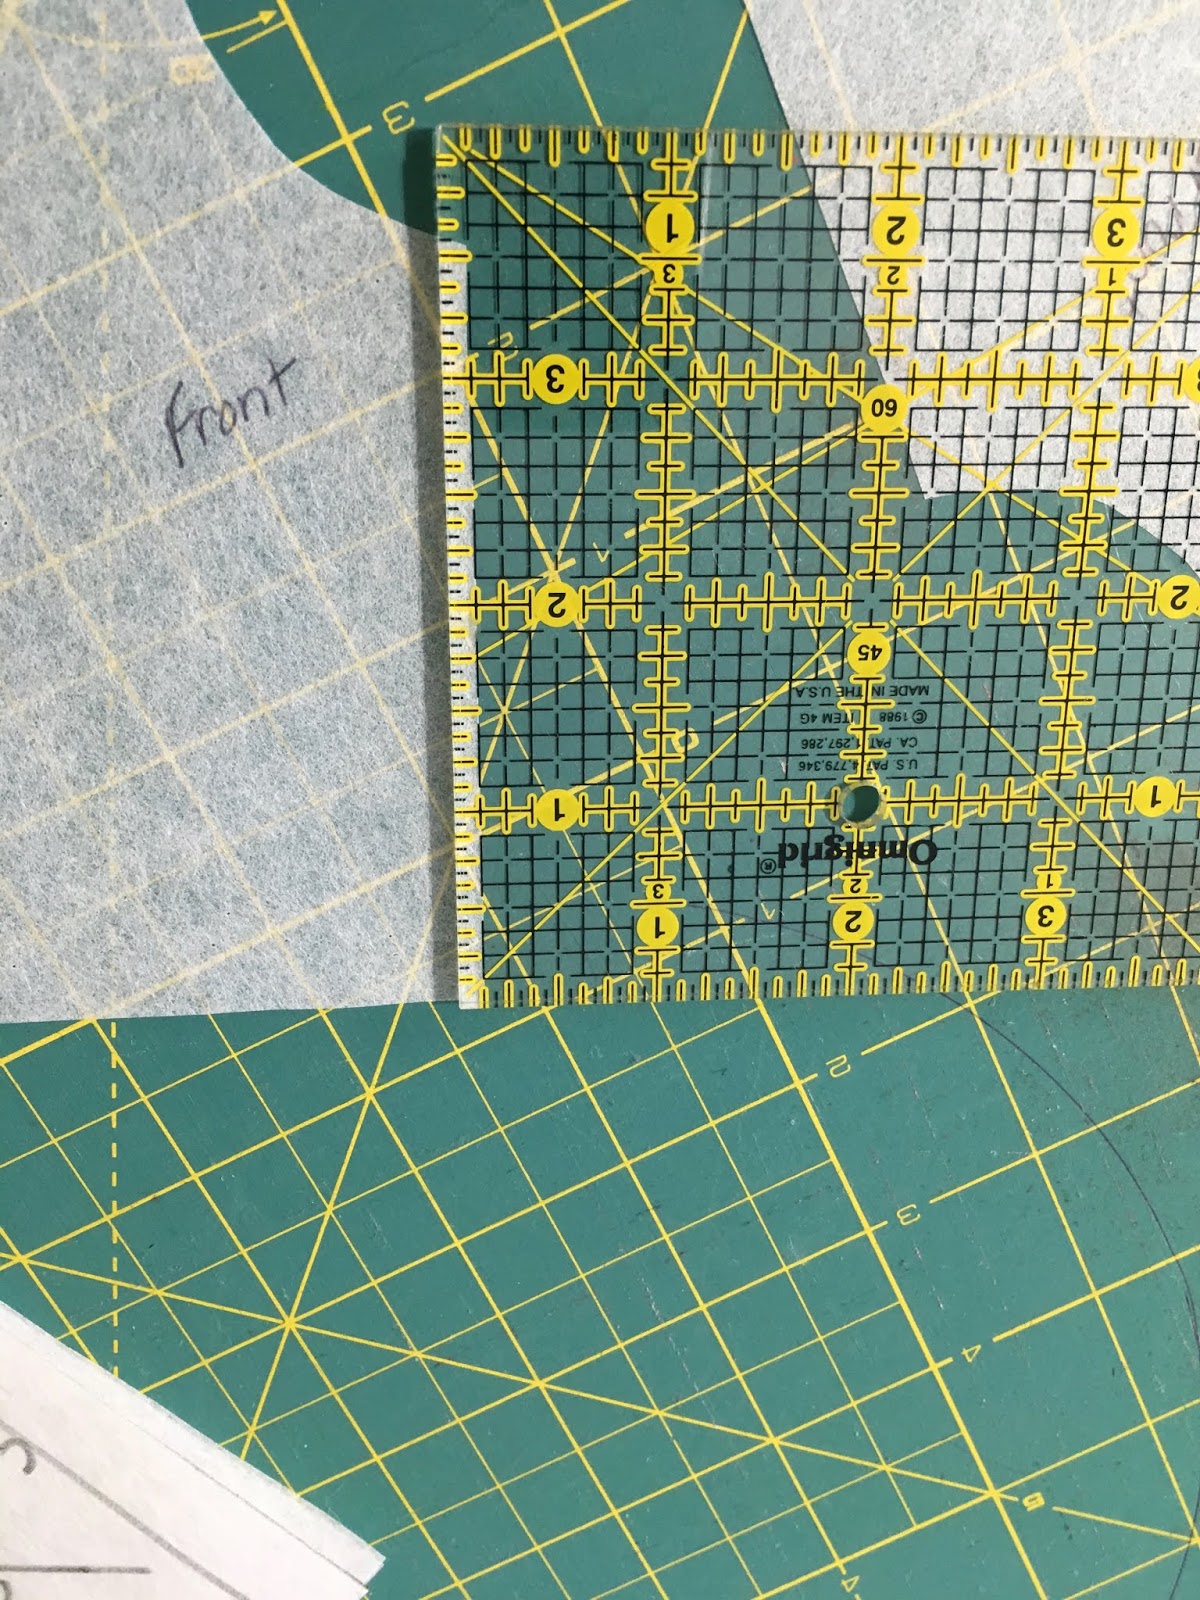
- I knew the under arm was two different lengths so kept that in mind while I traced a new pattern. The new pattern is exactly as the old one so we can do our modifications on it. Label your pieces with front and back.

- The first job is to remove 1/8" from the center front. I also printed fold on that edge.
- I next cut 1/2 inch off the center back.

- I also drew the 1/4" and 1/2" lines at the center back. I also drew 1/4 lines at the side seams.

- Next up we will true the bottom edge. Lay the front and back side by side with the seam line on top of each other.

- The front is a tiny bit longer than the back. I cut that extra bit off and it was trued up. That 1/16th" isn't noticeable until you start to sew the side seams up.

Your pattern is done. Write your doll's name (My Life As...Walmart for me) on the pattern pieces. You are ready to make another muslin to see how much better this bodice fits. I'll be making mine in a couple of days so you can see how it turned out.
Happy Doll Sewing...............................
No comments:
Post a Comment