Wednesday, May 26, 2021

A Bodice Hack For The Gotz Dolls

 I haven't got lost or gone missing. I've been busy. I spent a lot of time designing a bodice for the Gotz dolls. I used the bodice from one pattern and then used another pattern to make it better. 

Take One

To get a good idea of what I needed to do, I made the bodice from Pink Ladybug Fashions for a doll that is only 1/2" taller than the Gotz dolls.

This pattern is well drafted and the first muslin fit quite well. 

The tummies on these dolls create a bit of a fitting issue. I got out an unpublished pattern designed by a friend and laid started to look at what I needed to do. 

Using the drafting lessons from Pattern Designing, I worked until I got a bodice pattern I was happy with. 

Take Two

I lengthened the bodice and was happy with the fit. 

I attached the skirt to make sure it fit. Not too bad.

Take Three

Next was to add the sleeves to the bodice and do the final fitting. 

Take Four

In the end, I did take 1/4" off the center back, 1/16" off the front and back waist and worked on the side seams a bit. 

It was time to make the dress using a lovely piece of cotton from the stash.

I'm thrilled with the bodice. The sleeves are from the original pattern. I want to make them elbow length to see how they look. That means another bodice from scrap fabric. 

I'm doing some quilting right now and will be back to work on the sleeveless t-shirts and maybe a quilt for the dolls. 

Happy Doll Sewing..........................................

Monday, May 10, 2021

Sewing A T-Shirt Part 4

 When we stopped the other day, we had the t-shirt looking like this.

I had looked at the sleeves when I returned to the sewing room thinking they had stretched while hemming so I checked using the pattern. 

All was good. If not, I would have centered the pattern on the sleeve and cut off the excess on each side. 

Setting In The Sleeves

I folded the sleeves in half to find the center of the sleeve cap and put in a pin. 

I then pin the center to the shoulder seams and the ends to the body. 

I then pin the sleeve in and carefully sew it in place. I pressed the sleeve towards the body of the t-shirt.

 
I didn't trim the sleeve seam allowance but you could if you wanted to. 

Side Seams

The side seams are easy. Pin them together and sew 1/4" seams. Press open. 

The Hem

The hem is done next.  I machine baste  3/8" and then serge it. You don't have to serge it as you can trim the excess fabric back to the stitching like the sleeves and neckline. 

I turn the hem under, pin it in place and stitch carefully so I don't stretch it out of shape. Give it a good press. 

The Back Opening

The back opening is the last step. Fold the back opening so the finished edge is even with the inside edge of the interfacing.

Give a good press and stitch down close to the cut edge. 
Your t-shirt is done and ready for fasteners. 
The choice of fasteners is yours. You can use snaps, poppers or velcro. I use snap fasteners and sew 4 onto the top. 
The front of the t-shirt.

The back of the t-shirt.

In Conclusion

I love this pattern when I got it 3 years ago. But, I have struggled with the neckline and back opening and, out of many many tries, I got only 2 t-shirts worth keeping. The rest hit the trash bin. 

I realized that I needed to make some changes to the pattern so I could sew it successfully. The first was the center back seam. Not only did the interfacing stabilize the back seam, I had more space to sew on snaps. The second change was the neckline. I added to it and, on my old machine, sewed it using paper underneath it. It wasn't until I got my new machine that I was ready to tackle t-shirts once again. 

I have  enough fabric left to make 2 pairs of leggings and, hopefully 2 sleeveless t-shirts. I'll be printing the pattern again to add to the arm opening. I'll report back on how that works when I get it done.

Happy Doll Sewing.......................................

Sunday, May 9, 2021

Sewing A T-Shirt - Part 3

 I took a few minutes to read the pattern instructions and they are well written. I wish I could sew the necklines like Cinnamon does but I can't. Hence why I am doing this tutorial of how I do it.

Cutting Out the Pattern

When using leggings, you need to cut off the hems and waistband. Then you cut off the seam allowances to get your fabric. For a t-shirt, I use the torso part of the leggings leaving the legs for leggings. 

I try to lay the fabric on the grain as best I can. I use the outside seam (fold) to help me. One side of the torso is for the front and sleeves.

The other side is for the back. 

I talk to myself when cutting out so I remember to cut on the pencil lines at the neck and center back seam. 

I also cut  2 - 1" wide strips of fusible knit interfacing for the center back seam.


Pressing the Pieces

I press the small pieces to get the wrinkles out and then press the interfacing to the back seam. I cut off the remaining bits of interfacing at the top and bottom.

At the Machine

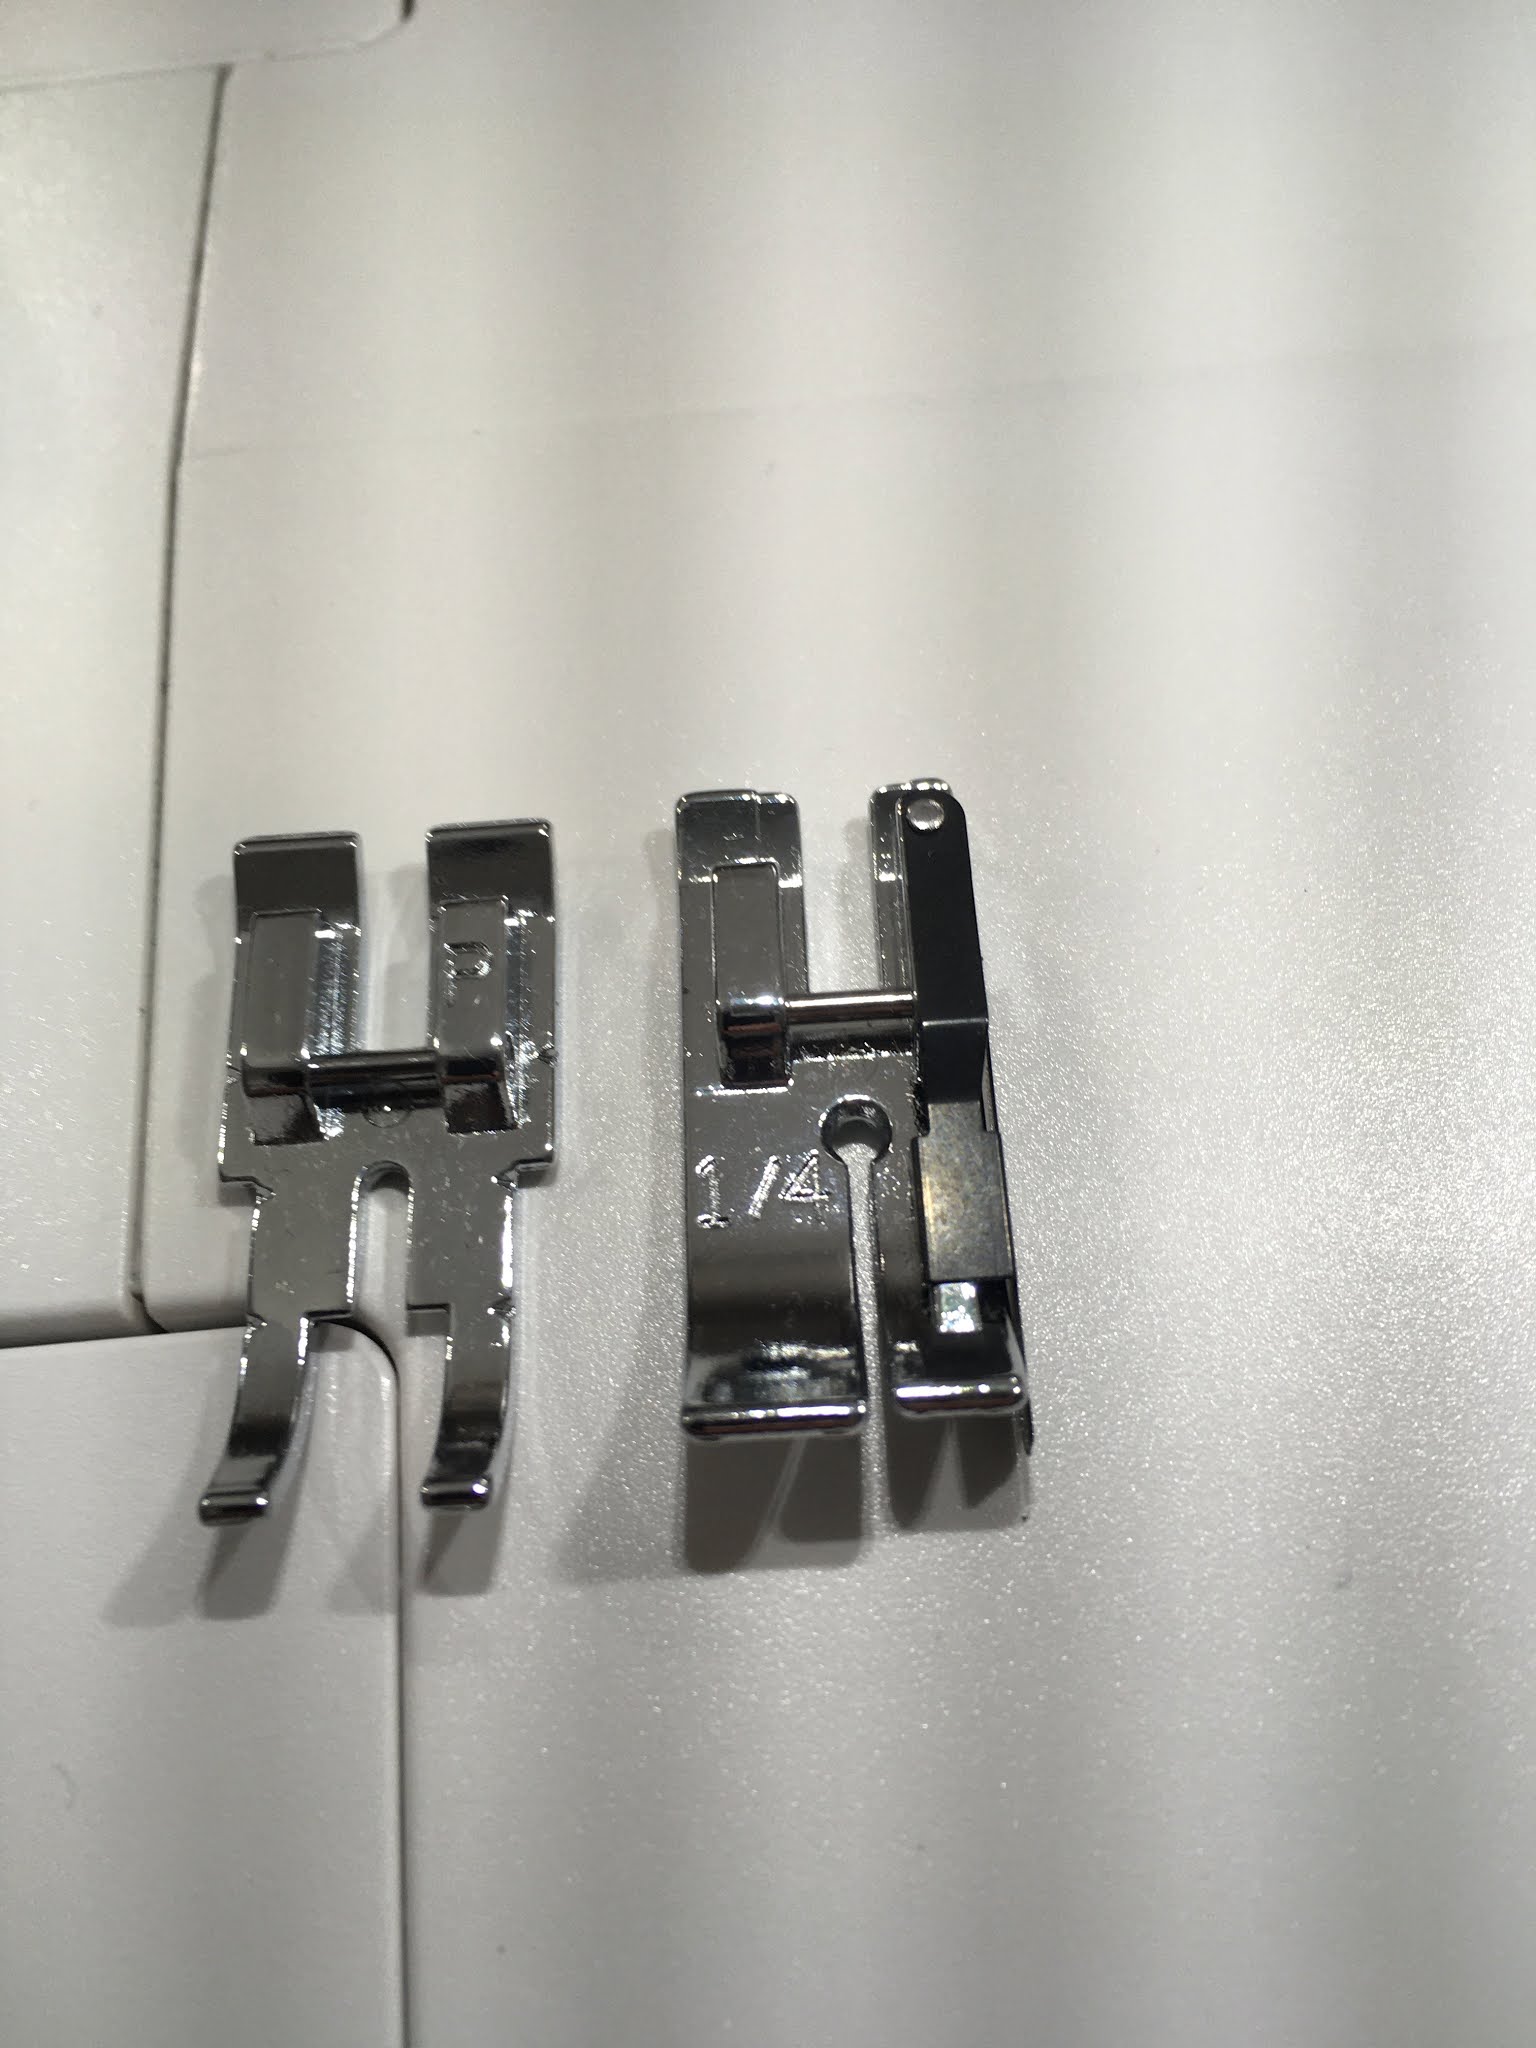
I can choose between two feet for 1/4" seam allowances.

I chose the one on the left as it does not have the little edge which hinders me on curves. I also have use the main foot for my machine when necessary.

I put in a new needle (Microtex 12/80) and I'm ready to sew.

Sewing the Shoulder Seams

One of the little things I learned years ago was to sew the shoulder seams from the shoulder to the neck on both sides. Your machine is pulling the fabric the same way for both shoulder seams. I also don't finish a lot of the seams when sewing knits as I don't sell my doll clothes and knits don't fray. I do serge the back seams to hold the interfacing in place though. 

If you finish the seams using a serger, serge before you sew. You can also use pinking sheers for a nice finish. If you choose this method, cut out the pattern using them. 

The Neckline

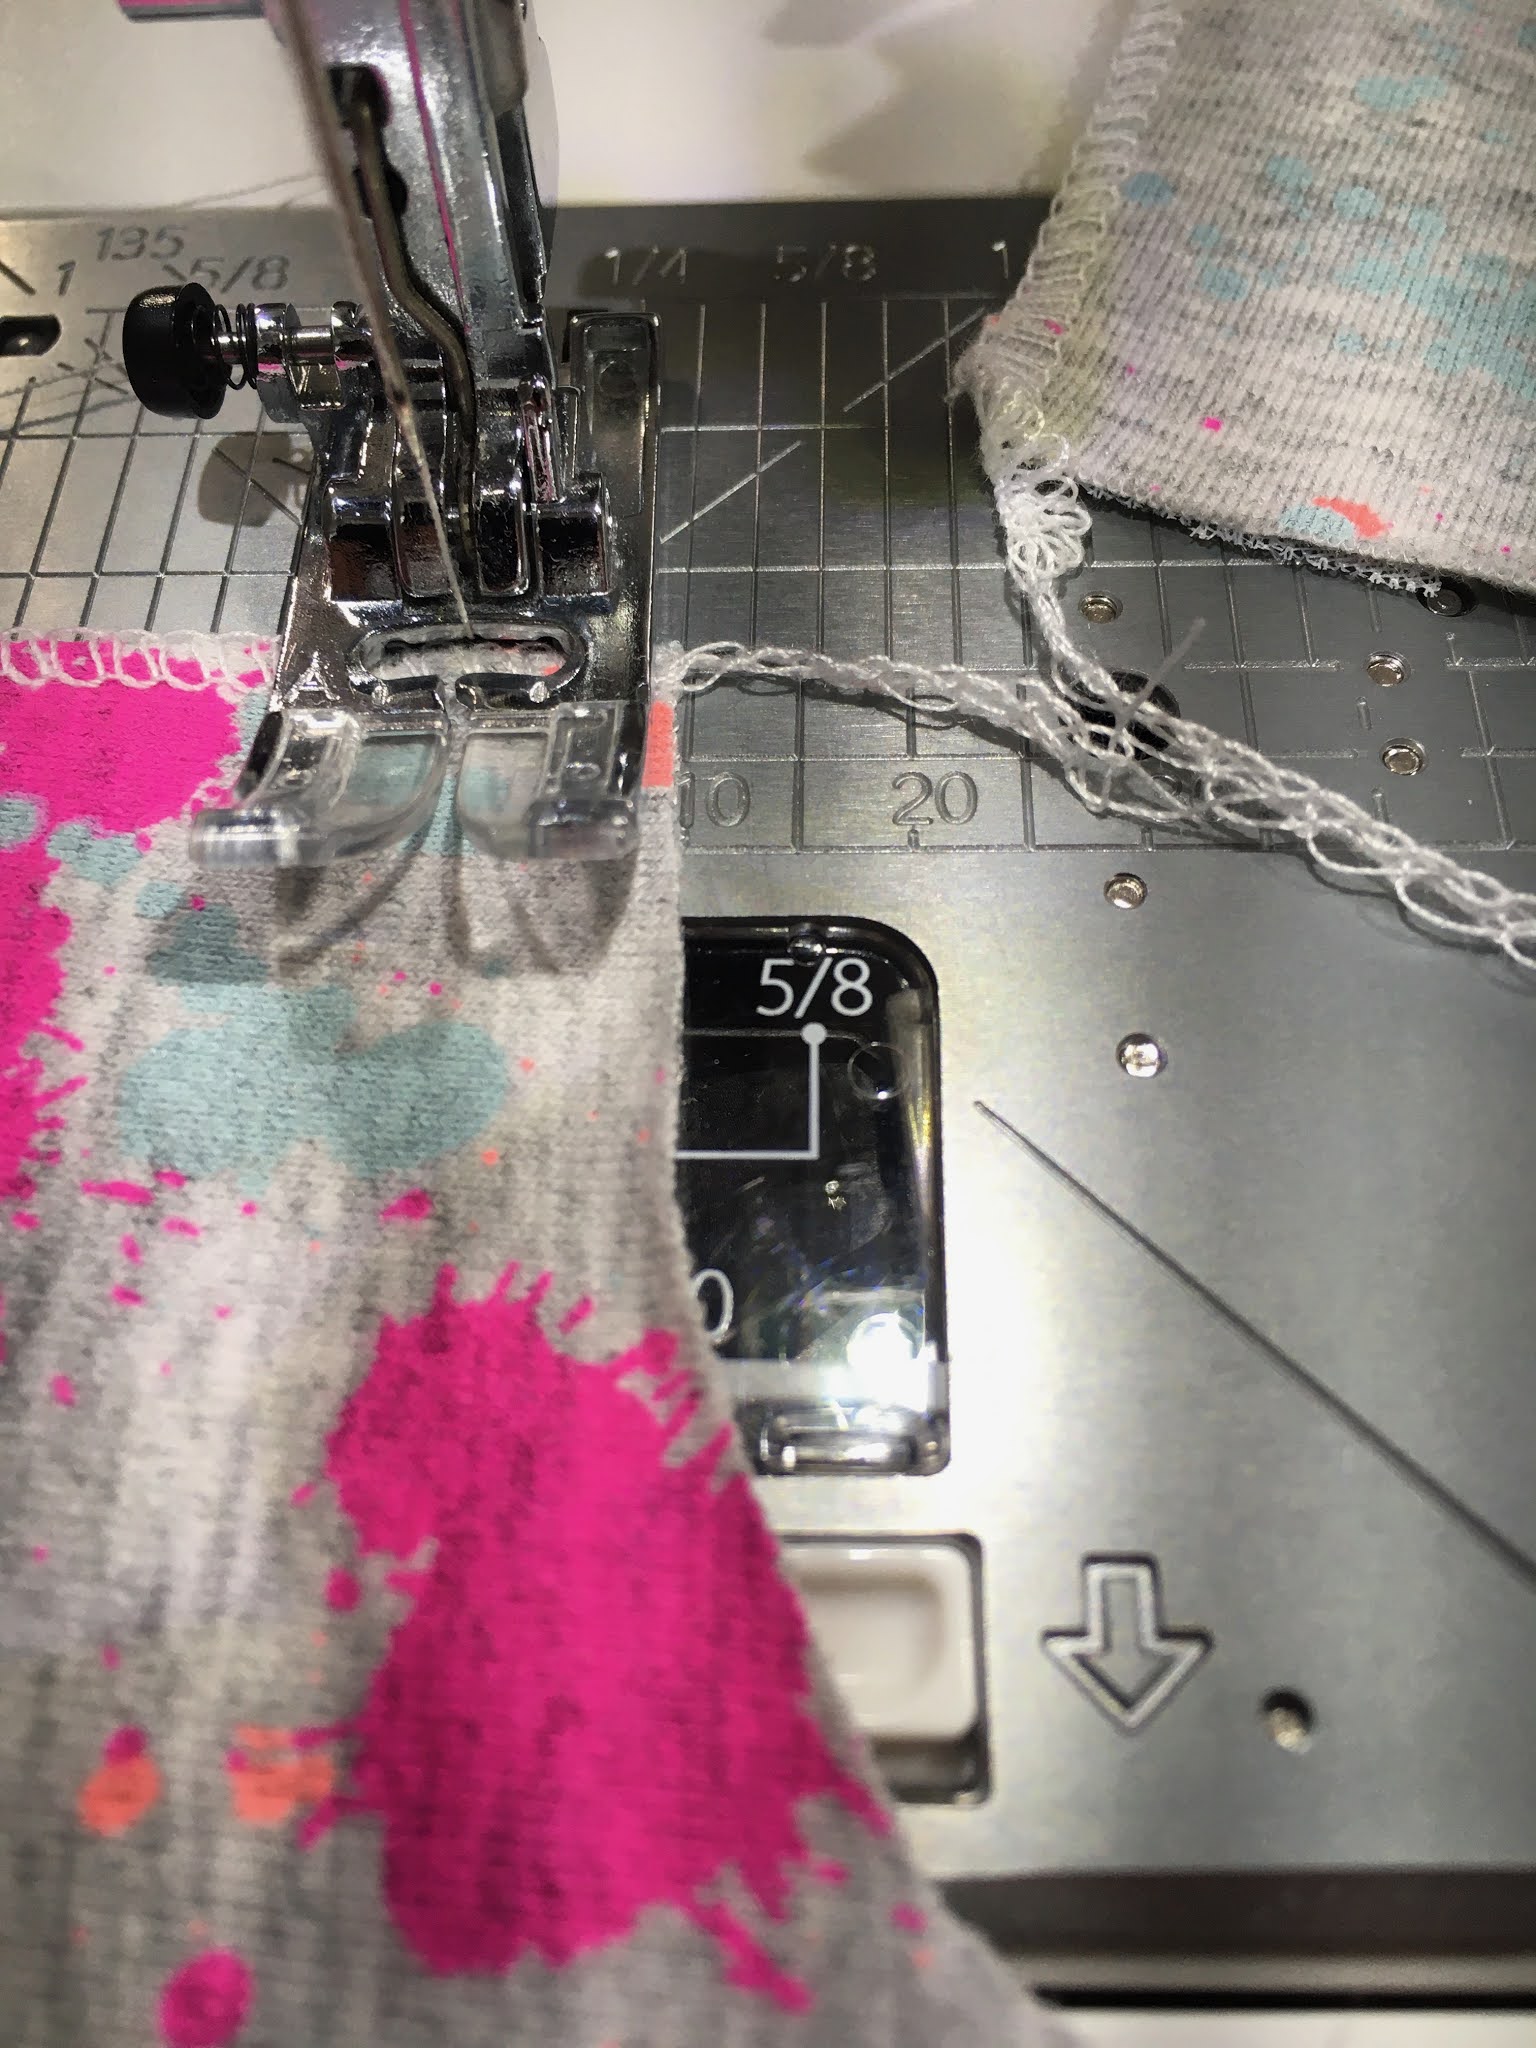
I changed the foot to the main one when sewing a basting line around the neck. I like the wider foot to help hold the fabric but it isn't necessary. The distance is 3/8" from the cut edge.

I fold the neckline down on the line at the shoulder seams and then fold from that point to the back seam. Pin in place. Next I pin the center front and work towards each shoulder seam. The pins are on the right side as that is the side you will top stitch on.

I use a stitch length of 3.0 and slowly stitch around the neckline a good 1/8" from the edge. I remove the pins carefully. I adjust the neckline to keep its shape while I sew so it won't stretch out of shape.

When I checked the underside, I saw an oops. I carefully picked out that spot and redid it carefully.

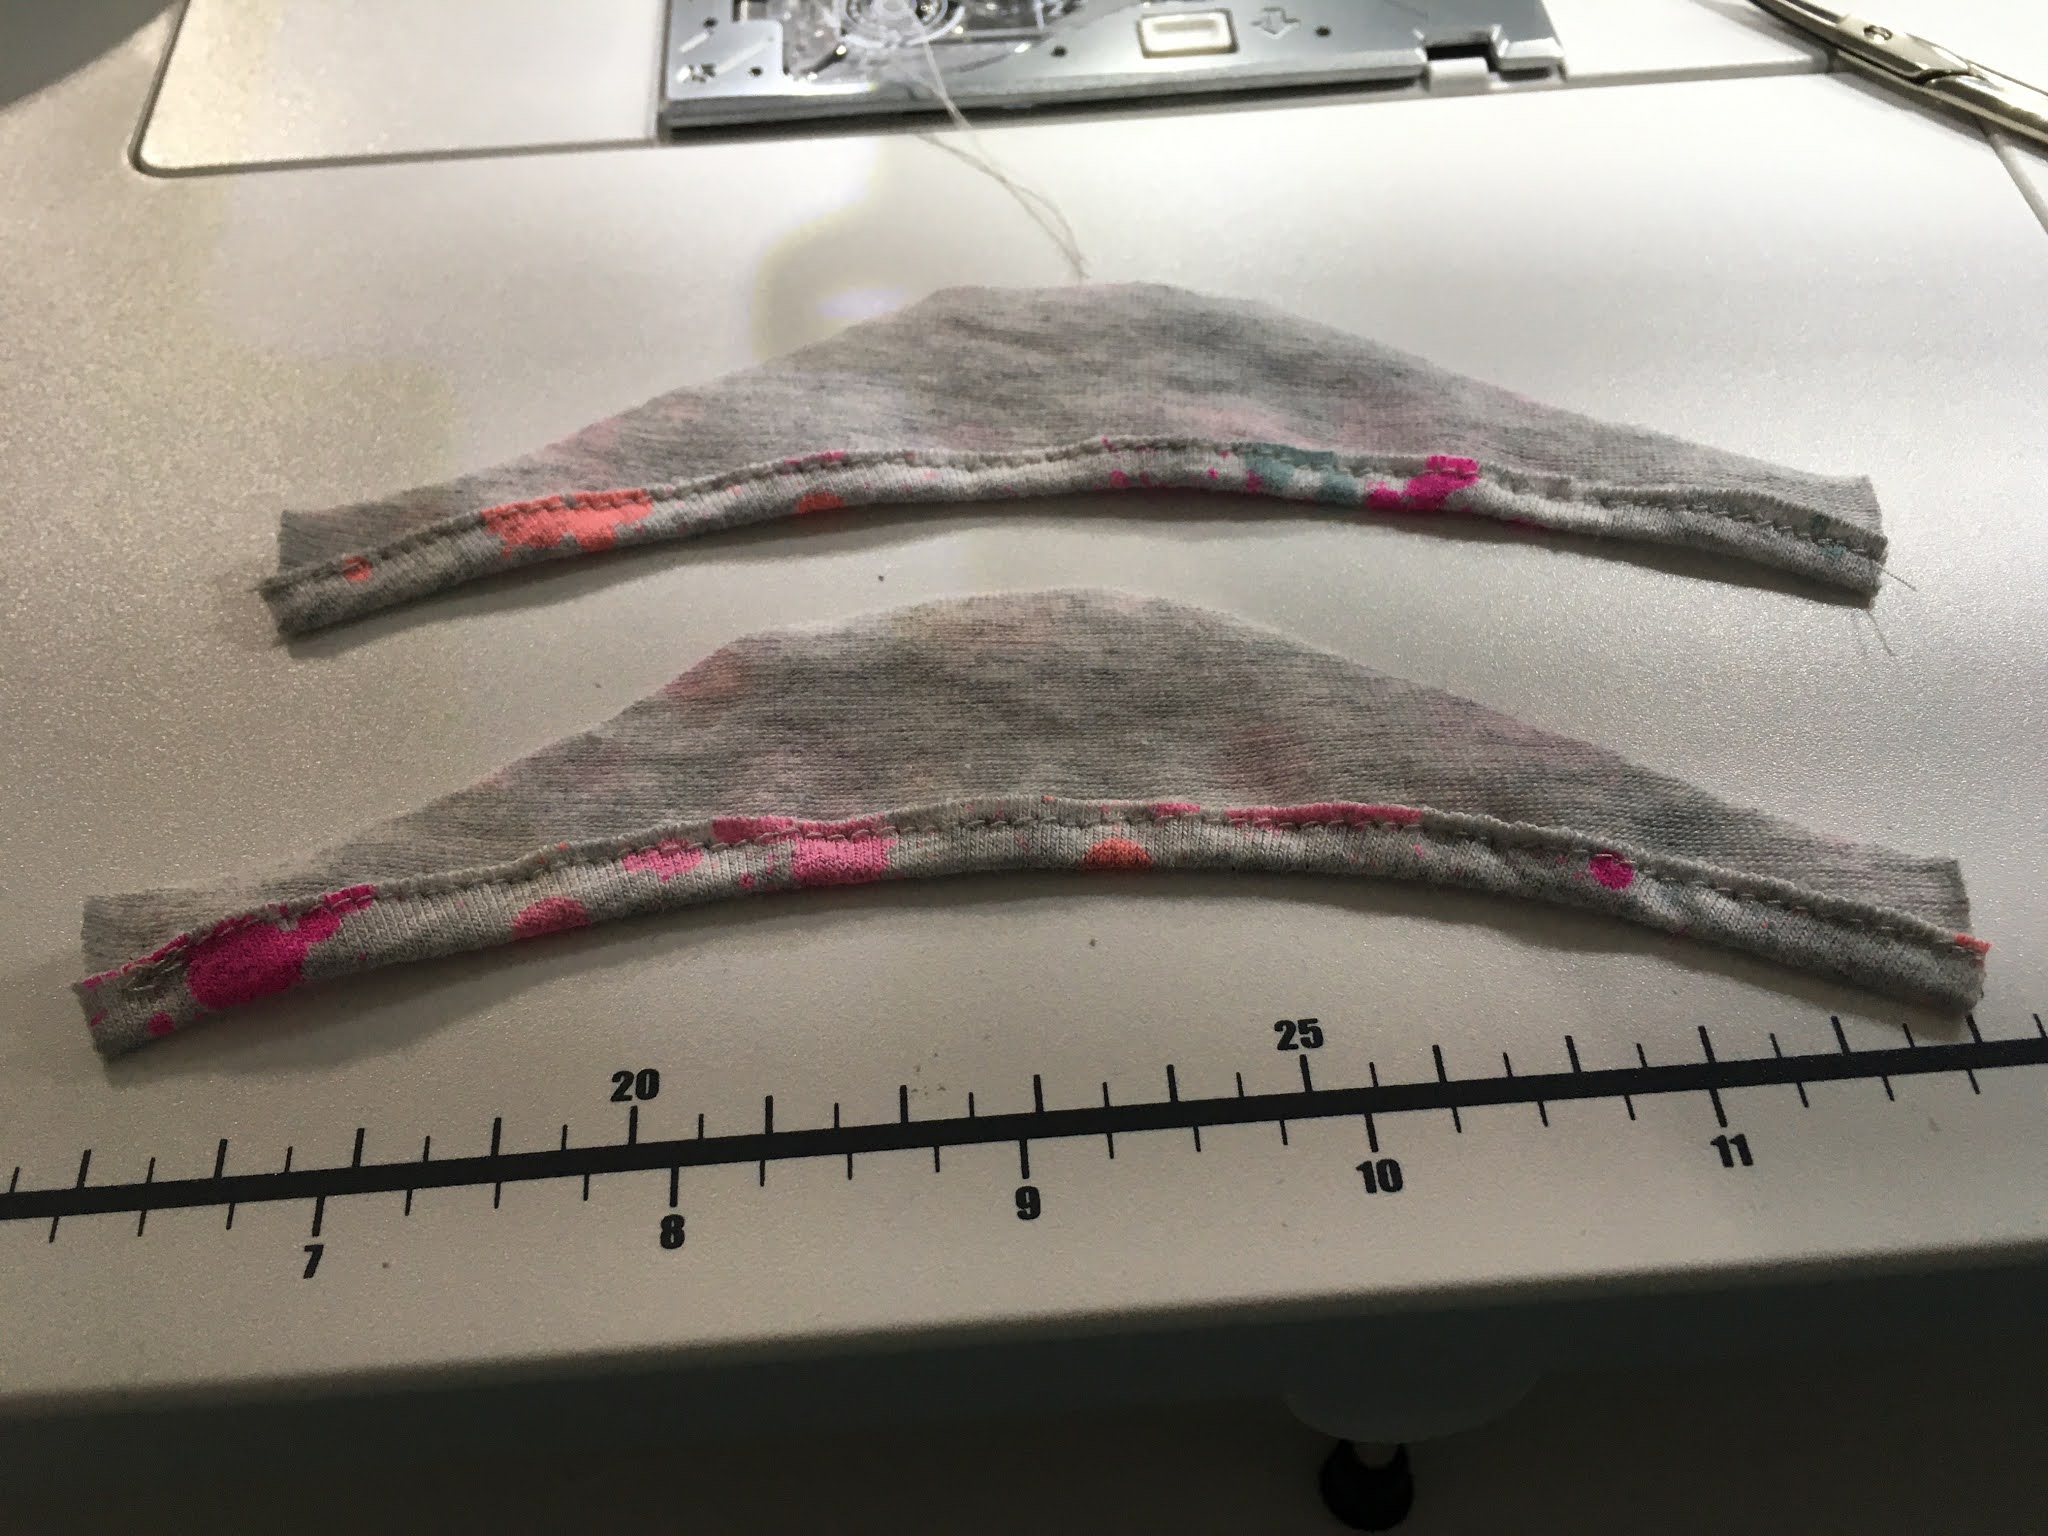
I trimmed back the excess fabric close to the stitching line. I use duckbill scissors but you can use regular scissors as I did until I found the duckbill ones in a drawer of quilting stuff.
 

It's over to press the neckline so it lays flat. I just lay the iron on the neckline and give it a shot of steam. This picture is taken with the t-shirt on a sleeve board.

The Sleeves

The process for the sleeves is the same as the neckline. Baste a line 3/8" from the bottom edge, turn under and stitch closer to 1/8". Trim off the excess fabric and give a good press.

I didn't do any more as my phone was almost dead and needed recharging. It was enough for one day also. 

More tomorrow. 

Happy Doll Sewing......................................

Thursday, May 6, 2021

Sewing A T-Shirt Part 2

 I squeezed in adjusting the pattern yesterday afternoon. The job isn't a big one, it takes a few minutes to do after you print the pattern. 

For this job, you need a pencil and a ruler. I have a ruler that shows 1/16" marks and have had it for years. I use cheap mechanical pencils. I've used them for years. A vinyl eraser is a must if you need to erase. All these items I buy in late summer when they go on sale for school. 

Step 1 - The Front

Draw a line 1/8" extending the center front line and the shoulder cutting line. Using your ruler draw small dashes 1/8" from the neck line. I have the ruler at an angle for the most accurate marking. 

Join the lines together as smoothly as possible. I find the closer the little dashes are the easier it is to connect them smoothly. 

Step 2 - The Back

Draw a line 1/4" from the center back cutting line. Extend the lines from the shoulder and hem cutting lines. 

Draw the dots from the neckline 1/8" away as you did on the front piece. 

Draw the dots together at the neckline.

Step 3 - the Sleeve

I didn't do anything to this sleeve though I drew a line to extend it. Ignore those extended lines. If you want a straight sleeve, you can draw a straight line across the sleeve with no extension. I did that with the previous pattern. This time I'm going with the curved sleeve.

You are now ready to rough cut your pattern out. I do that just before I lay the pattern out on the fabric. 

Next time, we will cut out the pattern and begin to sew it. You will need knit fabric, and some light weight interfacing. I use a fusible knit interfacing. My fabric will be a pair of children's leggings. Set up your sewing machine and serger if you have one. 

Happy Doll Sewing................................

Wednesday, May 5, 2021

Sewing A T-Shirt - Part 1


 I'm back again and am ready to start another tutorial. We are, once again, in lock down and week 1 is done and we know we will have at least 2 more weeks of this or more. 

I've struggled with sewing with knits. So much so that I gave up a while ago when I had could have won the prize for the most stretched out necklines in the world. With a lot of thinking and mulling over ideas, I'm trying again. 

At first I put it to my new sewing machine giving me success, but it's more than that. So we back up and move forward. 

The Pattern

The pattern I'm using is a free pattern from Pixie Faire. It is a great pattern but I find, for me, I need to do a few alterations. 

From Pixie Faire

I will show the alterations in the next post but they are:

  • Add 1/4" to the back center seam so the fold over is 1/2".

  • Add 1/8" to the neck seam so you turn over 3/8" and not 1/4"

The Fabric

For the two t-shirts shown, I bought girl's leggings in the largest size at a big box store. I have used good quality knit fabric from the stash. It was on the heavier side as I had a lot of issues using lighter weight knits, even when sewing people t-shirts. 

A note about using store bought leggings. I have found you can get 2 pairs of leggings and 1 t-shirt from the largest size. That is good value for $4.00 a pair. 

During the learning process, I have sprayed the knits with starch to make them stiffer. It didn't work for me but I now know what the issue was. Not the fabric. I no longer starch the fabric.

When handling the cut pieces, be gentle with them as they will stretch. I press, not iron the seams open. Ironing will stretch the fabric. 

The Sewing Machine

At first I thought it was the sewing machine that was the culprit. It really isn't, it was what I was using and doing that was wrong. 

  • I grabbed a Microtex needle this time and I was happy with the results. You can use a Jersey needle also according to Schmetz. Just remember to use a new needle and change it often. I will make 3 pairs of leggings and 2 t-shirts before I change the needle. I'm also trying not to stitch over pins. I used a 10/75 needle also. 

  • Needles also come in chrome and titanium finishes. As a home sewer, one does not need these needles as you can change your needle when necessary. It is more important to get the right needle for the fabric you are using. Confession- I have both chrome and titanium needles in my needle collection to try. With the higher cost, they will both have to perform perfectly for me to continue buying them.

  • The sole plate on your machine needs to have the small hole for straight stitching not the oval one for other stitches where the needle moves back and forth to make the stitch. This was one of my biggest problems. If you can't change from one plate to another, use a leader fabric to start your seams. 

  • Sew slowly around the neckline. I'm not a fast sewer and find sewing slowly helps me be accurate.    

If you wish to follow along, grab the free pattern, print it out but don't cut out the pieces yet. In the meantime...

Happy Doll Sewing.........................................................