Pattern
The pattern I am using is Butterick 6265. The pattern is still available at the fabric store and online. The view I am constructing is C. The dress is a simple one that a beginner can make. Take your time, sew carefully, press lots, and you will have a cute dress for you 18" doll.

Fabric
The fabric I chose is a nice cotton. I washed and pressed it for two reasons:
- cotton shrinks
- eliminate over dye
I did press the cotton prior to laying the pattern pieces on.

The amount of fabric I bought was .5 meter and I am cutting out the second dress from this piece. 12" of fabric x the width will be more than enough fabric for this pattern. You can put your pieces closer together if you have less. I left mine further apart as I had the extra fabric.

The pieces are laid out with the skirt on the fold and the bodice pieces on the straight of grain. I left a empty spot so I could lie the back onto it after I cut out the first one.
The order I cut out the pieces are:
- Skirt
- Back piece
- Back piece a 2nd time
- Front piece
Construction of The Bodice
Preparing To Sew
Once cut out, I snipped the marking at the bodice on the bodice on the piece that I use as the outer fabric. The lining did not get the snip. I did not snip the armhole markings as we are not adding the flutter sleeves to this dress.

I lay my pieces out so I have the outer pieces separate from the lining. I also put a pin in the center of the bodice of the outer part but you really don't need to.

Sewing the Shoulder Seams
I only follow one part of the instructions for the bodice. That is the shoulder seams.
It is a basic construction for all my doll dresses.
Shoulder seams sewn and pressed. Do for both parts. On the lining, I sew a basting line 1/4" up from the waist line and press it up.

The long threads tell me I have the seam allowance basted and ready to press up.
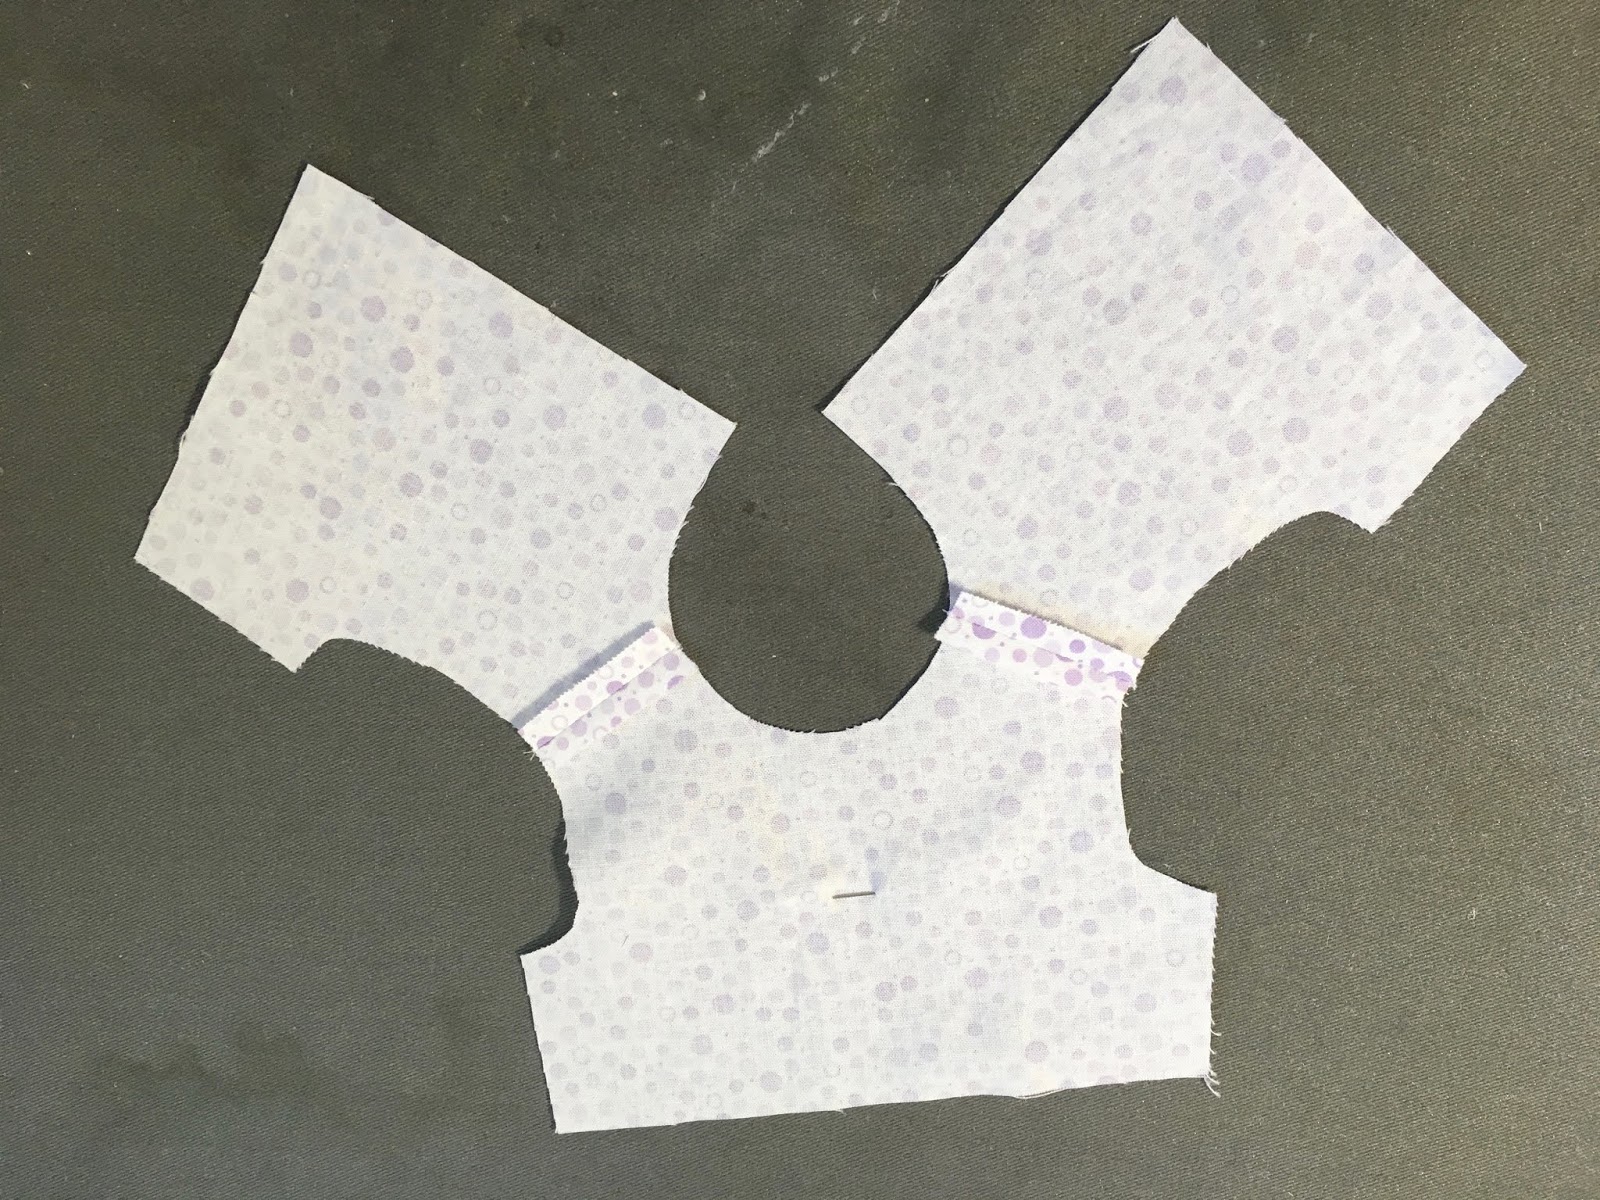
Sewing Outer Garment and Lining
When starting to sew the bodice together, I start with an arm seam. I pin the lining and outer fabric right sides together at the should seam, then at the side seam and in between.

I then sew the 1/4" seam. Repeat for the other arm and finally the neck. You can start with the neck and do the arm seam, it is totally up to you. I cut from the edge of the seam to the stitching on these three seams.

What I have not sewn is the back seam. Do Not Sew It At This Time.
Turning Right Side Out
I then turn it right side out by pulling the back through the shoulder seams.
Your iron and pins are your best friends. I steam a seam and then roll it so I have a nice crisp edge. That I pin in place. I steam and press, cool, remove pins and give a good press.

You can see the lining edge is pinned up and pressed. I then remove the pins.
Sewing The Side Seams
Next you take the side seams and pin them together with outer garment to outer garment and lining to lining. I put a pin at each end, then then under the arm and a couple of pins in between. I am careful to make sure the under arm seams match as closely as possible.
When sewn, I press the seam open and then work on making sure the seam at the under arm is flat and smooth. I then use steam to roll it nicely and press.
 Press so the arm hole is nice and smooth.


I do for the second side seam and then press the lining up at the waist.

 It fits very well. If it was too big, I could sew the side seams a bit larger.
Test Fit On Doll


Sewing The Back Seam
This can look tricky but it isn't. Flip the back seams so right sides are together on one side. Put a pin at the top and bottom (fold the turned up lining seam down for the moment). Then put in several pins down the back seam. Turn the lining seam back up and you are ready to stitch.


I hope you enjoyed this part of the tutorial and come back to see the skirt construction.
Happy Doll Sewing.....................
Nice tutorial Ann. Thanks for sharing!
ReplyDelete