Tuesday, August 27, 2019

How To Make A Three Tiered Skirt

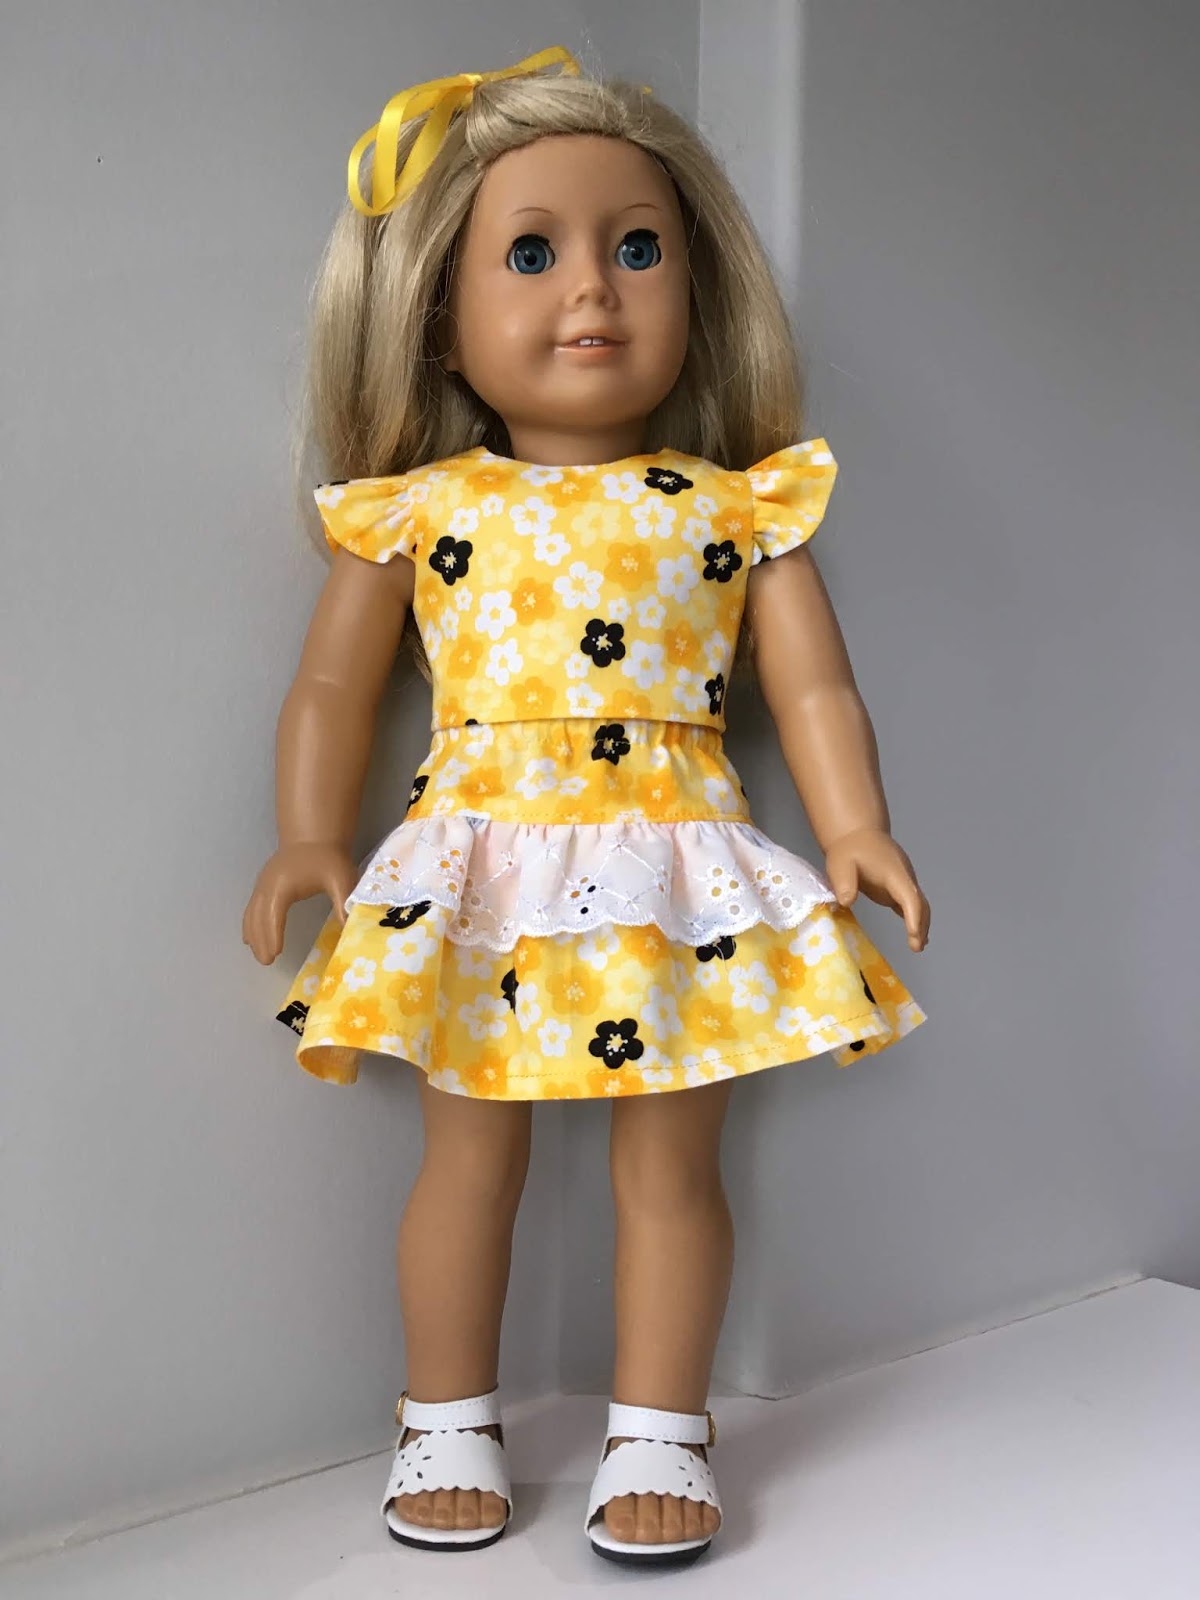
It is time for another tutorial and this one is on how to make a long 3 tiered skirt. My inspiration for this skirt came from this mood board I made in February with pictures I had found a couple of years ago and my fabric idea.

Supplies

12" by with of fabric for skirt
3/8" no roll elastic
thread

Chart

When I made my skirt, I used the doll's hip measurement. I would now use this chart for the hip measurement. 
Doll's Measurement Chart

Preparing the Fabric

The pieces of fabric need to total 12" in length when laid flat and not sewn together. My top pieces was not quite 4" and the bottom piece was over 4". In total I had 12". I would be more inclined to have these measurements the next time
Top Tier - 3.5"
Middle Tier - 4"
Bottom Tier - 4.5"

Top Tier

This tier is the most important of all the tiers for fitting the doll. The American Girl doll has a hip measurement of up to 12 1/4". Add 1/2" for ease and 1/2" for seam allowances. This is a total of 13 1/4". Cut this piece and set it aside. 

Middle Tier

I chose to have a gather of 1.5 times fuller than the top tier. To get the measurement you multiply 13 1/4 x 1.5 for a total width of 19 3/4". I cut the piece 20" and set it aside. 

Bottom Tier

 We do the math again. 20 x 1.5 for a total width of 30". I cut it and set it aside. 

Sewing

  • On all three pieces, finish all the raw edges
  • Sew the short sides of each tier and press open. You will have three tubes. 
  • On the middle tier, run two gathering rows around the top of the tube. Gather the tube to fit the top tube and sew on matching the seams. Press the seam up towards the top tier. 
  • Gather the bottom tier and attach to the skirt. Press the seam up. 
Your skirt will look like this when done. 
  • Press under 1/2" for the waist. Stitch down close to the finished edge leaving a 2-3" opening at the seam.
  • Cut a piece of elastic 11" long. Thread through the waist casing and sew together overlapping the ends. Stitch down the opening being careful not to catch the elastic.
  • Hem the skirt. I did a 1/4" hem as it was the length I wanted the skirt to be. 

Conclusion

Though my example has a south western vibe to it, I can see this skirt in florals. If you are uncertain about the length, do a muslin out of muslin or scrap fabric. I did a lot of measuring with the thought that the hem could be deeper. If it wasn't, I had enough fabric left over to make the third tier again. 
Happy Doll Sewing..............................

Wednesday, July 24, 2019

Make Do With What I Have

The last year I was working, I purchased quite a bit of fabric for the dolls. It was called inventory. I was also given several pieces to add to the inventory. And it fills 4 tubs. As I sewed doll outfits to display in the store, I got some patterns and I bought more when they came on sale. I also got a lot of free patterns from Pixie Faire through their Freebie Friday and pattern testing. Add lace and buttons and I'm set for quite a while. 
Though not full here, the closet is now full and 80% is for the dolls. 
Though I love looking and buying fabric for the dolls I am learning that I must

MAKE DO WITH WHAT I HAVE

Use up what fabric I have on hand. 

  • I really wanted to make this dress with new fabric but I hunted through the stash, found the fabric, matching ribbon and thread and started the dress. Another search found the lace trim that I added. It actually turned out better than I had thought. 


  • Use up the whole piece of fabric. Having it sit on the shelf or in a tub means I have to come back to it again. It is still stash. While the fabric was perking in my mind, I finished sewing it up. I only purchased the white cotton eyelet for the skirt. I now have that fabric gone and two doll outfits in the inventory tub. 

Pattern Alterations and Hacks

  • Oh Sew Kat got me thinking in this direction when she added lace to her Four Season skirt pattern. I am looking at adding a different fabric instead of lace to give a coordinating look to an outfit. And tulle could be added underneath. Several different looks from one pattern. 
  • Using a bodice as a top. I took the bodice from Butterick  6265 and lengthened it 1/2". I'd like to add 3/4" the next time. I made the bodice the same as I usually do to make a dress. I serged the bottom edge and turned it up less than 1/4" for a finished edge. Perfect to go with this skirt. At this length, I can add a 2.5" gathered peplum as Oh Sew Kat did for one of her dresses. Or I can draft one from the course I took. That will all happen. 

Conclusion

  • If you need patterns buy them. I have well over 100 patterns in my inventory and I need to focus on using them. This doesn't mean I won't be buying more patterns as I will be. What I'm trying to do is sew more of the patterns I have.
  • It is nice to have a small inventory of doll fabrics and trims. Having as much as I do has put me over my stress threshold. Also, I bought a lot of .5 meter (20") lengths and I am realizing they are not enough for some of the patterns I have acquired. I have to think basic once again but I'm happy with that. When I buy, I now pair a pattern to the fabric and it remains as that. 
This is a brief plan of what I am doing at this moment. It is making me think hard about a lot of things. Thank you Oh Sew Kat for making me think outside of my mindset.
Happy Doll Sewing.......................................

Saturday, July 13, 2019

Designer's Patterns, Hacks, and Tutorials

It has been a while since I last posted. I've been busy with other things and haven't done any sewing for the dolls. But, it doesn't mean I'm not thinking and designing. And searching the internet. 
On my morning excursion, I looked at Oh Sew Kat. I saw this designer mentioned in a post on Facebook. I am so happy I did and wanted to share her with you. (I have no affiliation with her at all; I discovered her this morning.)

Oh Sew Kat and Her Tutorials and Hacks

This designer has basic patterns that a beginner can make with success. And, what I love about her is her pattern hacks and tutorials. They are graciously shared on her blog. 
When I was looking for her skirt hack/tutorial, I didn't realize her Four Season Skirt pattern is free if you sign up. And, she tells you how to add lace to this skirt that even a beginner can handle. How neat is that.
When I saw the skirt, I knew I wanted to make it to go with some knitted items I have planned. Plain or with lace depending on the season or look. I'm also looking at her Popsicle Top for an easy sleeveless cotton top to go with the skirt and knitted items. 
But what else did I like about her pattern hacks and tutorials? Changing her Sugar and Spice dress into a peplum top. This top goes well over leggings, capris, and her Sixth Grade Skirt pattern. I didn't stop at these two tutorials/hacks. I only chose these two to give you an idea of what is on her blog. 
It is designers like this that make me purchase their patterns. Acquiring one for free is a bonus. I am already thinking about what fabric from the doll's stash I'm going to use. 
Thank you Oh Sew Kat for sharing what you can do with your patterns. 
Happy Doll Sewing................

Saturday, June 22, 2019

Sewing A Summer Sunhat

I made the sunhat in this pattern.
McCalls 6451
I've made it twice before and have done some changes so no seams show on the inside. 

Cutting Out

  • The three pieces use up a lot of fabric so you can cut out inside of the crown and the top in a plain fabric if you want to. If you want a one color hat, do not cut out the inside brim in plain as it is seen.
  • You can use different prints for this hat if the outfit you have made has those prints in it. 
  • Plaids - I folded the fabric on a dominate line. When I lay down the brim pieces I make sure they are going to be the same on both the inside and outside. You can use the word "McCalls" to sit on a straight line to help you match up the plaids. 

Interfacing

  • The outside layer of the hat is interfaced. Do not skip this step. 
  • For the first two hats I used a fusible knit interfacing and it was okay. The plaid hat has a light weight fusible cotton interfacing (Pellon) for a bit of extra support. 

Sewing Preparation

  • The top of the hat is a circle. I snipped the circle for the center front and back so I know the circle will be on the straight of the grain when I put it into hat. 
  • Apply the interfacing and trim to make sure is the same size as the outer fabric pieces. 

Sewing the Brim

  • I followed the instructions for the brim.  
  • I decided to top stitch it light grey so it doesn't show much. I didn't want it as a feature. 
 

Sewing The Crown

From here on I don't follow the pattern.
  • After sewing the crown together, mark it and the circle into quarters. 
  • Start pinning the circle to the crown making sure the center fronts and backs match. Then do the sides. Pin between the quarters. Take your time and use lots of pins.
  • Baste the seam as it allows you to have a better opportunity to stitch more accurately. 
  • Stitch with the circle face up. Remove basting. 
  • Turn right side out and start pressing. The seam allowance folds down to the brim not up to the circle. 
Just before I pressed it. See how the red line at the front goes up over the brim to the top of the hat.
  • Repeat for the lining. 
  • I sewed a basting line 1/4" from the bottom of the crown. This line will be folded under when hand sewing the crown to the brim. 

Attaching the Crown

  • Divide both the outer crown and brim into quarters. Pin together using lots of pins. 
  • Sew the crown and brim using 1/4" seam. 
  • Press well so the seam faces into the crown. 

Attaching the Lining

  • Fold under the basting line on the crown lining at the seam allowance. 
  • Fit the crown lining with wrong sides together onto the crown starting at the seam allowance. 
  • Work your way around the hat making sure the lining is straight on the crown. I marked my crowns at center front to help me. 
  • Turn under the lining at the basting line and pin into place. 
  • I measured where the elastic went and pinned it in place while I hand sewed.
  • Hand stitch the lining into place making sure your stitches don't show on the right side of the hat. You will have no seams showing. 

  • Sew the elastic in place according to the directions. It is quite simple to do. 

Finishing Touches

  • When you have turned the hat right side out, give it a bit of a press and decide on how you will decorate the hat. For this hat I decided to put a grosgrain ribbon around the crown and add a bow at the back. 
I do love this hat pattern. It is one that is a go to to complete a summer outfit. 
To complete this outfit (at the moment), I will be knitting a red bolero. 
Happy Doll Sewing.................................

Monday, June 3, 2019

Sewing A Skirt Onto the Bodice

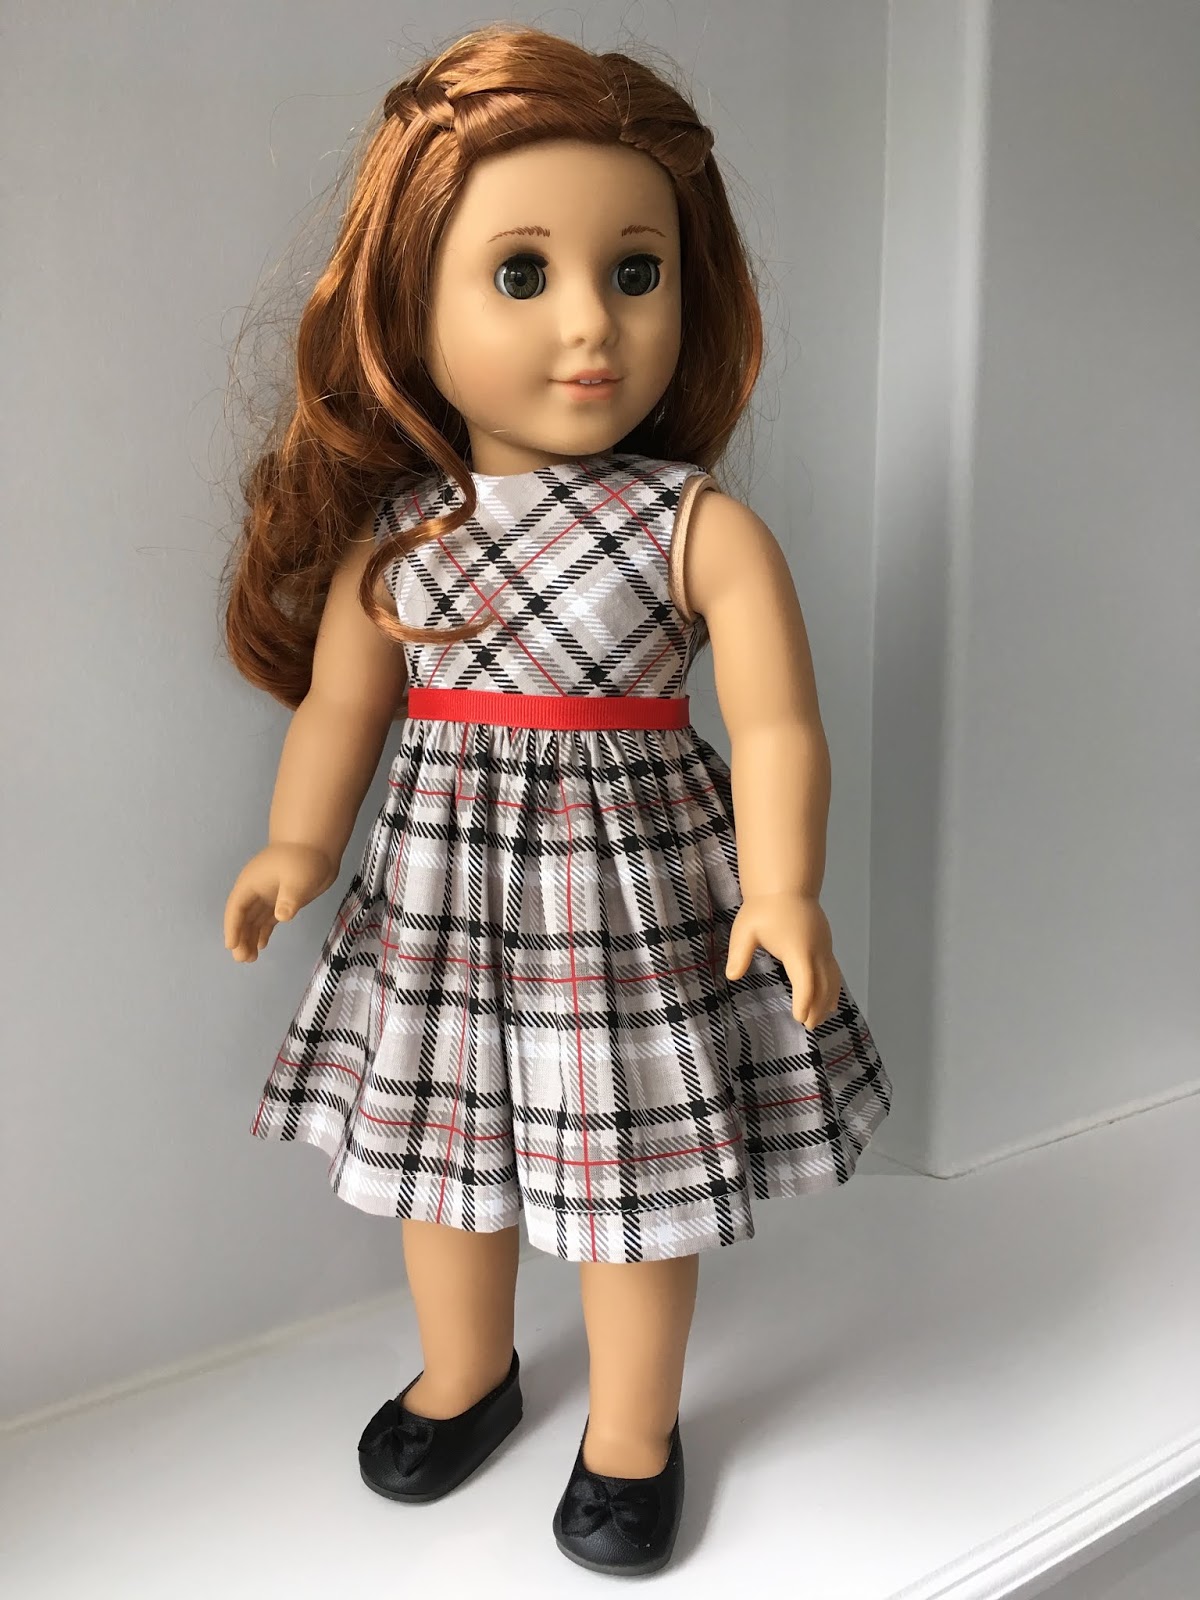
The next dress has a variation to the last one. One of the fun things you can do with a basic pattern. 

Pattern Pieces

We will be using the same pattern pieces as before - bodice front, back and skirt. The bodice pieces need to have another grain line added to them. We are cutting the outer fabric on the bias. 
The straight of grain lines on the bodice pieces are the center front and back lines. I used a quilting ruler to do the bias. Lay the 45 degree line onto the straight of grain and draw you line along the straight edge of the ruler. 
Do this to both the front and the back bodice pieces. 

Fabric

The fabric I'm choosing is a plaid that came out at Christmas. It is 100% cotton. 
The lining is white broadcloth. I chose to line the bodice with broadcloth so there would be no shadowing of the plaid on the outer garment. 

Cutting Out the Fabric For The Bodice

Remember you only need to use a single layer of fabric for the bodice and cut out two back bodice pieces. You will flip the second bodice piece over. 
The outer bodice pieces are cut on the bias and will look like this when laid on the fabric. 
And this when cut out. 
I took the time to make sure the plaids looked similar on the front and back. 
The lining for the bodice is cut out of white broadcloth and is cut on the straight grain (like our previous pattern bodice). 
The bodice is sewn as before. I handle the bias pieces very carefully as they will stretch. The lining helps stabilize the bias pieces so they don't stretch out of shape. 
You can barely see the lining on the table. The bodice is ready to be sewn together.

Cutting out the Fabric For The Skirt

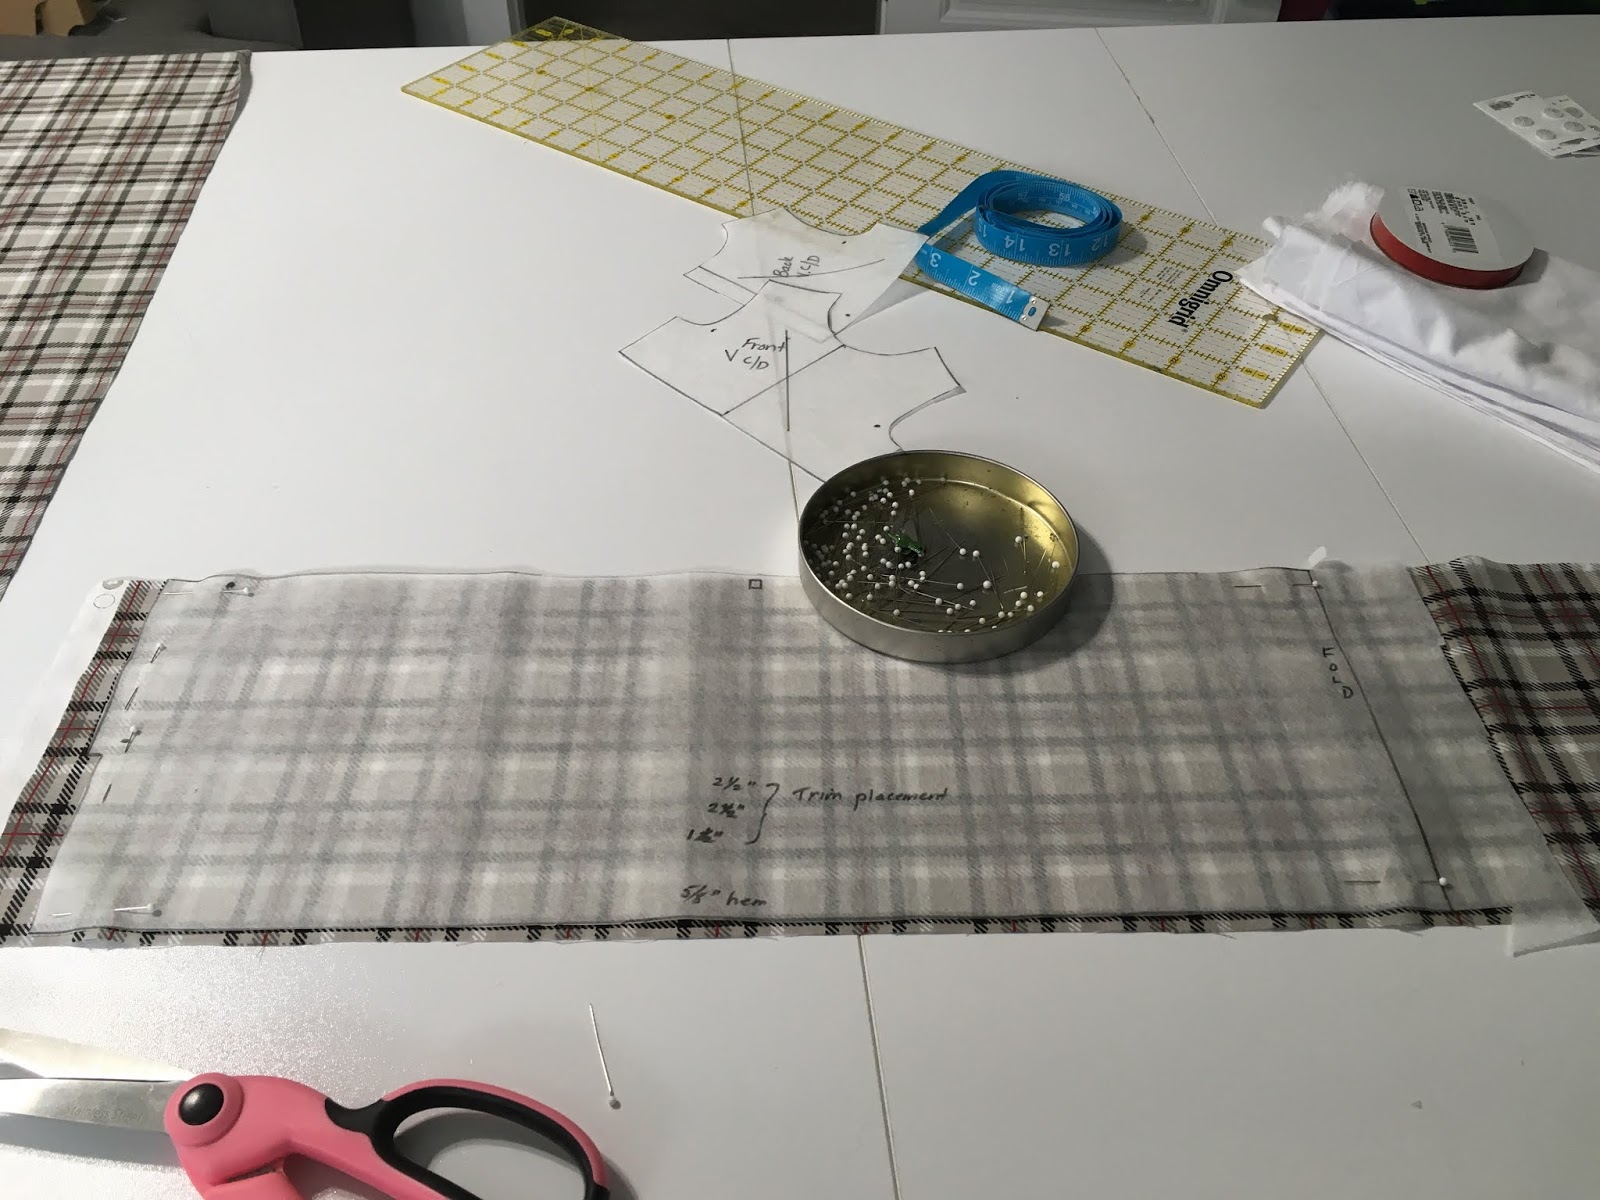
The skirt is our focus this time. I cut it out on the straight grain. First I cut along a plaid line for the top of the skirt. 
Then I laid the pattern on and prepared to cut along another line so the plaid is even length and the lines are running straight. 
Once done, I laid the pattern onto the fabric and pinned it down at a red line. I worked my way down the pattern to cut the center back part. 
I then unpinned the pattern, flipped it over and repined it on the red line and did the other center back cut. 
The skirt is ready to sew. 
FYI, I cut the skirt as one piece on the fold if I'm using a print. I only do this for plaids.

Sewing the Skirt

Instructions for all skirts using this pattern.
I serge the hem of skirt and the lower part of the back seams prior to sewing any part of the skirt. 
At the top of back seam serged bit, I add a fabric sealant, such as Fray Check. Put a drop on the bottom of the jut out piece. It helps the fabric from fraying and the threads from unraveling. 
Next I run a row of machine basting at 5/8" from the hem so it is marked. 
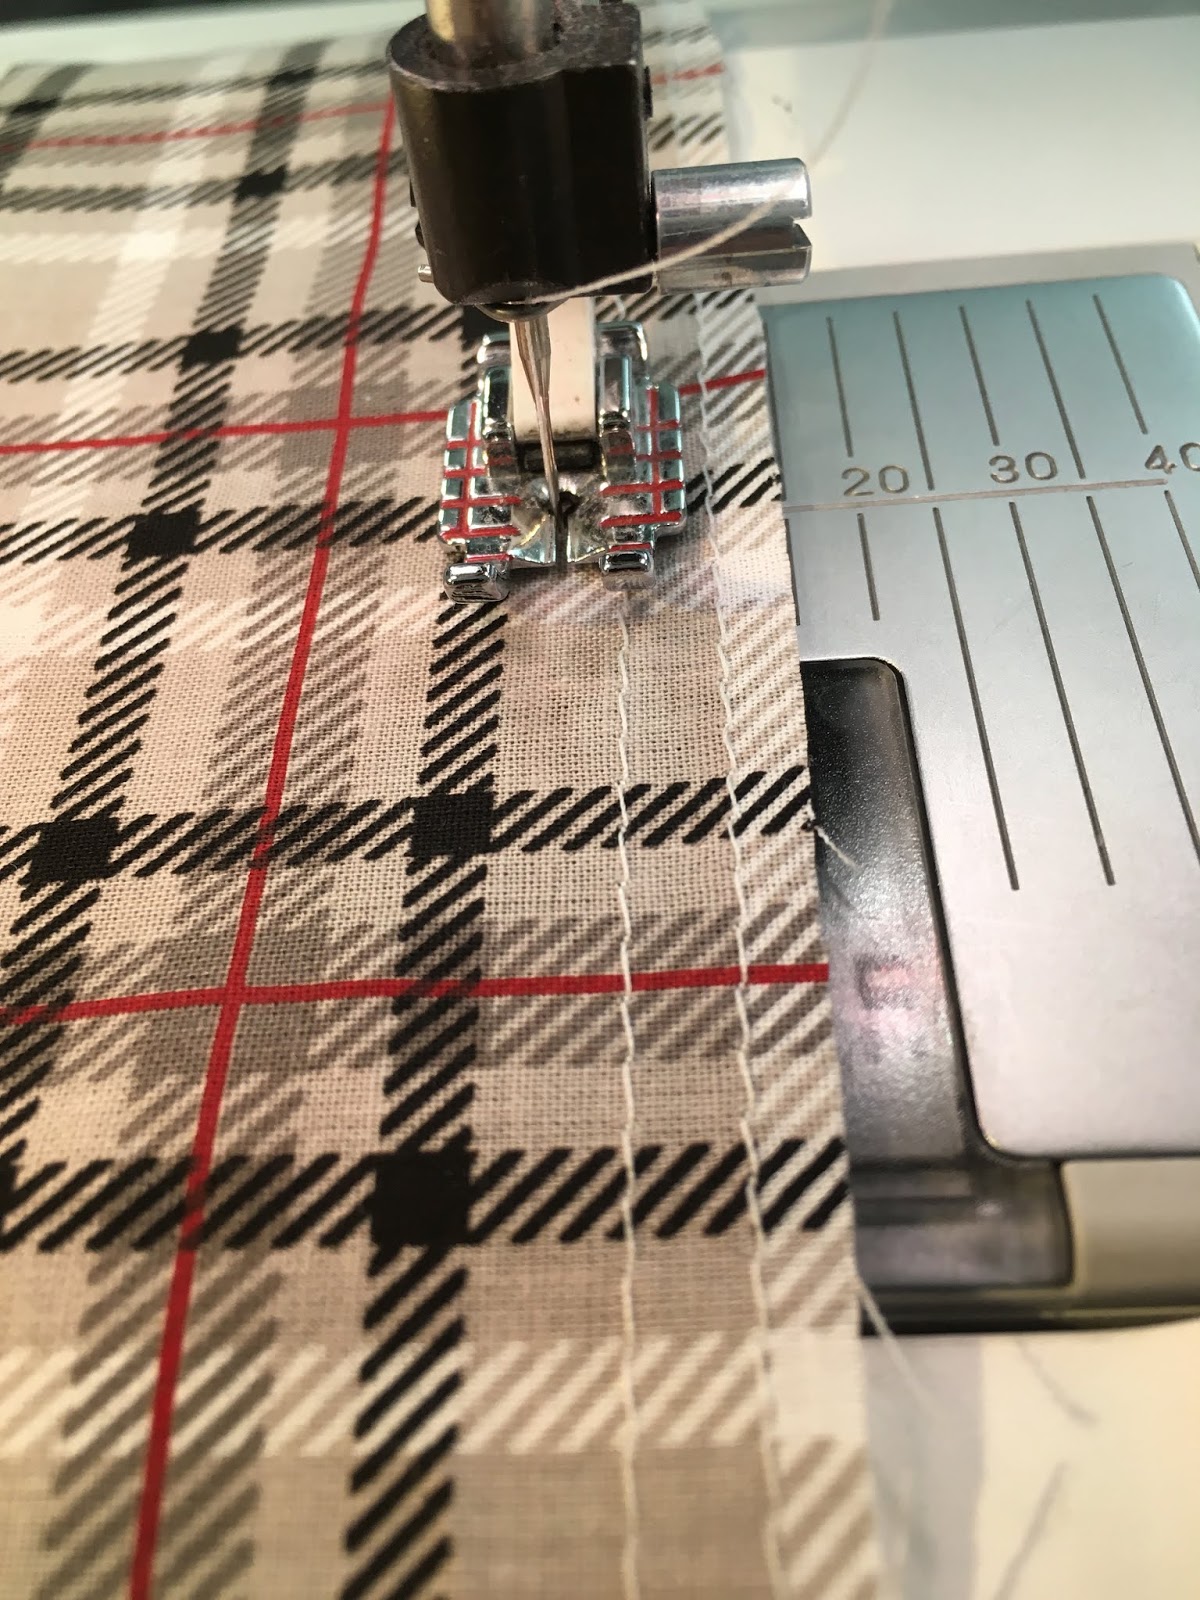
Once the sealant is dry, I machine baste the gathering threads at the waistline. I do 1/8", 3/8", and 5/8" rows of gathering. 
I do the third row of gathering as I find it helps make the gathers lie straighter. I have tried other ways of gathering and this is my favorite unless I dig out the smocking pleater and use it. 
Sew the back seam together up to the dot on the pattern using a 1/4" seam.  
Press the seam open up to the waist band. Turn the top part under to the pressed edge and stitch down.
Ready to top stitch
Find the center front of the bodice by folding in half. Pin. Find the center front of the skirt and pin.. 
Matching the center fronts, pin together. Do not pin the lining, leave it free. 
Pin the back edges together making sure the lining is out of the way. The back edges should be together and pinned so when sewn, the lining comes down to cover the seam.
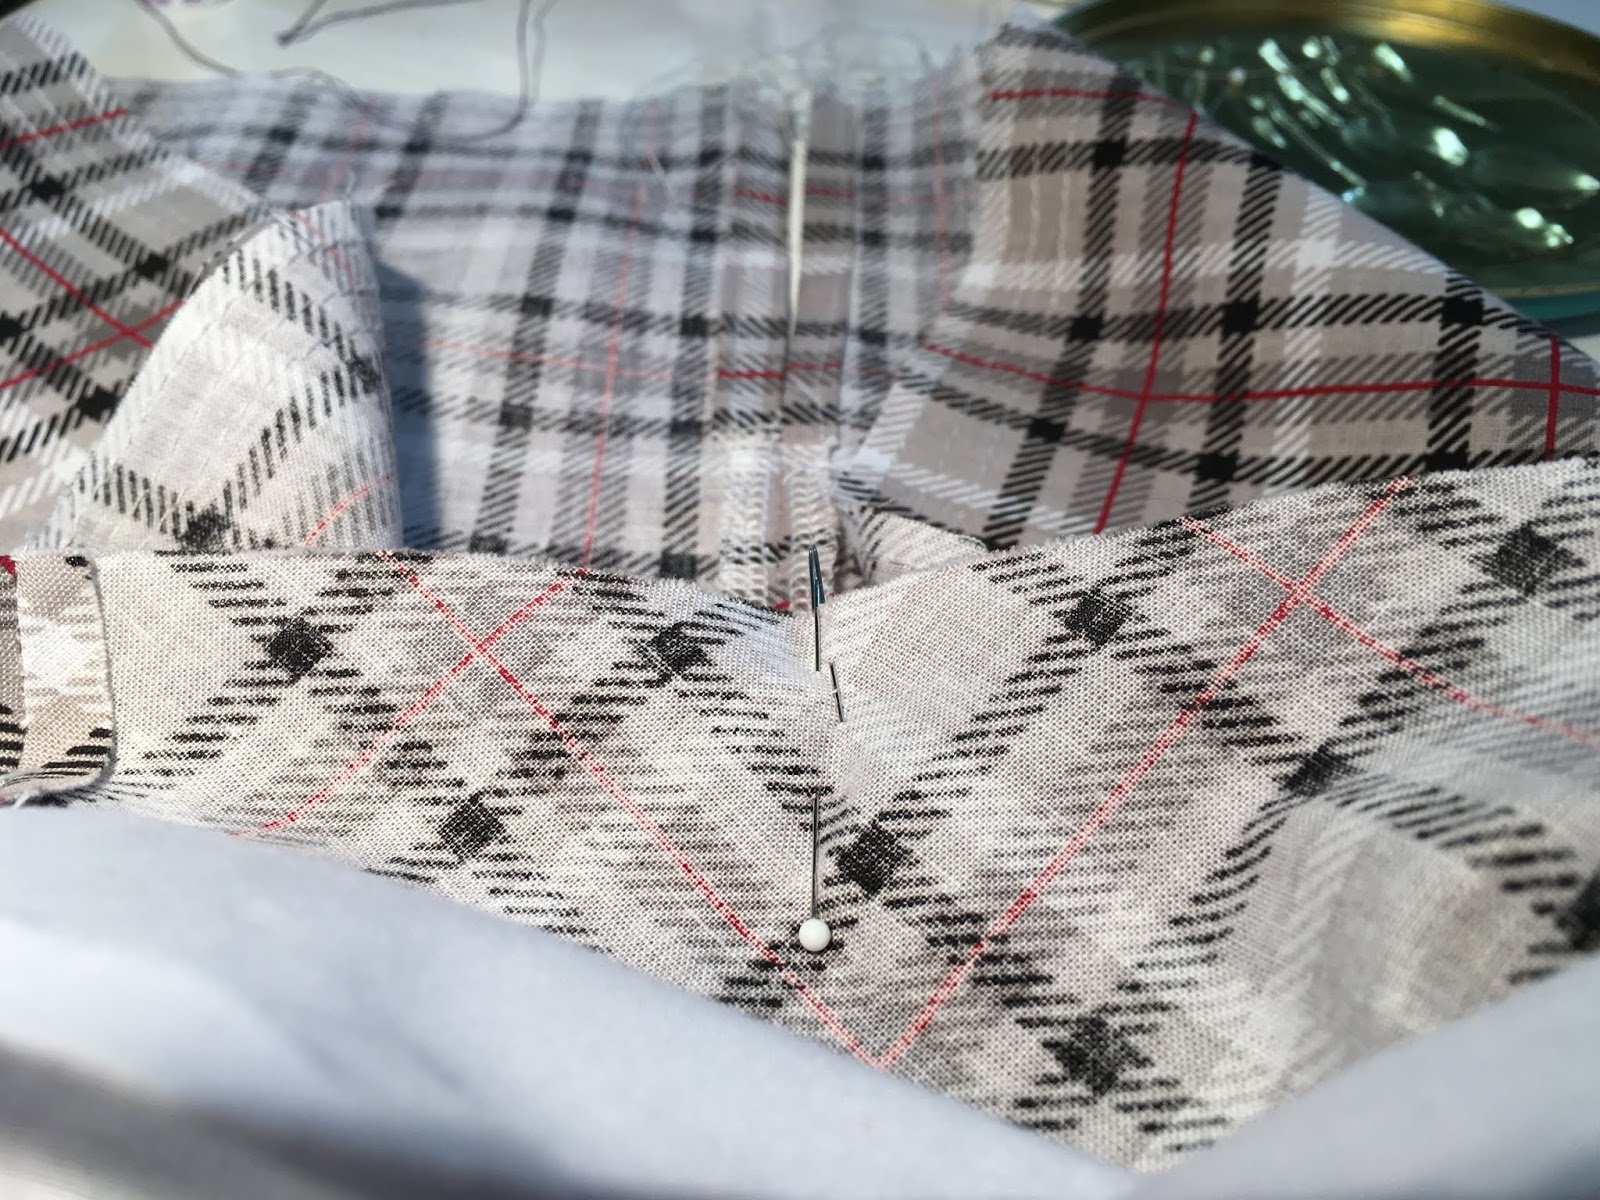
 Gather all three threads at the same time. Take the time to adjust the gathers so they are evenly distributed and liking straight. 
 I check it from the right side prior to sewing. Sew with 1/4" seam allowance. When done, pull the gathering threads out. At this point I like to give it a steam with the iron. 
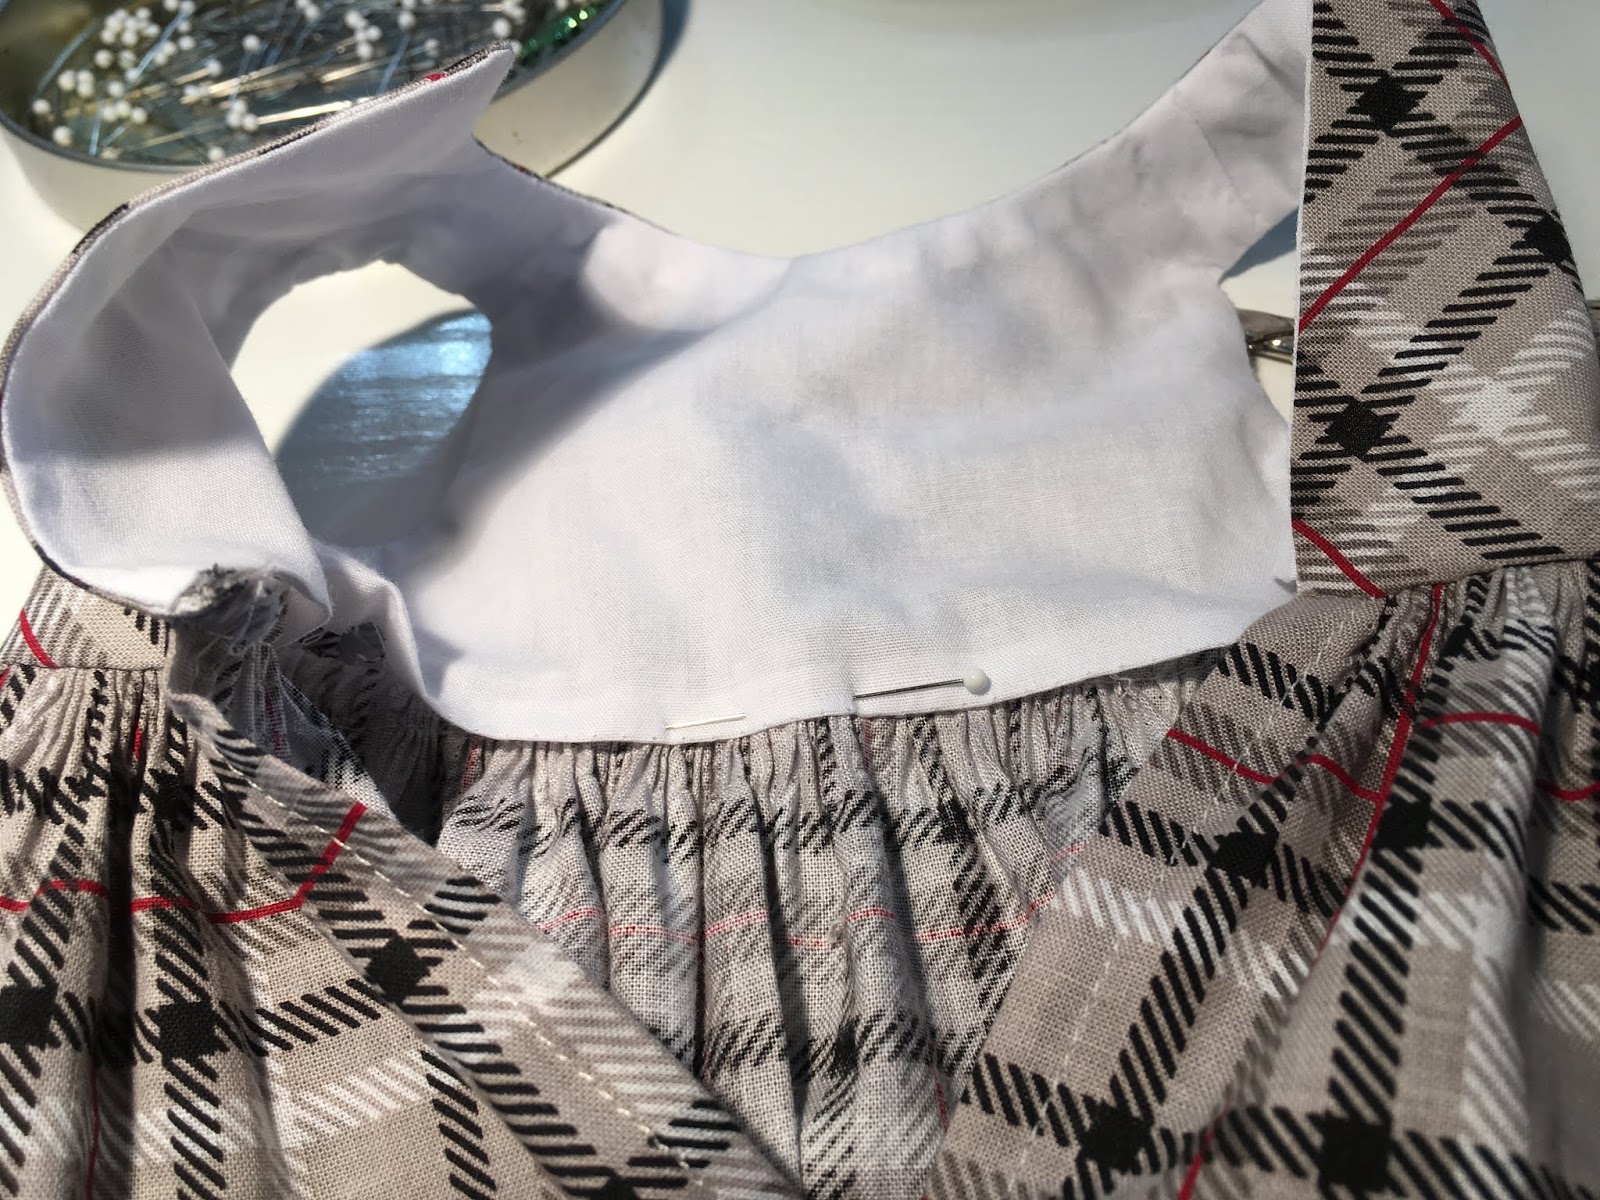
Next I start to pin the lining to the seam at the waist. I love to have the seam covered. 
Pinning done. 
I pinned up the hem so I could look at the dress. Press it in place. 
I hand sew the lining in place so it covers the gathers. I adjust the lining when necessary while hand sewing as a few raw edges will show. 
Once that is done, I machine sew the hem, remove the basting thread, and add 3 snaps to the back bodice. I do not use velcro as the doll's hair snags in it ruining their hairstyle. When done, give a good pressing using lots of steam.


At this point, I feel Butterick 6265 is a great basic dress pattern for 18" dolls. It is the pattern I will use to show how I adjust it to fit My Life As A........doll. 
Happy Doll Sewing.....................

Monday, May 27, 2019

The Completed Dress

Unfortunately, I did not get the tutorial done for the skirt part of the dress. I had two issues:
  1. The thread on one looper broke and it took three tries to thread the machine to get the tension correct. 
  2. The third row of basting thread did not want to cooperate. It didn't break, but it didn't want to gather nicely. 
In the end and with a lot of careful maneuvering, the dress was finished. Not a picture of what I did. 


In the end, all went together well. I just have to hand stitch the ribbon onto the dress at the side seams. 

Next Dress

The next dress will be made from the same pattern so I will do the skirt portion as a tutorial. Hopefully I can start it tomorrow as I am thinking of doing something a bit different with the bodice. It will be part of the tutorial. 
Happy Doll Sewing.....................

Saturday, May 25, 2019

Sewing the Bodice of A Doll's Dress

I love to sew doll clothes and I have my own way of constructing the items I sew. Some of my construction techniques are different than others which is good. The more ways we learn how to construct a doll's garment, the more often we find a combination that becomes our go to way of sewing. 

Pattern

The pattern I am using is Butterick 6265. The pattern is still available at the fabric store and online. The view I am constructing is C. The dress is a simple one that a beginner can make. Take your time, sew carefully, press lots, and you will have a cute dress for you 18" doll. 
When I use these patterns I like to trace them onto pattern pellon. This material lasts longer than tissue paper.


I cut the front so it is one full piece and I really should have two backs; one reverse to the one I have. I put as much information as I need on the pattern pieces. I press the folds out of the pattern pieces prior to using them.

Fabric

The fabric I chose is a nice cotton. I washed and pressed it for two reasons:
  • cotton shrinks
  • eliminate over dye
I did press the cotton prior to laying the pattern pieces on.
The amount of fabric I bought was .5 meter and I am cutting out the second dress from this piece. 12" of fabric x the width will be more than enough fabric for this pattern. You can put your pieces closer together if you have less. I left mine further apart as I had the extra fabric. 
The pieces are laid out with the skirt on the fold and the bodice pieces on the straight of grain. I left a empty spot so I could lie the back onto it after I cut out the first one. 
The order I cut out the pieces are:
  1. Skirt
  2. Back piece 
  3. Back piece a 2nd time
  4. Front piece

Construction of The Bodice

Preparing To Sew

Once cut out, I snipped the marking at the bodice on the bodice on the piece that I use as the outer fabric. The lining did not get the snip. I did not snip the armhole markings as we are not adding the flutter sleeves to this dress. 
I lay my pieces out so I have the outer pieces separate from the lining. I also put a pin in the center of the bodice of the outer part but you really don't need to. 

Sewing the Shoulder Seams

I only follow one part of the instructions for the bodice. That is the shoulder seams. 
It is a basic construction for all my doll dresses. 
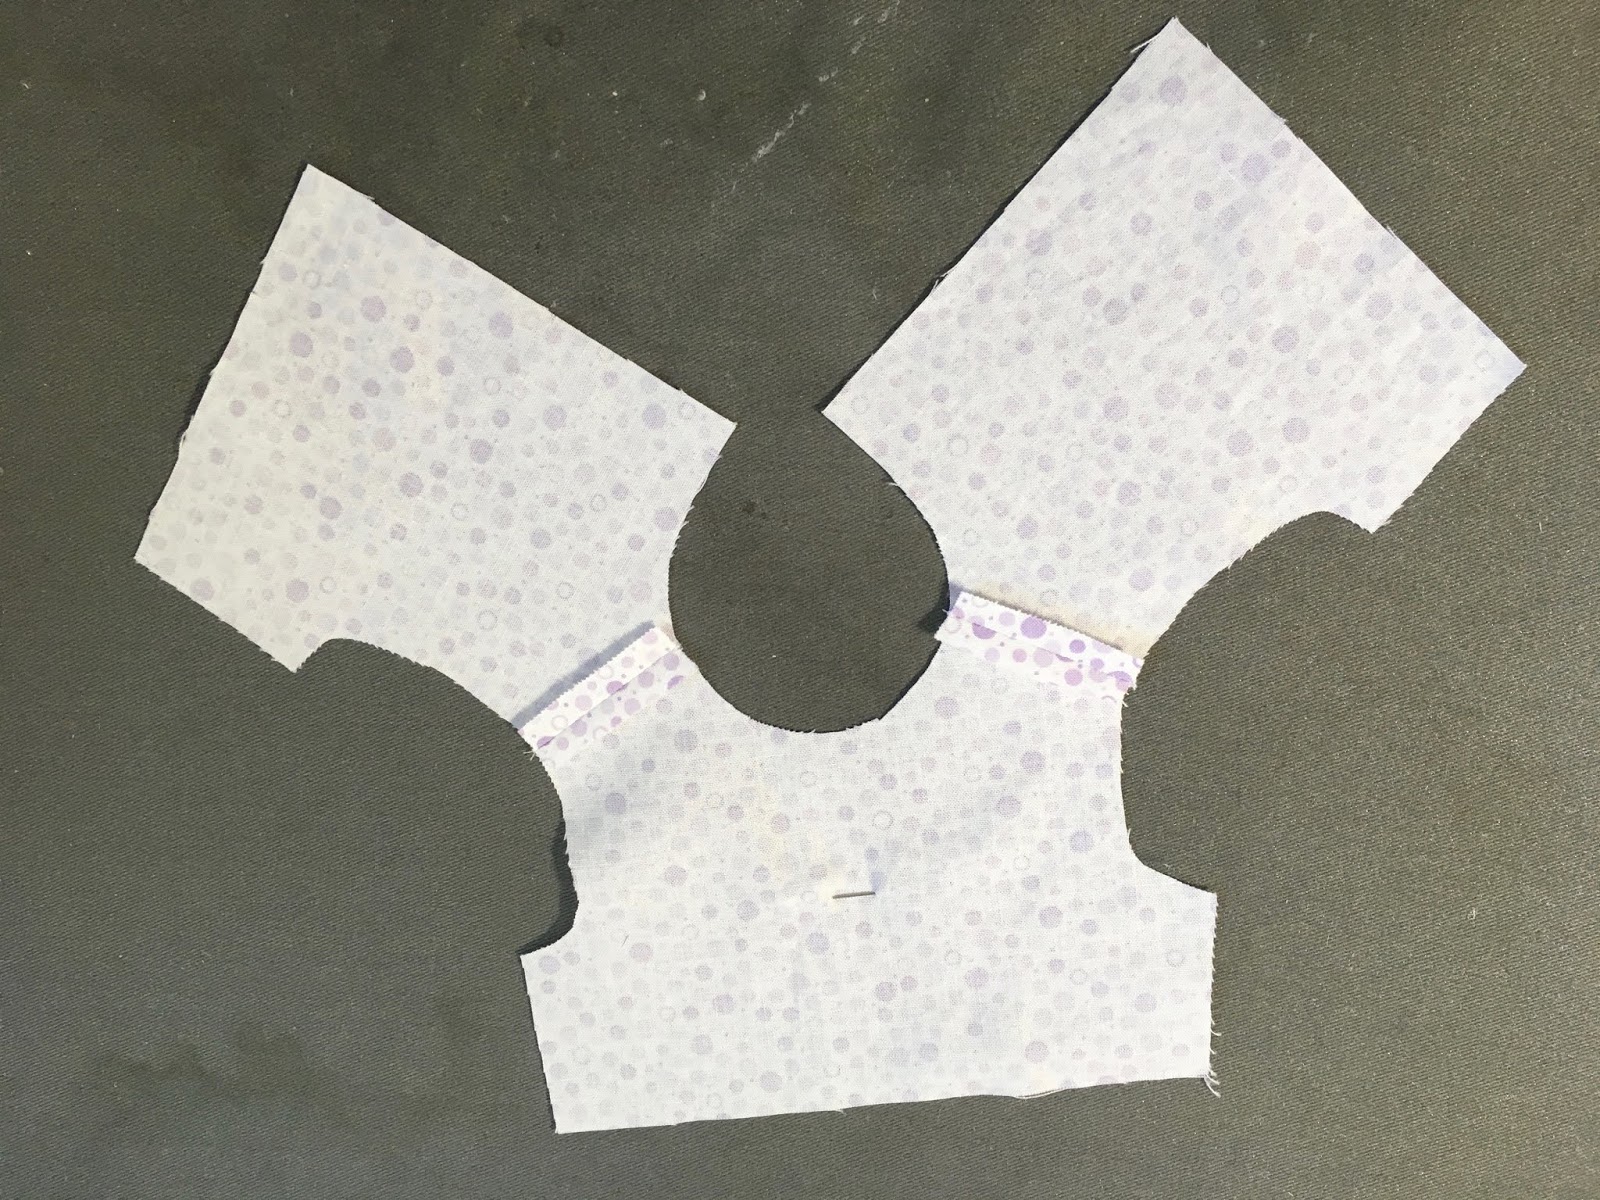
Shoulder seams sewn and pressed. Do for both parts. On the lining, I sew a basting line 1/4" up from the waist line and press it up. 
The long threads tell me I have the seam allowance basted and ready to press up. 

Sewing Outer Garment and Lining

When starting to sew the bodice together, I start with an arm seam. I pin the lining and outer fabric right sides together at the should seam, then at the side seam and in between. 
I then sew the 1/4" seam. Repeat for the other arm and finally the neck. You can start with the neck and do the arm seam, it is totally up to you. I cut from the edge of the seam to the stitching on these three seams. 

What I have not sewn is the back seam. Do Not Sew It At This Time.

Turning Right Side Out

I then turn it right side out by pulling the back through the shoulder seams. 
Your iron and pins are your best friends. I steam a seam and then roll it so I have a nice crisp edge. That I pin in place. I steam and press, cool, remove pins and give a good press. 
You can see the lining edge is pinned up and pressed. I then remove the pins. 

Sewing The Side Seams

Next you take the side seams and pin them together with outer garment to outer garment and lining to lining. I put a pin at each end, then then under the arm and a couple of pins in between. I am careful to make sure the under arm seams match as closely as possible.
When sewn, I press the seam open and then work on making sure the seam at the under arm is flat and smooth. I then use steam to roll it nicely and press. 
Press so the arm hole is nice and smooth. 
I do for the second side seam and then press the lining up at the waist. 

Test Fit On Doll

It fits very well. If it was too big, I could sew the side seams a bit larger. 

Sewing The Back Seam

This can look tricky but it isn't. Flip the back seams so right sides are together on one side. Put a pin at the top and bottom (fold the turned up lining seam down for the moment). Then put in several pins down the back seam. Turn the lining seam back up and you are ready to stitch. 
Trim the corner diagonally at the neck. 

Turn right side out, make the neck corner sharp, steam the seam, pin and press. 
Repeat for the other back seam. At this point, the bodice is sewn and fits the doll well. 
I have it pinned at the center back and I'm ready to start the skirt. 
I hope you enjoyed this part of the tutorial and come back to see the skirt construction. 
Happy Doll Sewing.....................