The next dress has a variation to the last one. One of the fun things you can do with a basic pattern.
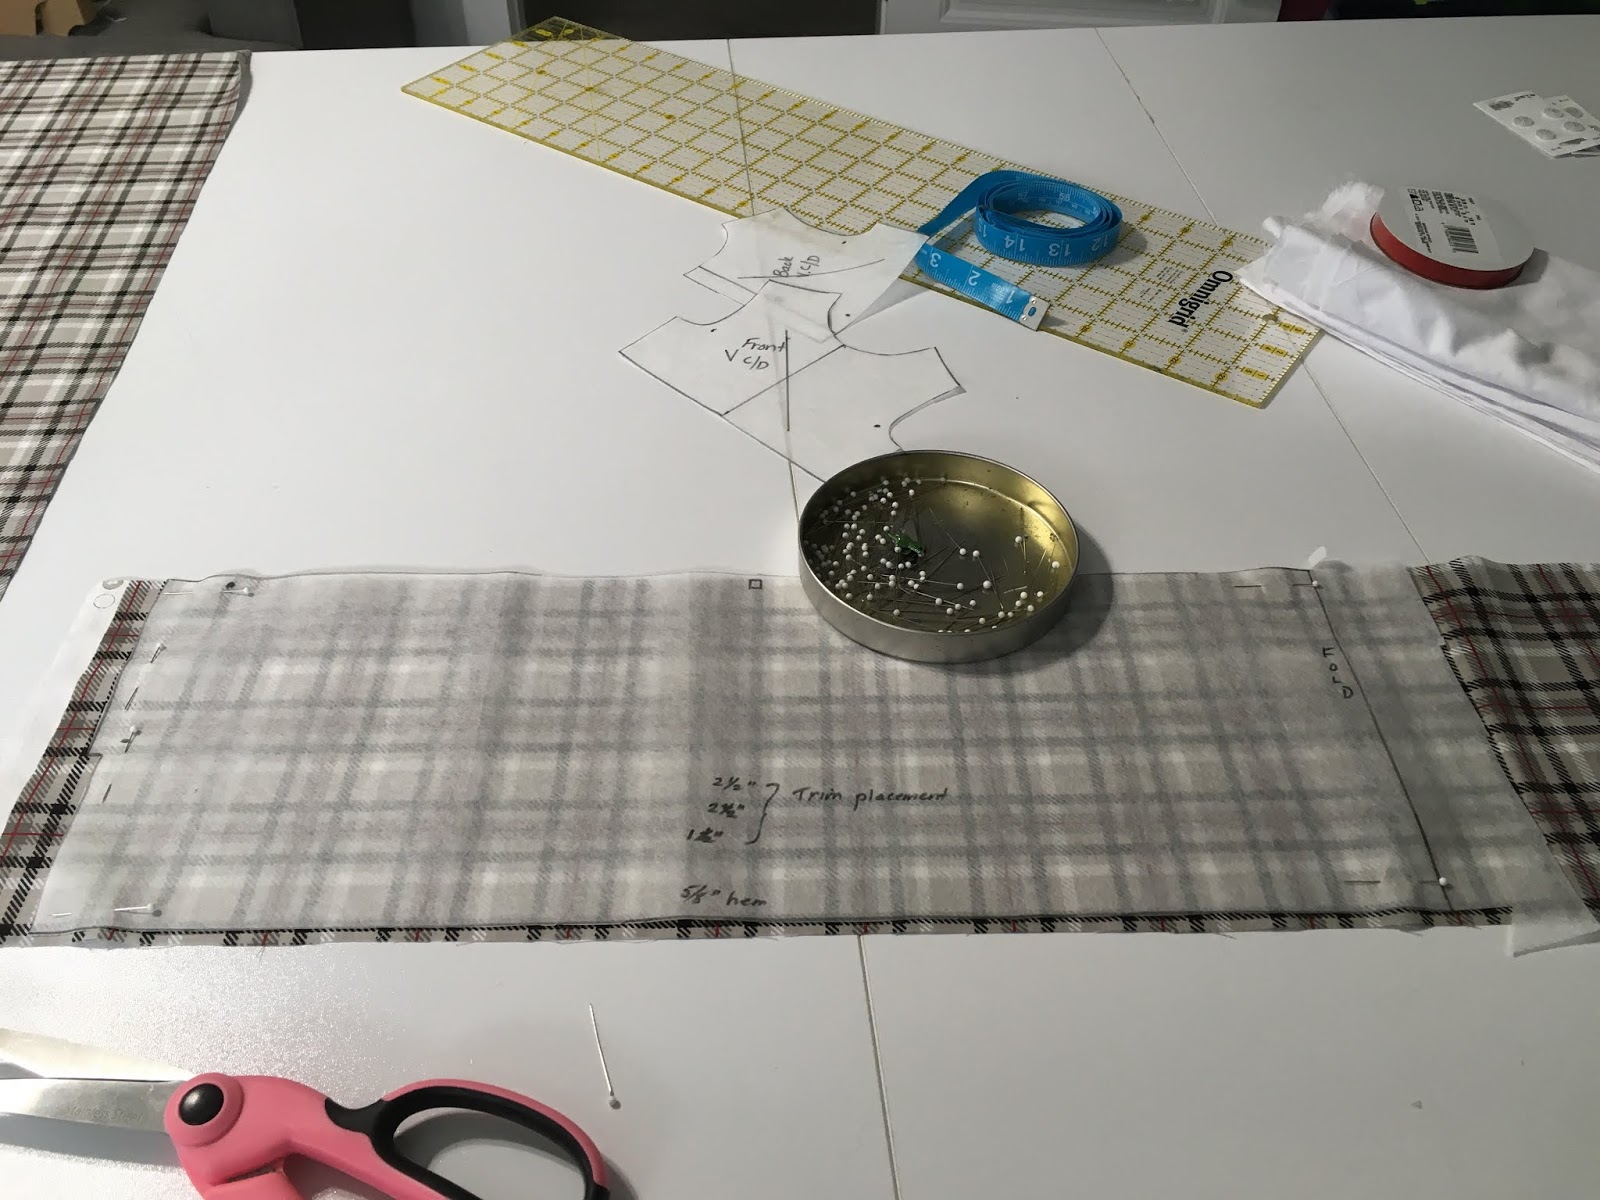
Pattern Pieces
We will be using the same pattern pieces as before - bodice front, back and skirt. The bodice pieces need to have another grain line added to them. We are cutting the outer fabric on the bias.
The straight of grain lines on the bodice pieces are the center front and back lines. I used a quilting ruler to do the bias. Lay the 45 degree line onto the straight of grain and draw you line along the straight edge of the ruler.
Do this to both the front and the back bodice pieces.
Fabric
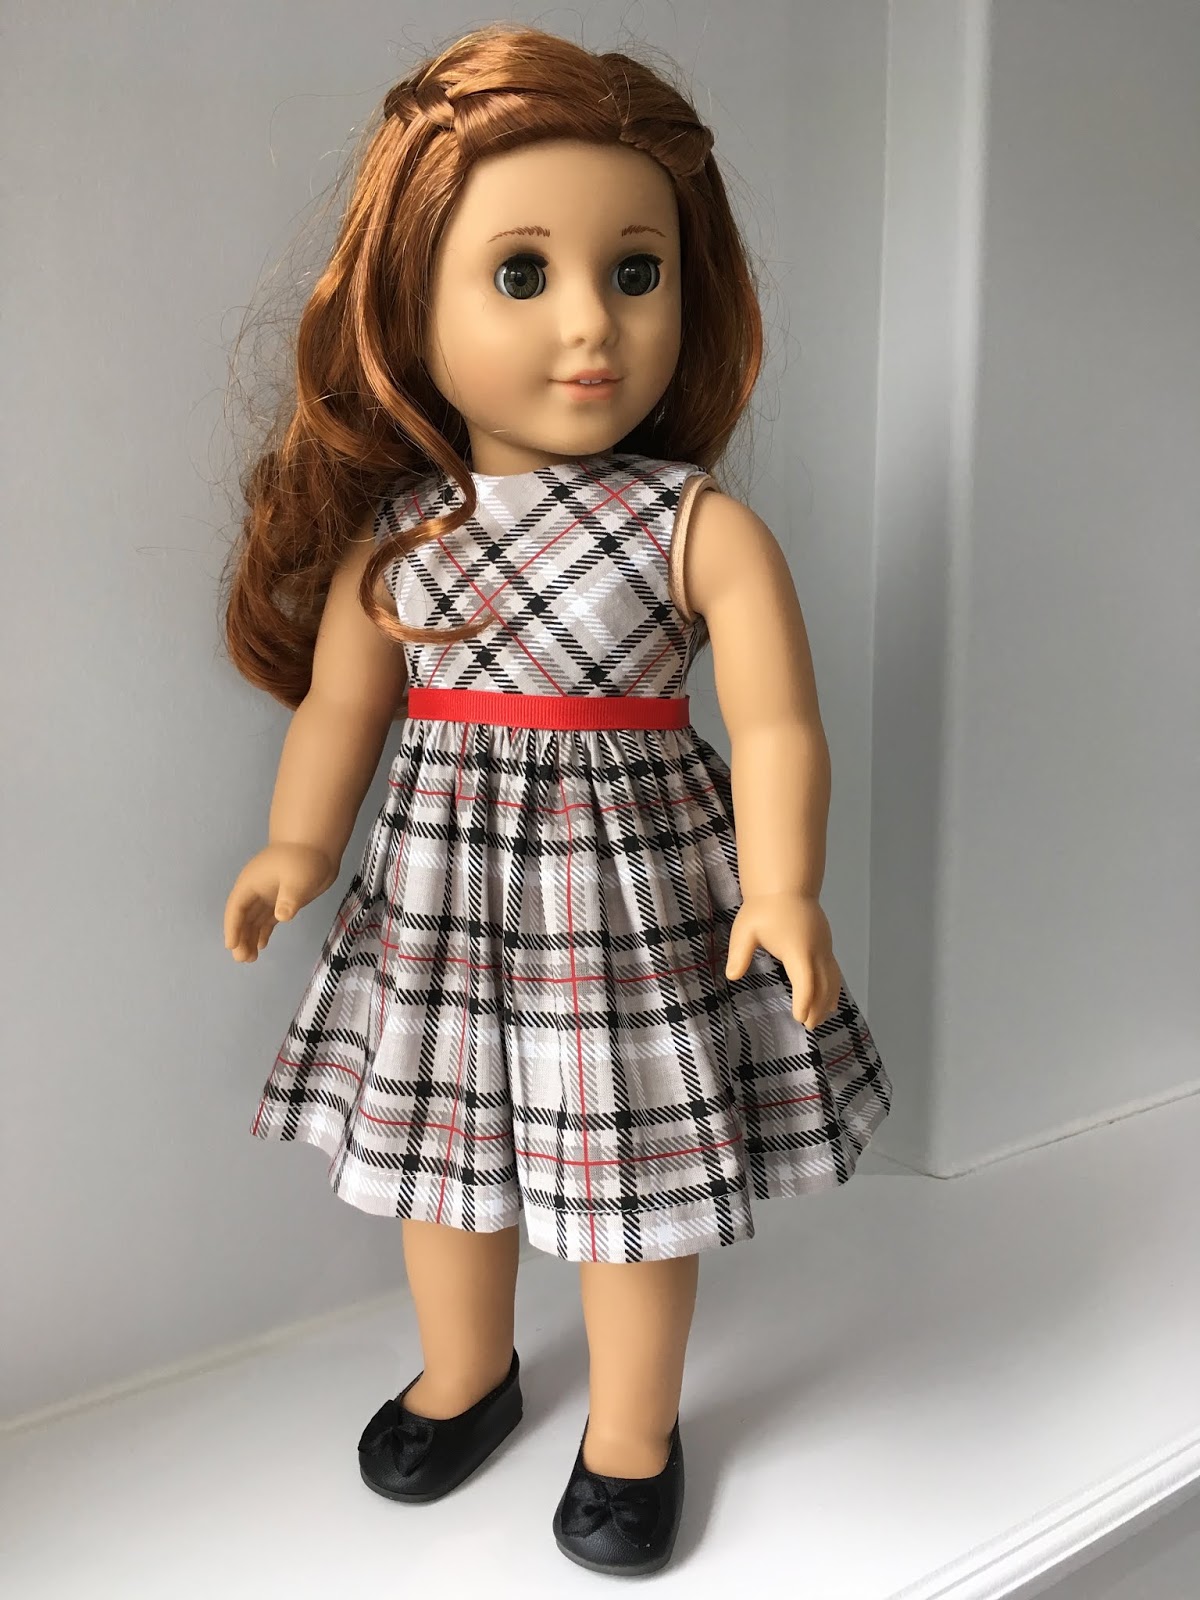
The fabric I'm choosing is a plaid that came out at Christmas. It is 100% cotton.
The lining is white broadcloth. I chose to line the bodice with broadcloth so there would be no shadowing of the plaid on the outer garment.
Cutting Out the Fabric For The Bodice
Remember you only need to use a single layer of fabric for the bodice and cut out two back bodice pieces. You will flip the second bodice piece over.
The outer bodice pieces are cut on the bias and will look like this when laid on the fabric.
And this when cut out.
I took the time to make sure the plaids looked similar on the front and back.
The lining for the bodice is cut out of white broadcloth and is cut on the straight grain (like our previous pattern bodice).
The bodice is sewn as before. I handle the bias pieces very carefully as they will stretch. The lining helps stabilize the bias pieces so they don't stretch out of shape.
 |
| You can barely see the lining on the table. The bodice is ready to be sewn together. |
Cutting out the Fabric For The Skirt
The skirt is our focus this time. I cut it out on the straight grain. First I cut along a plaid line for the top of the skirt.
Then I laid the pattern on and prepared to cut along another line so the plaid is even length and the lines are running straight.
Once done, I laid the pattern onto the fabric and pinned it down at a red line. I worked my way down the pattern to cut the center back part.
I then unpinned the pattern, flipped it over and repined it on the red line and did the other center back cut.
The skirt is ready to sew.
FYI, I cut the skirt as one piece on the fold if I'm using a print. I only do this for plaids.
Sewing the Skirt
Instructions for all skirts using this pattern.
I serge the hem of skirt and the lower part of the back seams prior to sewing any part of the skirt.
At the top of back seam serged bit, I add a fabric sealant, such as Fray Check. Put a drop on the bottom of the jut out piece. It helps the fabric from fraying and the threads from unraveling.
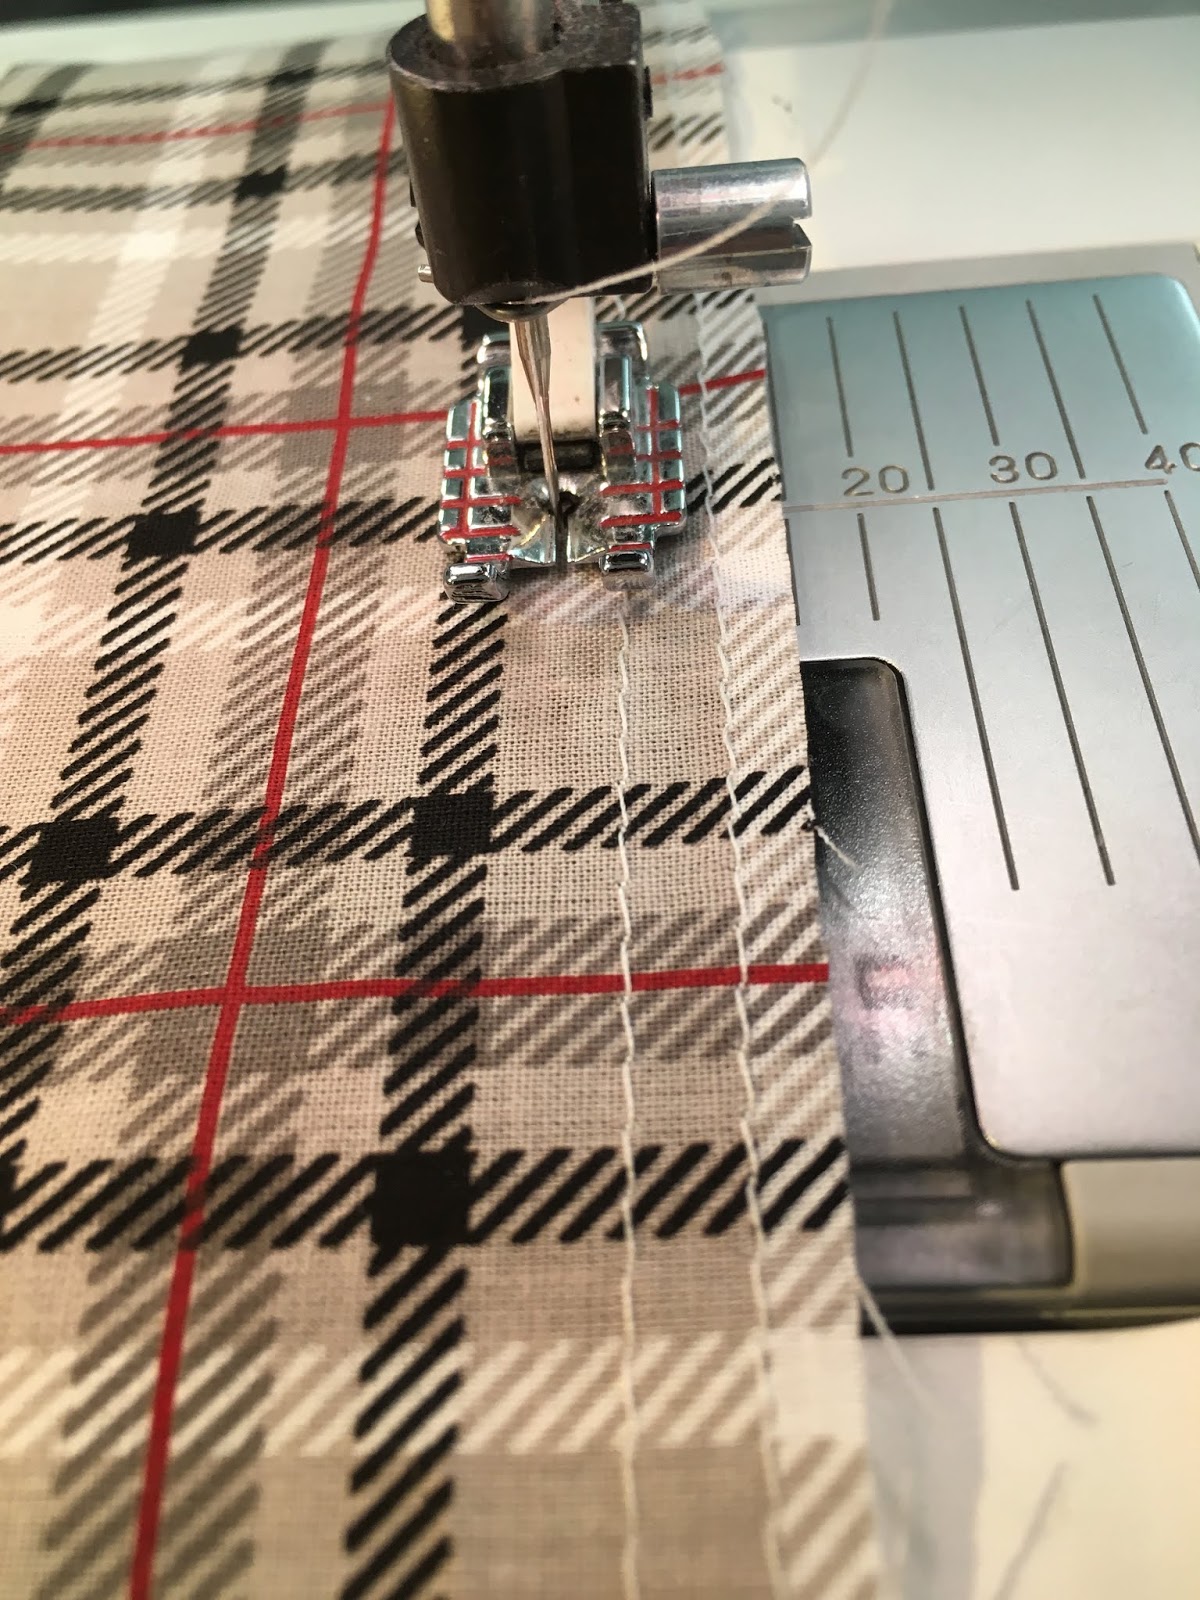
Next I run a row of machine basting at 5/8" from the hem so it is marked.
Once the sealant is dry, I machine baste the gathering threads at the waistline. I do 1/8", 3/8", and 5/8" rows of gathering.
I do the third row of gathering as I find it helps make the gathers lie straighter. I have tried other ways of gathering and this is my favorite unless I dig out the smocking pleater and use it.
Sew the back seam together up to the dot on the pattern using a 1/4" seam.
Press the seam open up to the waist band. Turn the top part under to the pressed edge and stitch down.
 |
| Ready to top stitch |
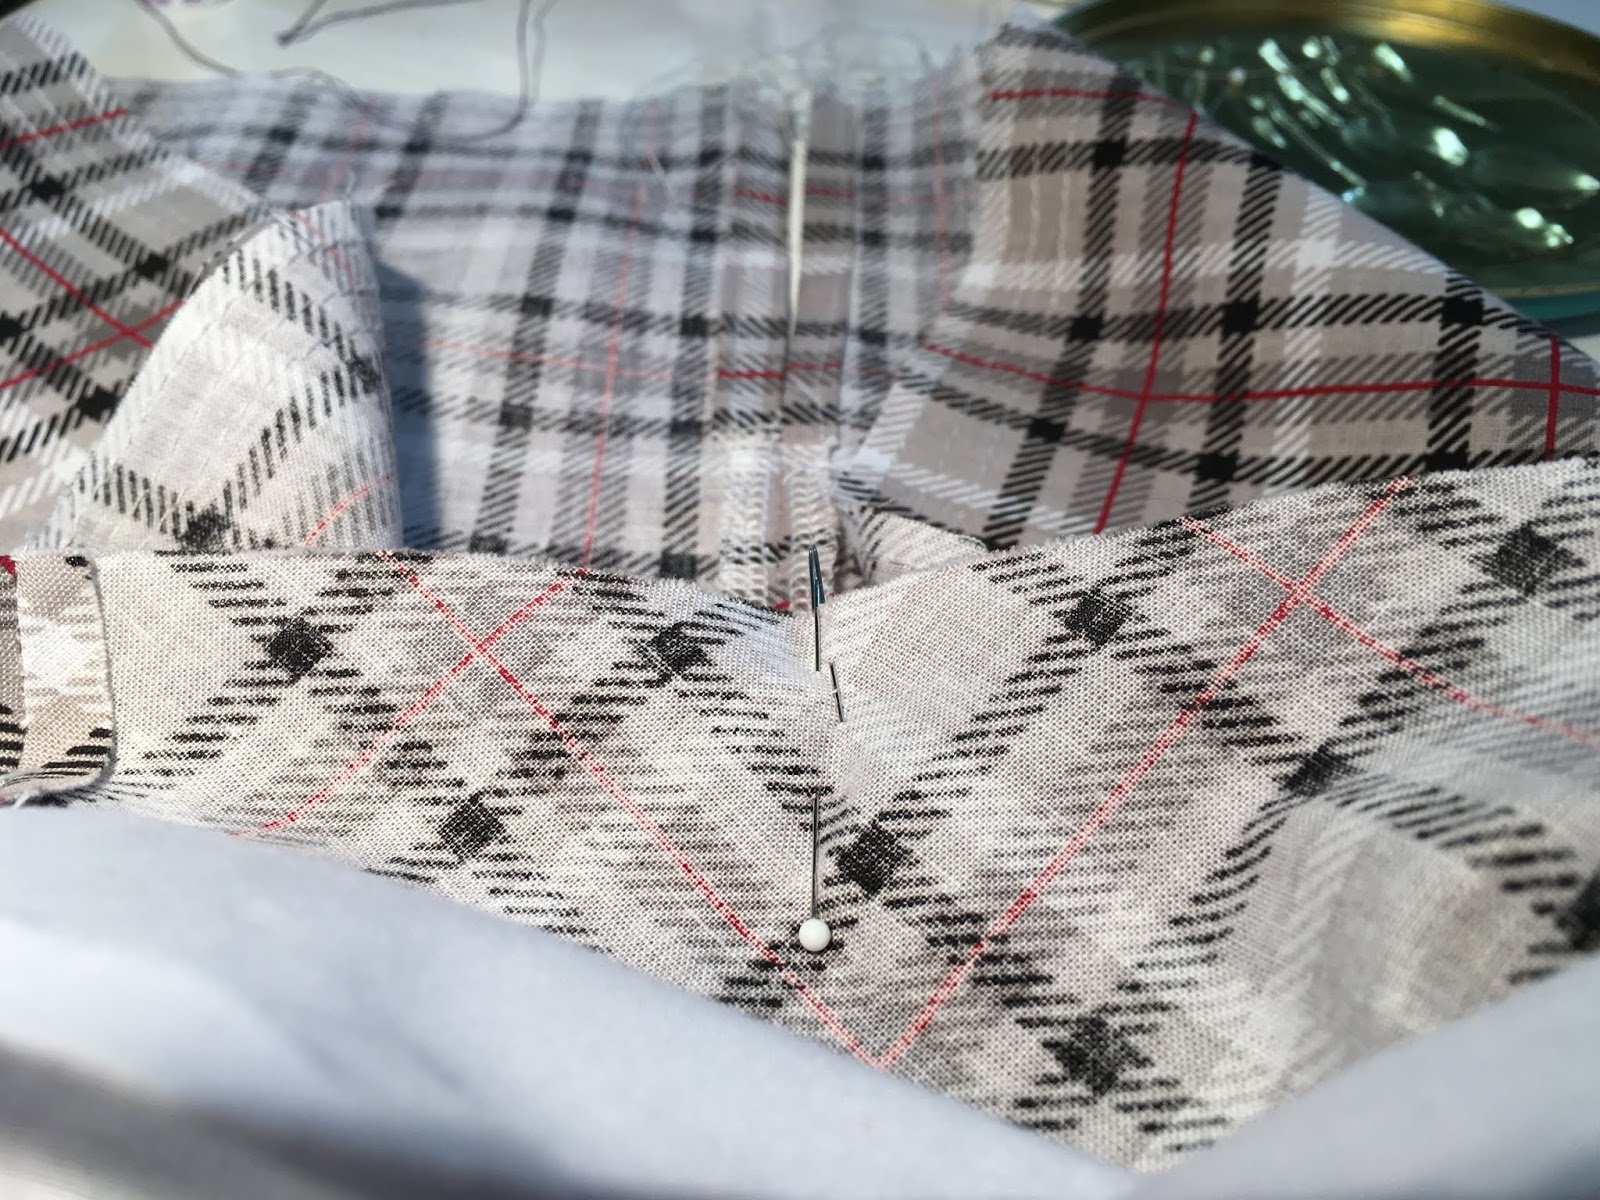
Find the center front of the bodice by folding in half. Pin. Find the center front of the skirt and pin..
Matching the center fronts, pin together. Do not pin the lining, leave it free.
Pin the back edges together making sure the lining is out of the way. The back edges should be together and pinned so when sewn, the lining comes down to cover the seam.
Gather all three threads at the same time. Take the time to adjust the gathers so they are evenly distributed and liking straight.
I check it from the right side prior to sewing. Sew with 1/4" seam allowance. When done, pull the gathering threads out. At this point I like to give it a steam with the iron.
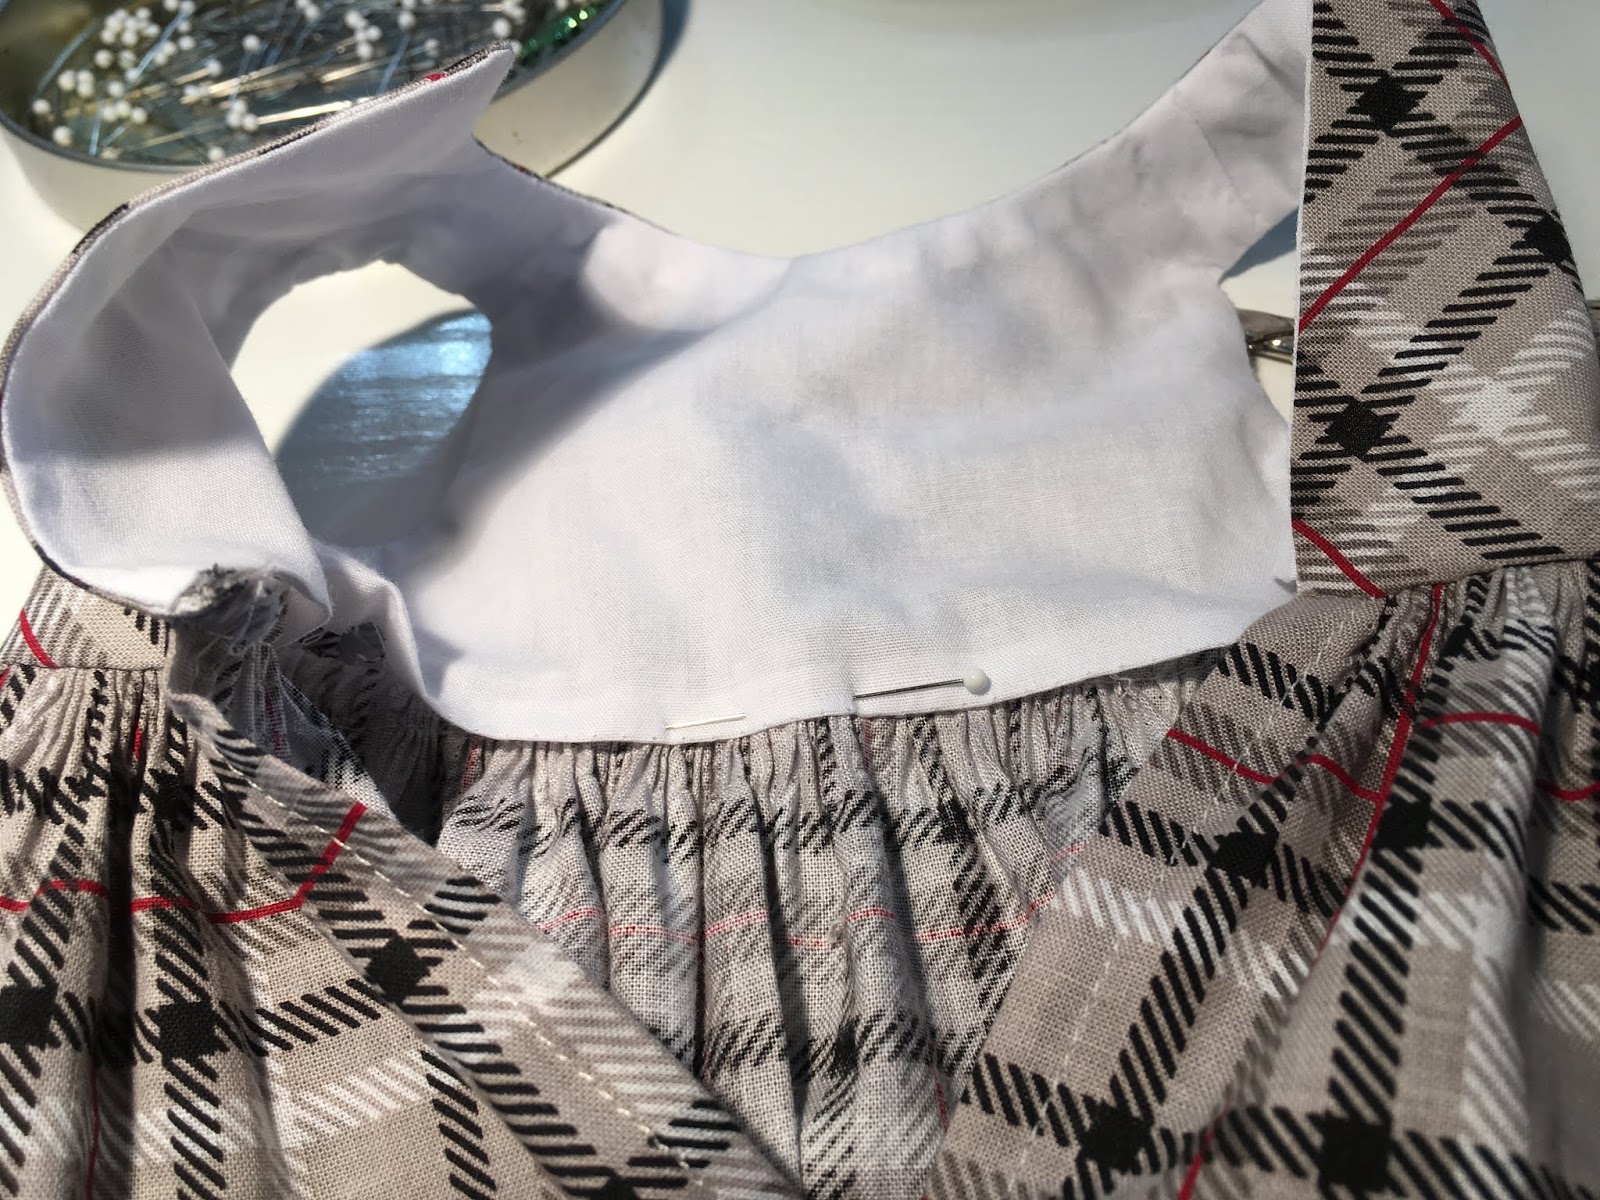
Next I start to pin the lining to the seam at the waist. I love to have the seam covered.
Pinning done.
I pinned up the hem so I could look at the dress. Press it in place.
I hand sew the lining in place so it covers the gathers. I adjust the lining when necessary while hand sewing as a few raw edges will show.
Once that is done, I machine sew the hem, remove the basting thread, and add 3 snaps to the back bodice. I do not use velcro as the doll's hair snags in it ruining their hairstyle. When done, give a good pressing using lots of steam.
At this point, I feel Butterick 6265 is a great basic dress pattern for 18" dolls. It is the pattern I will use to show how I adjust it to fit My Life As A........doll.
Happy Doll Sewing.....................


Love this dress. The colors are coordinated so well. The doll too - she is lovely! Thank you for a great tutorial. :)
ReplyDelete