Sunday, September 18, 2022

Soutache Dress and Regency Shoes

 Life is moving on here and I'm sewing some when I have the time. I spent a lot of time doing a muslin for the Soutache dress. It was a great learning session and I'm now ready to make the dress in pink. 


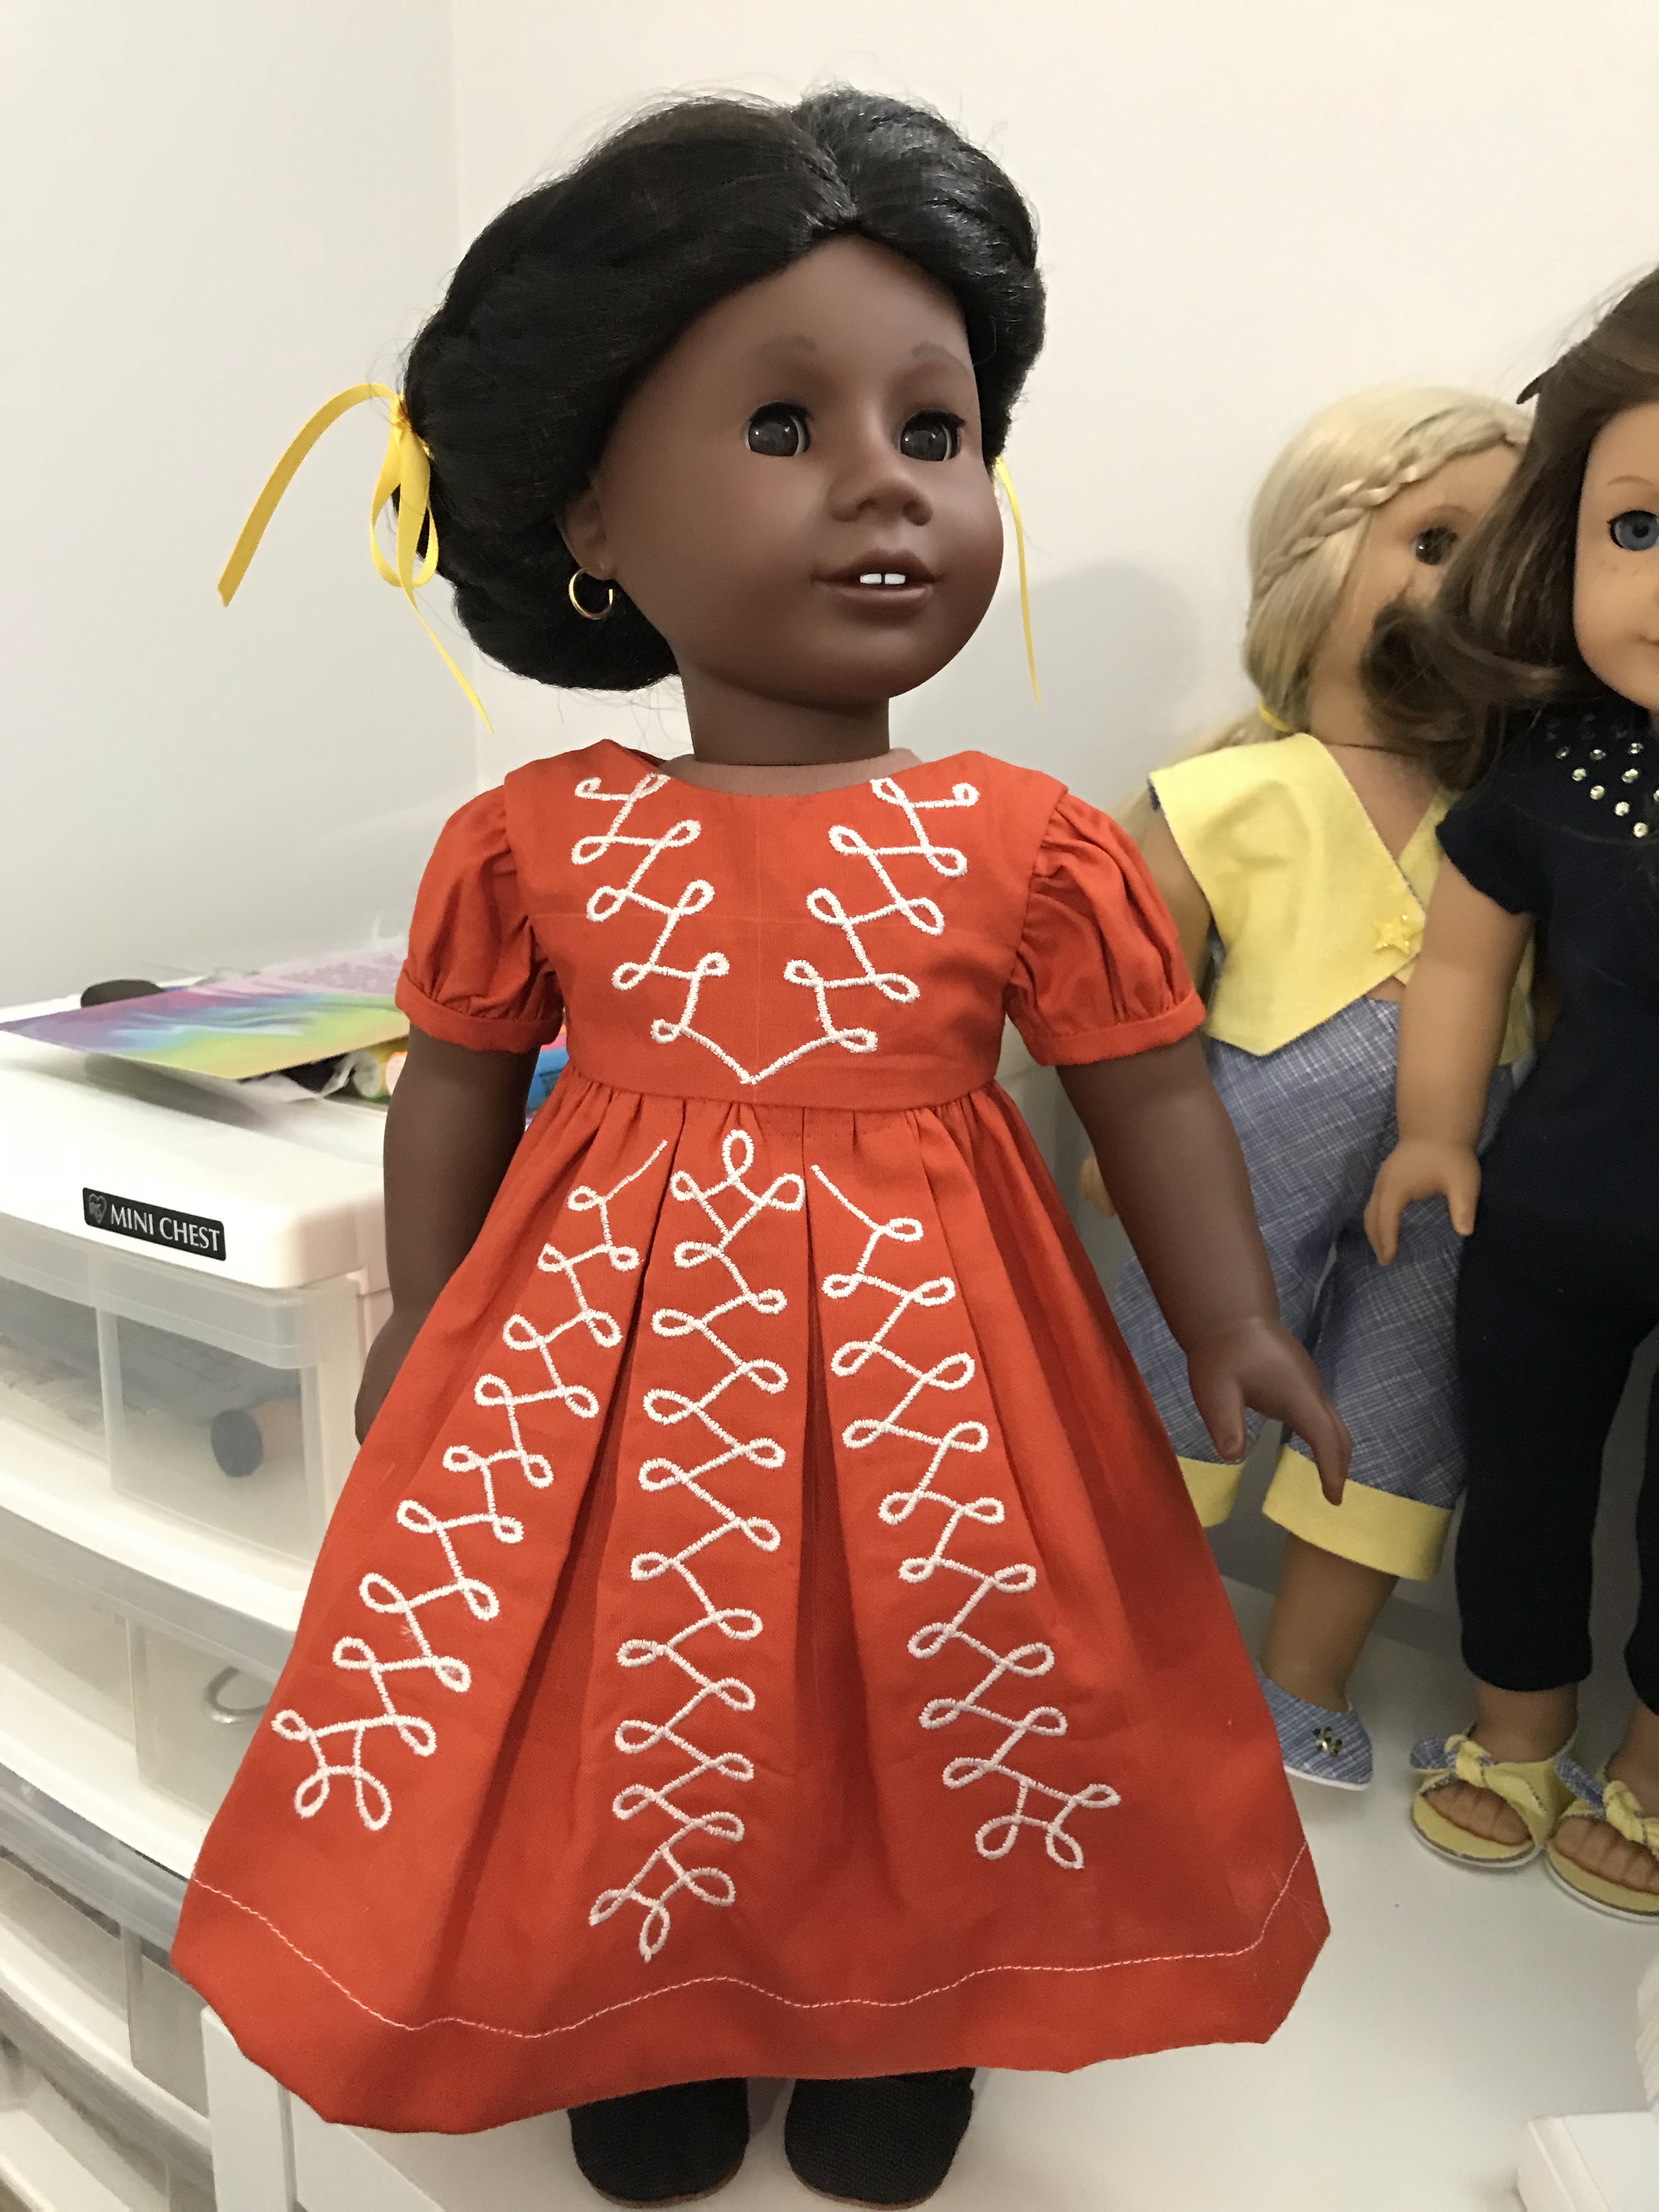
I'm glad that I spent the time having the embroidery on top of the pleats. I need to add 1/4 - 3/8" to the bodice so the embroidery does not get caught in the neckline seam. I also want a smaller hem. 

I decided to make a pair of shoes for the Regency dress before I start the good version of the Soutache dress. The satin fabric is light weight so I interfaced the fabric. I'm glad I did. The uppers went together with no real issues. When I glued the first upper to the insole, the fabric absorbed more glue than I expected. I think the interfacing was the culprit. It took a while for the upper to stick to the insole. The second shoe was being a pain It didn't want to center on the insole and took three tries to get it in the right spot. When done, I took a picture and walked away. 

I was pleased with the results though I will work on the back seam more. I have an idea to help have less bulk when attaching it to the insole. The soles were glued on and left to dry. I am thinking of just adding hotfix pearls to these shoes. As I get better at making shoes, I will do more to make them fancier. 

I have to say, I am enjoying making shoes even if I get frustrated while learning. I'm hoping to get better as time goes on. I'm thinking of leather shoes that are lined. Ideas are floating in my head about this one. I'm thinking a bag and matching shoes in leather lined with cotton. I have enough light leather to make a lot of shoes, purses, and even a jacket or two. 

But, it is back to sewing doll's dresses for the rest of the month.

Happy Doll Sewing....................................................

Saturday, August 27, 2022

First Doll Shoes Made

 Since I last posted, life has been extremely busy and a lot has happened in our household. But, when I had my respite time, I did make the doll shoes. 

The first pair of shoes I made were the Plain Jane shoes by Love U Bunches. I followed her YouTube video on how to put the uppers onto the insole. I learned a lot. 

Pressing is really important to have a professional looking shoe. I pressed the shoes a lot and they look good. 

Putting the upper shoe onto insole needs a lot of attention as I have a bubble in the heel (lining only). 

I followed the instructions for putting the upper on and it worked out well. The next time I am going to follow the written instructions and clip the 1/4" seam. I hope it will allow the seam to lay flatter. 

The sandals were a greater learning curve. Though they went together easily, they are too big for the doll. I am going to have our neighbor cut the insoles and soles down with our dremel. I also was rushing and didn't cut the fabric larger to cover the edge of the insole. Once again, I will snip the edge that is glued to the insole to see if they lay flatter. Instead of just the uppers, there will be the covering for the insoles making it an extra layer thicker.

I am going to make another pair of the Plain Jane shoes so I can get better at attaching the upper to the insole. Then I will make the satin ones to go with the Regency dress I made. 

Happy Doll Sewing.............................................................

Tuesday, August 16, 2022

Blue and Yellow Wardrobe

The blue and yellow wardrobe is finished. I am pleased with how it turned out. I am only a month late which is good for me.

Picnic Play by Oh Sew Kat

This pattern was sewn first with no apparent issues. I wasn't a big fan of the top as it wasn't fitting as nicely as I had thought it would. It stood away from the neck and shoulders. After some fiddling and putting the top on backwards, I moved the top snap to the point and the fitting issues basically disappeared. I need to replace the star button with a flat yellow one. The shank on the star is too big and thick for a doll's top.

The capri pants fit well and I'm pleased with the results. 

Liberty Jane T-shirt and Leggings

I made these two pieces out of a pair of X-large girls leggings from Walmart. There is enough fabric left for another pair of leggings. 

The top was done using the adaptions I've made to the t-shirt pattern. I added jonquil (yellow) crystals to the neckline for some bling. The capri leggings are a bit long so I need to check the pattern to see if they are the capri length. If so, I will cut off an inch.

I decided to try using Eloflex thread and I had issues with the stitches being too small.

I chose to fiddle with the tension and got it stitching perfectly.

The tension is set at -0.8 and works beautifully. I have three colors of this thread and will use it up and not buy any more. Not worth the price as I can use regular thread and a Microtex needle as effectively. 

I am ready to start making the shoes for this wardrobe. The Plain Jane shoes are cut out ready to sew and glue onto the insoles and soles. I need to read the pattern for the 5th time for sewing the uppers and video once again on how to attach the uppers to the insoles. I am excited and scared at the same time. It is my first foray into making shoes.

Happy Doll Sewing...............................................................

Tuesday, August 9, 2022

Regency Dress Completed

 It has been a while since I posted. The Regency era dress is complete. It was a delightful sew and I'm thrilled with the outcome. The pattern is one I recommend if you are looking for a Regency dress pattern. Simplicity 9438.

The dress, on its own looks elegant with all the appliques. 

The back of the dress looks perfect with just a row of appliques added to it. 


I lined the skirt of the dress as the satin is light weight and the lining hides the stitching of the appliques. It worked perfectly. 

When the overlay was added, it was gorgeous and I couldn't stop admiring it.

I found a pearl choker I had made and it finished the outfit. When I have made a couple of pairs of shoes, I will make a pair to go with this outfit. I may have to master gloves to be worn with these gowns. I have a pattern for tea length gloves that I can cut from the dress material. I still want to make a parasol which will be a time consuming project. When things are calmer here, it will be put on the list.

I have another Regency era gown in the design stage. It will be a pale blue. I will cut the design from this piece of fabric daughter is sending me. Yes, I will hand applique them onto the skirt. 

I am now working on a summer outfit that is fun. 

Once it is done, I will be making a pair of shoes to go with it. There is enough to make a pair of sandals which will be a fun make. Then I will try to make the shoes to go with the Regency dress. I do know I will have to interface the fabric to make it feel like the weight of quilting cotton. 

Happy Doll Sewing........................................................................

Wednesday, July 20, 2022

A Pinterest Inspired Idea

 Thoughts of doll clothes are always meandering through my head and when I see something on Pinterest, I can get quite excited with ideas. 

Today this happened. This came up on Pinterest today and it made me excited. 

The interesting part was the top and skirt. This pattern came to my mind immediately.

This was a Freebie Friday a while ago. The top is the piece I would use. A soft colored fabric that is plain or lightly textured. 

For the skirt, I would look for a lovely floral that goes with the top fabric. I would use my tutorial on making a 3 tiered skirt. 

To top it all off, I would make a pair of Plain Jane shoes to go with the outfit. Maybe in the top fabric. Or maybe Happy Bankky Crafty Mom's Bow Knotted Sandals. Or maybe both pairs. 

Do you get excited and inspired by what you see on Pinterest?

Happy Doll Sewing................................................................

Wednesday, July 6, 2022

Regency Dress Update

 The Regency dress bodice was done when I sewed the appliques onto the front bodice at the end of June. It wasn't hard to do once I got the rhythm to it. 

I will have to say the sleeves went in like a charm. No gathering at all and a perfect fit. 

The appliques were laid out with the center front marked. I fiddled a bit as they are not exactly the same. 


The skirt was easy to sew but I spent at least 6 days sewing down appliques. Some sessions were short but on good days I could do an hour. On respite days I could hand sew for 2.5 hours before my eyes and hands started to get tired. I finished the appliques today. All I can say is hurrah.

I have started to hand sew the hem down and have one back done. 

I have decided to line the skirt for two reasons. One, the waist seam will be hidden. Two, the hand stitching on the back of the skirt will be hidden. The fabric is light weight enough a lining will help with the drape. 

Once the hem is done and the skirt lining cut out, I will be ready to assemble the dress. Here's hoping it will be done this weekend. 

It really was never my intention to do all the handwork on the dress but when I saw the overlay fabric I knew I had to use the remaining flowers on the dress. What is left is now in the garbage. Nothing worth keeping. 

On a side note -- I ordered enough insoles and soles to make 6 pairs of shoes with white soles and the same number with black soles. Yes, I finally fell down the rabbit hole of making shoes. The first pair will be of quilting cotton and the 2nd pair will go with this dress. More on this later as the materials required is coming from Texas to Canada. I will buy the pattern for the shoes once the materials arrive. 

Happy Doll Sewing.........................................................

Sunday, June 26, 2022

S9438 - Regency Dress Begun

With the hot weather coming, it was time to start the Regency outfit so one of the dolls could walk the promenade. 

I chose to make my first Regency outfit using Simplicity 9438. 

View C was my choice as I wanted an overlay and plain sleeves. 


I knew exactly what fabric I was using for the dress; ivory satin that looks a bit like silk on the wrong side. The overlay was going to be a bit of a mystery as I needed to dig in the tub of fancy fabrics to see what I had. 

As I was looking/digging for the satin, I found a piece of lace left over from a doll's wedding dress made in May 2017. It was a piece left over from the center as I had used the border for the skirt of the dress. It had a few embroidered flowers on it and was perfect for the overlay.

But, did I have enough? Out came the pattern and I had enough with some scraps left over for later on. 

I decided to make the overlay first. I carefully cut out the skirt and bodice pieces and started to sew it up. A lot of time was spent basting a 1/4" to turn over to finish the arm holes, neckline, front and hem. The white thread showed but I was prepared. Trim I was gifted was perfect for edging the openings and hem. 

I carefully prick stitched the trim onto the overlay and the end result was as I had hoped for. I closed the front with a hook and eye.

Other than a good pressing, it was done. 

I started the dress yesterday. The pattern was traced onto pellon tracing material and then the pieces were cut out. 

The bodice was done first. After 2 false starts of sewing the wrong sides of the back to the right side of the front on both the outer bodice and lining, I got the shoulder seams done. I next stitched the neckline, clipped the curves, turned it right side out and pressed it well. Onto the doll it went and, of course, I had to see how the flowers cut from the overlay would look. 

The overlay covered up the flowers.

I fiddled around until I got something I liked but am not sure if I will be putting them on the dress. 


The next step is to serge the side and back seams of the bodice and the side seams of the sleeves (they are lined). I can then attach the sleeves, sew the side seams and the bodice will be done. Next will be the skirt.

So far I am enjoying this pattern. I have taken it one stitch at a time and am pleased with the results so far. I need to cut a piece of bias so I can cover the waist seam as I'm not a fan of exposed/serged waist seams. It is just me. And I have plenty of fabric left as I started out with 2 meters of the satin. 

Happy Doll Sewing..............................................................