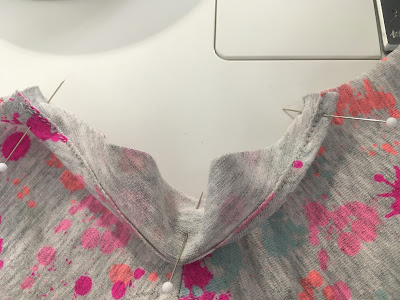
When we stopped the other day, we had the t-shirt looking like this.
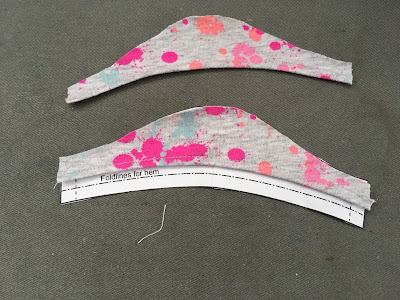
I had looked at the sleeves when I returned to the sewing room thinking they had stretched while hemming so I checked using the pattern.
All was good. If not, I would have centered the pattern on the sleeve and cut off the excess on each side.
Setting In The Sleeves
I folded the sleeves in half to find the center of the sleeve cap and put in a pin.
I then pin the center to the shoulder seams and the ends to the body.
I then pin the sleeve in and carefully sew it in place. I pressed the sleeve towards the body of the t-shirt.
Side Seams
The Hem
The hem is done next. I machine baste 3/8" and then serge it. You don't have to serge it as you can trim the excess fabric back to the stitching like the sleeves and neckline.
I turn the hem under, pin it in place and stitch carefully so I don't stretch it out of shape. Give it a good press.
The Back Opening
Give a good press and stitch down close to the cut edge.
I love this pattern when I got it 3 years ago. But, I have struggled with the neckline and back opening and, out of many many tries, I got only 2 t-shirts worth keeping. The rest hit the trash bin.
I realized that I needed to make some changes to the pattern so I could sew it successfully. The first was the center back seam. Not only did the interfacing stabilize the back seam, I had more space to sew on snaps. The second change was the neckline. I added to it and, on my old machine, sewed it using paper underneath it. It wasn't until I got my new machine that I was ready to tackle t-shirts once again.
I have enough fabric left to make 2 pairs of leggings and, hopefully 2 sleeveless t-shirts. I'll be printing the pattern again to add to the arm opening. I'll report back on how that works when I get it done.
Happy Doll Sewing.......................................


Thanks, Ann!
ReplyDeleteliz gillette