I have been busy sewing and not posting here to track what I have made. My goal for April was to sew the left over fabrics I had bought in March. I didn't quite succeed so continued on in May. I added left over fabrics from the stash that I had sewn to the list.
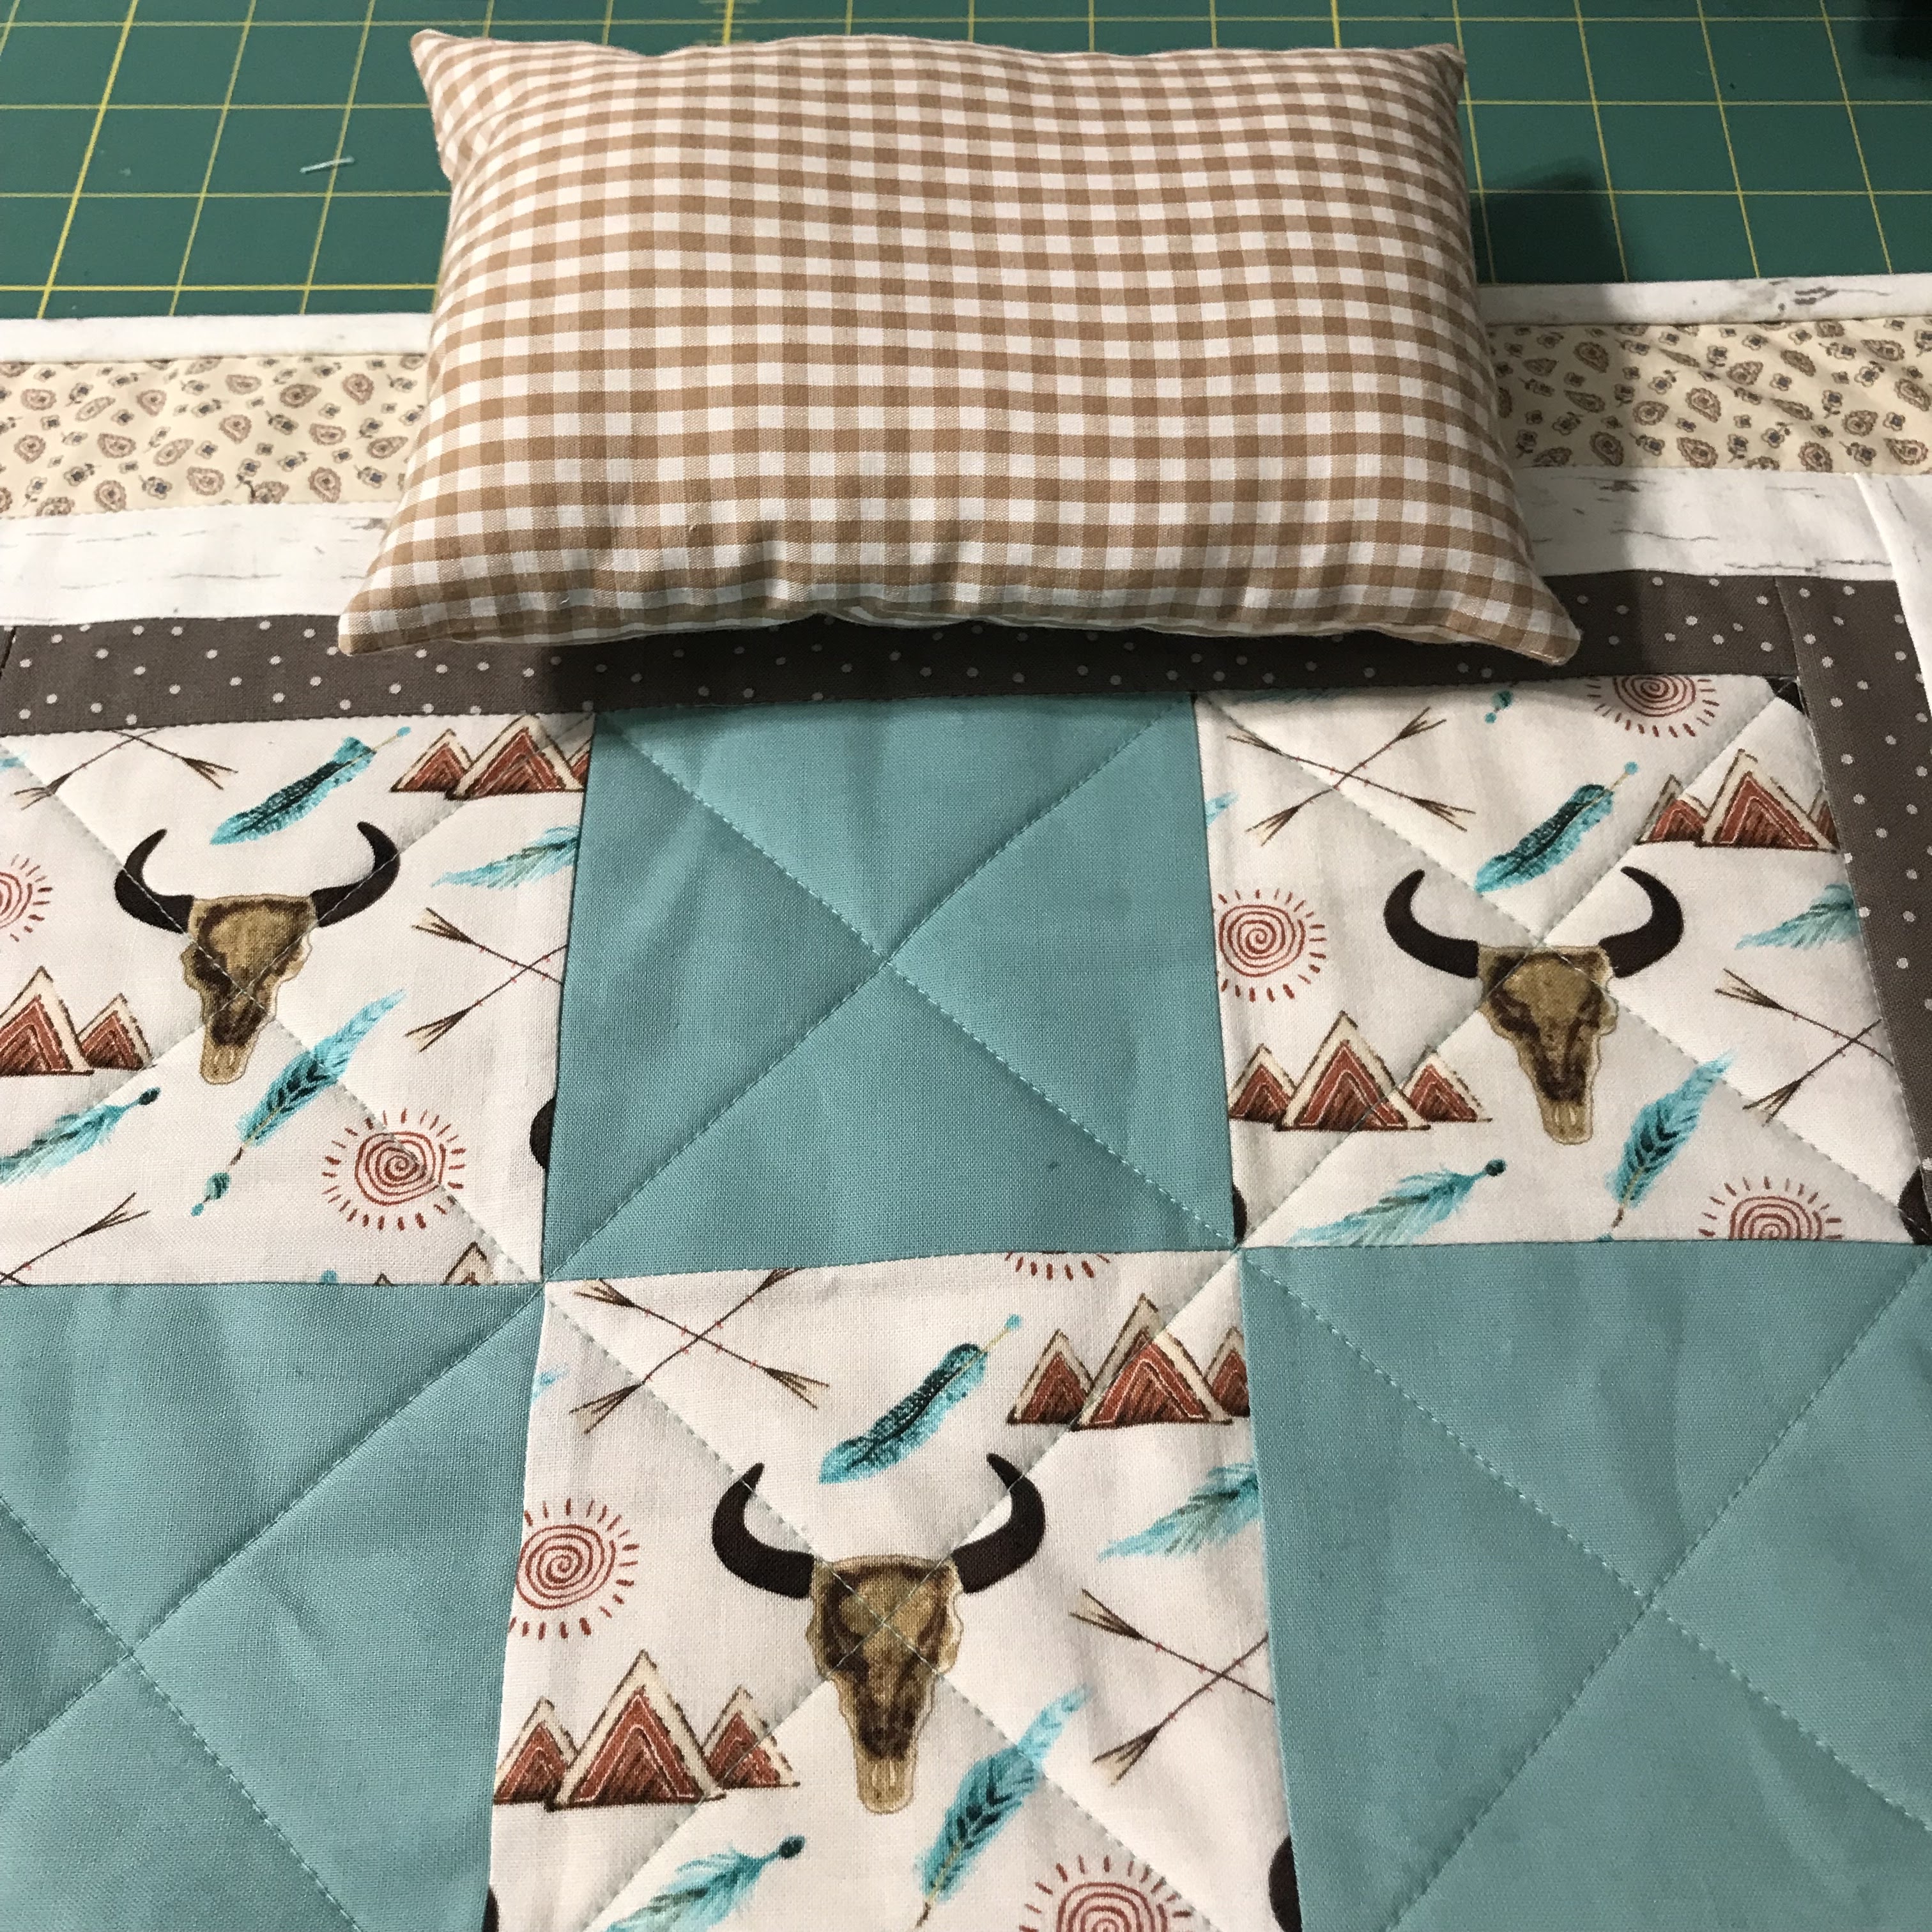
1. Doll's Quilt
This quilt is sewn from left over stash fabric. I had made a prototype bag to see if I would make more of that pattern. Some of the left over pieces were used in the quilt. I even made a pillow and pillow case to go with the quilt.

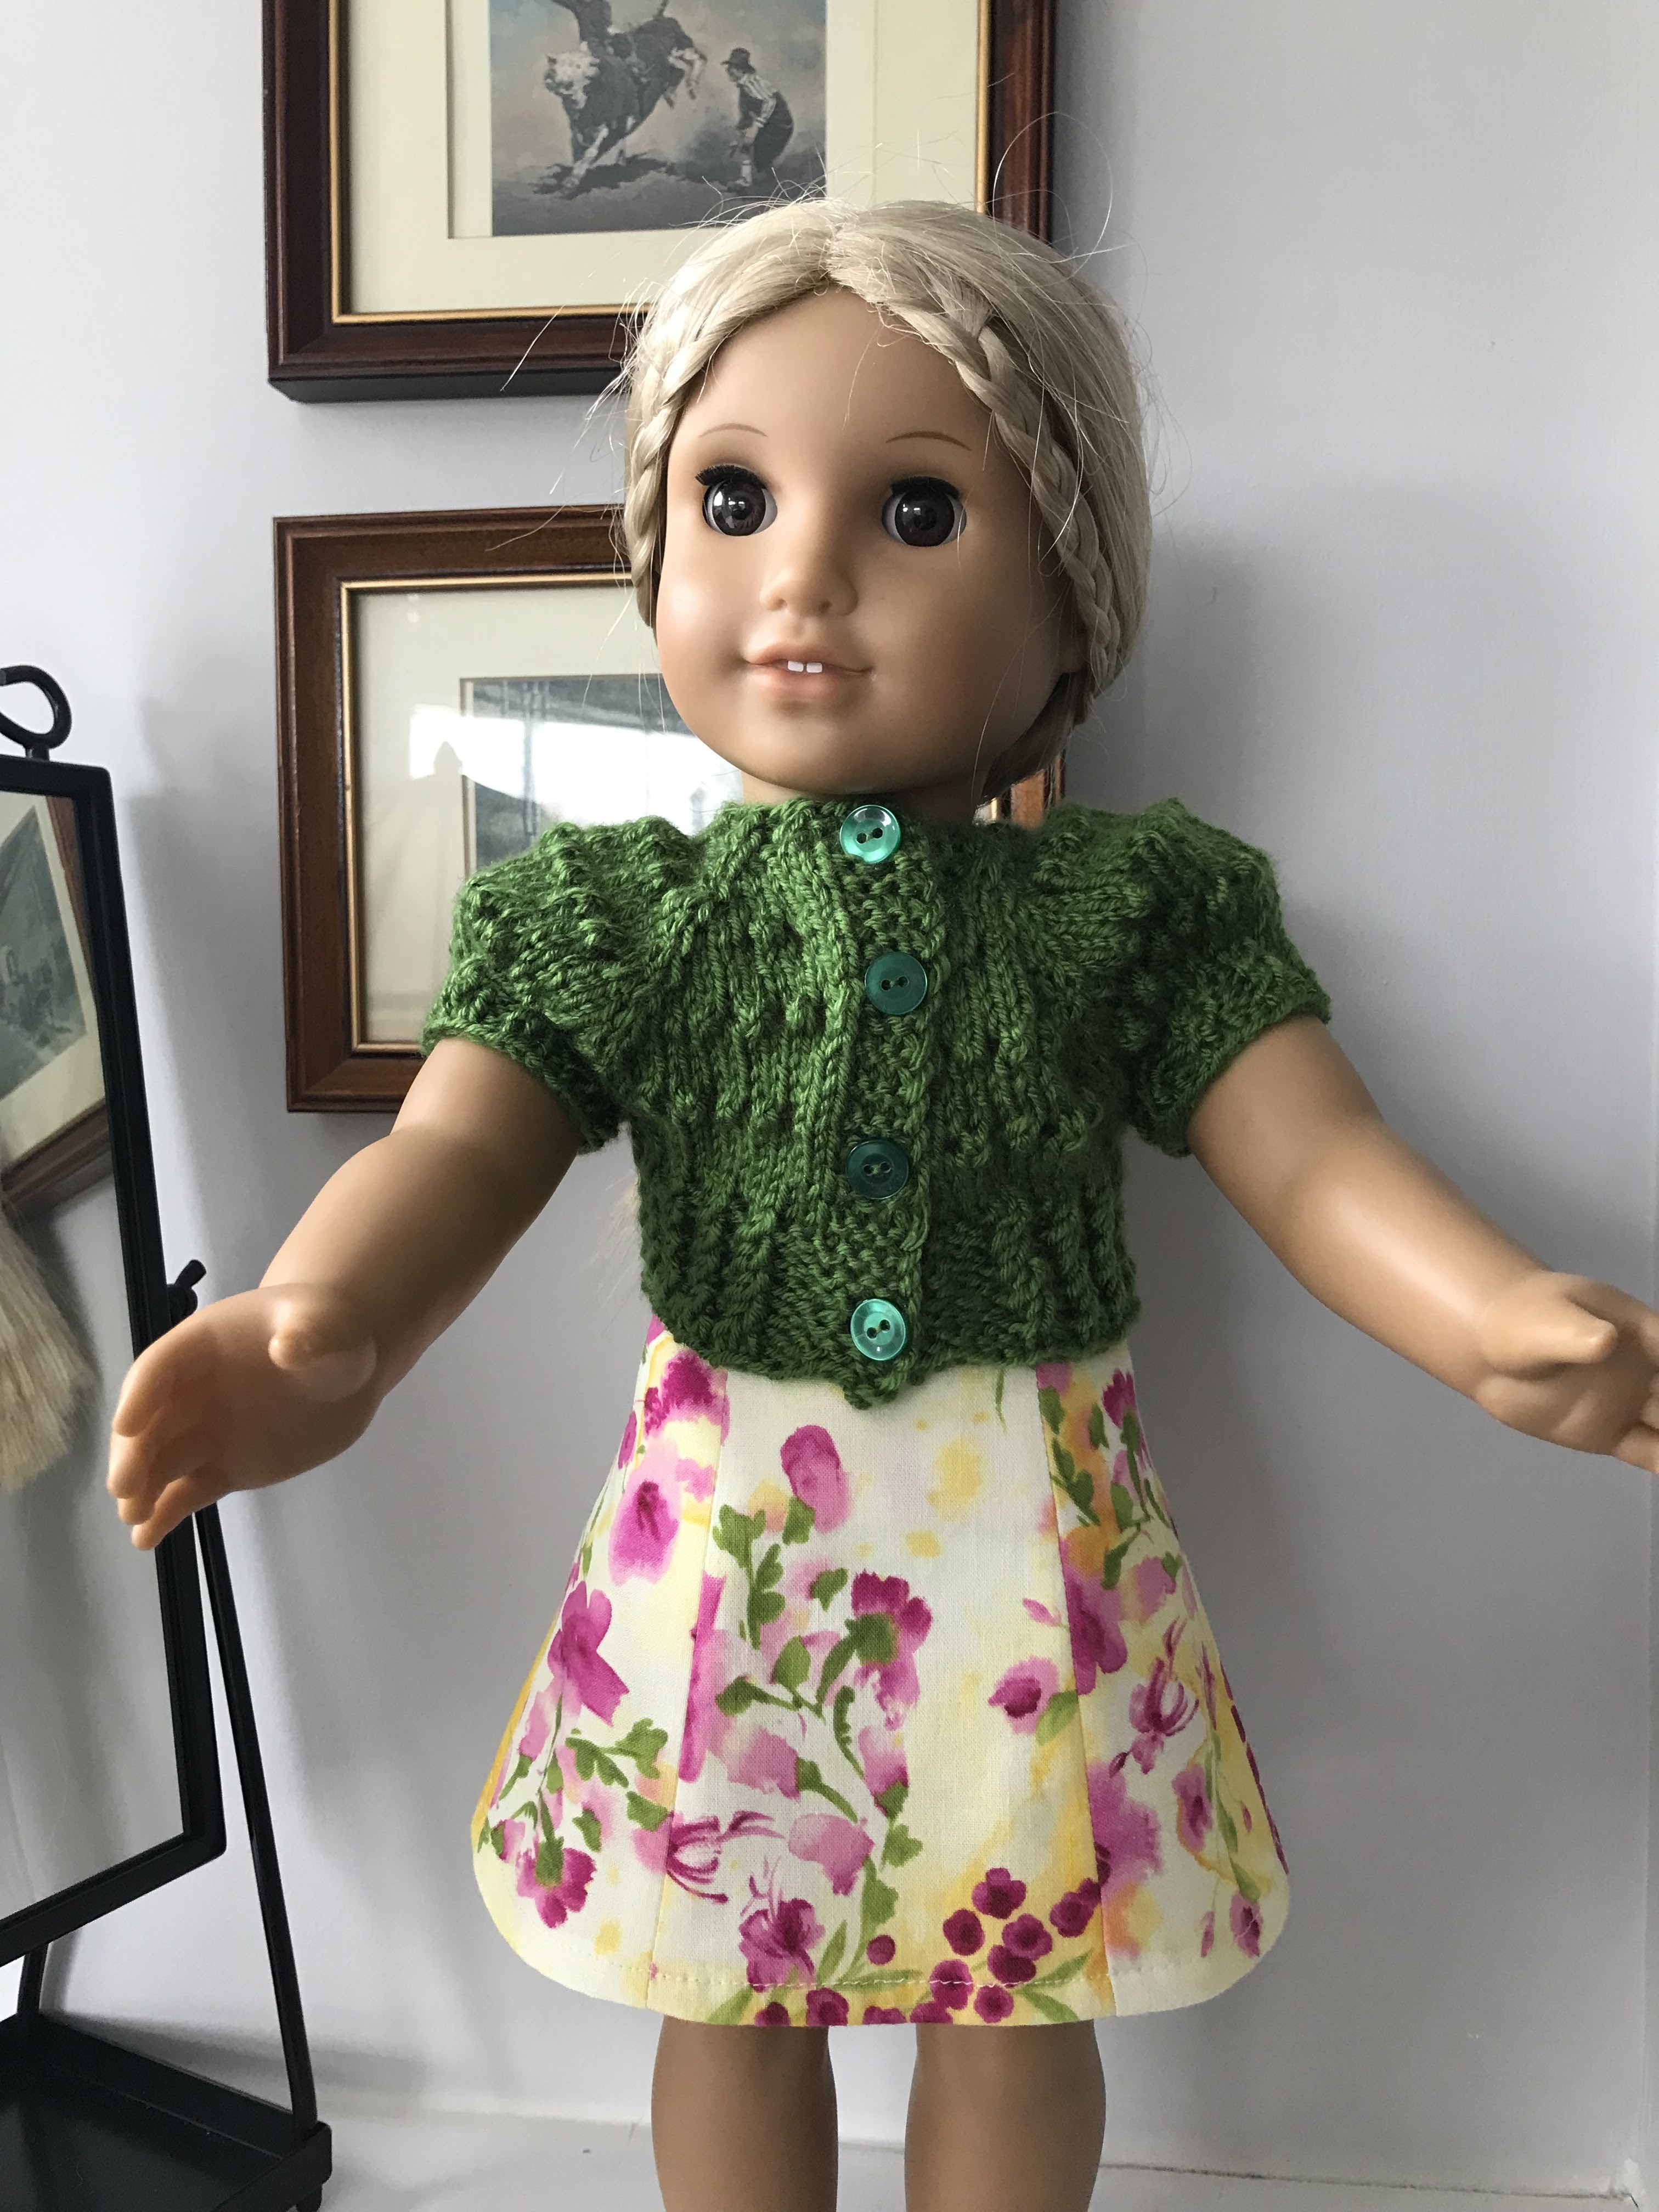
2. Doll's Skirt
I used the last of the yellow and pink print to make a simple doll's skirt. When I got it done, I had to knit a sweater to go with it.
3. Gotz Doll's Dress
I used up the small beige/blue print to make a simple dress for the Gotz dolls. The pattern I used is not published but was gifted to me by a friend. I love the fit on this dress.

I had a piece of the pink heart fabric left over from Iconic Barbie dress I had made. I fiddled around until I got the dress cut out. This is another unpublished pattern that was gifted to me by my friend.

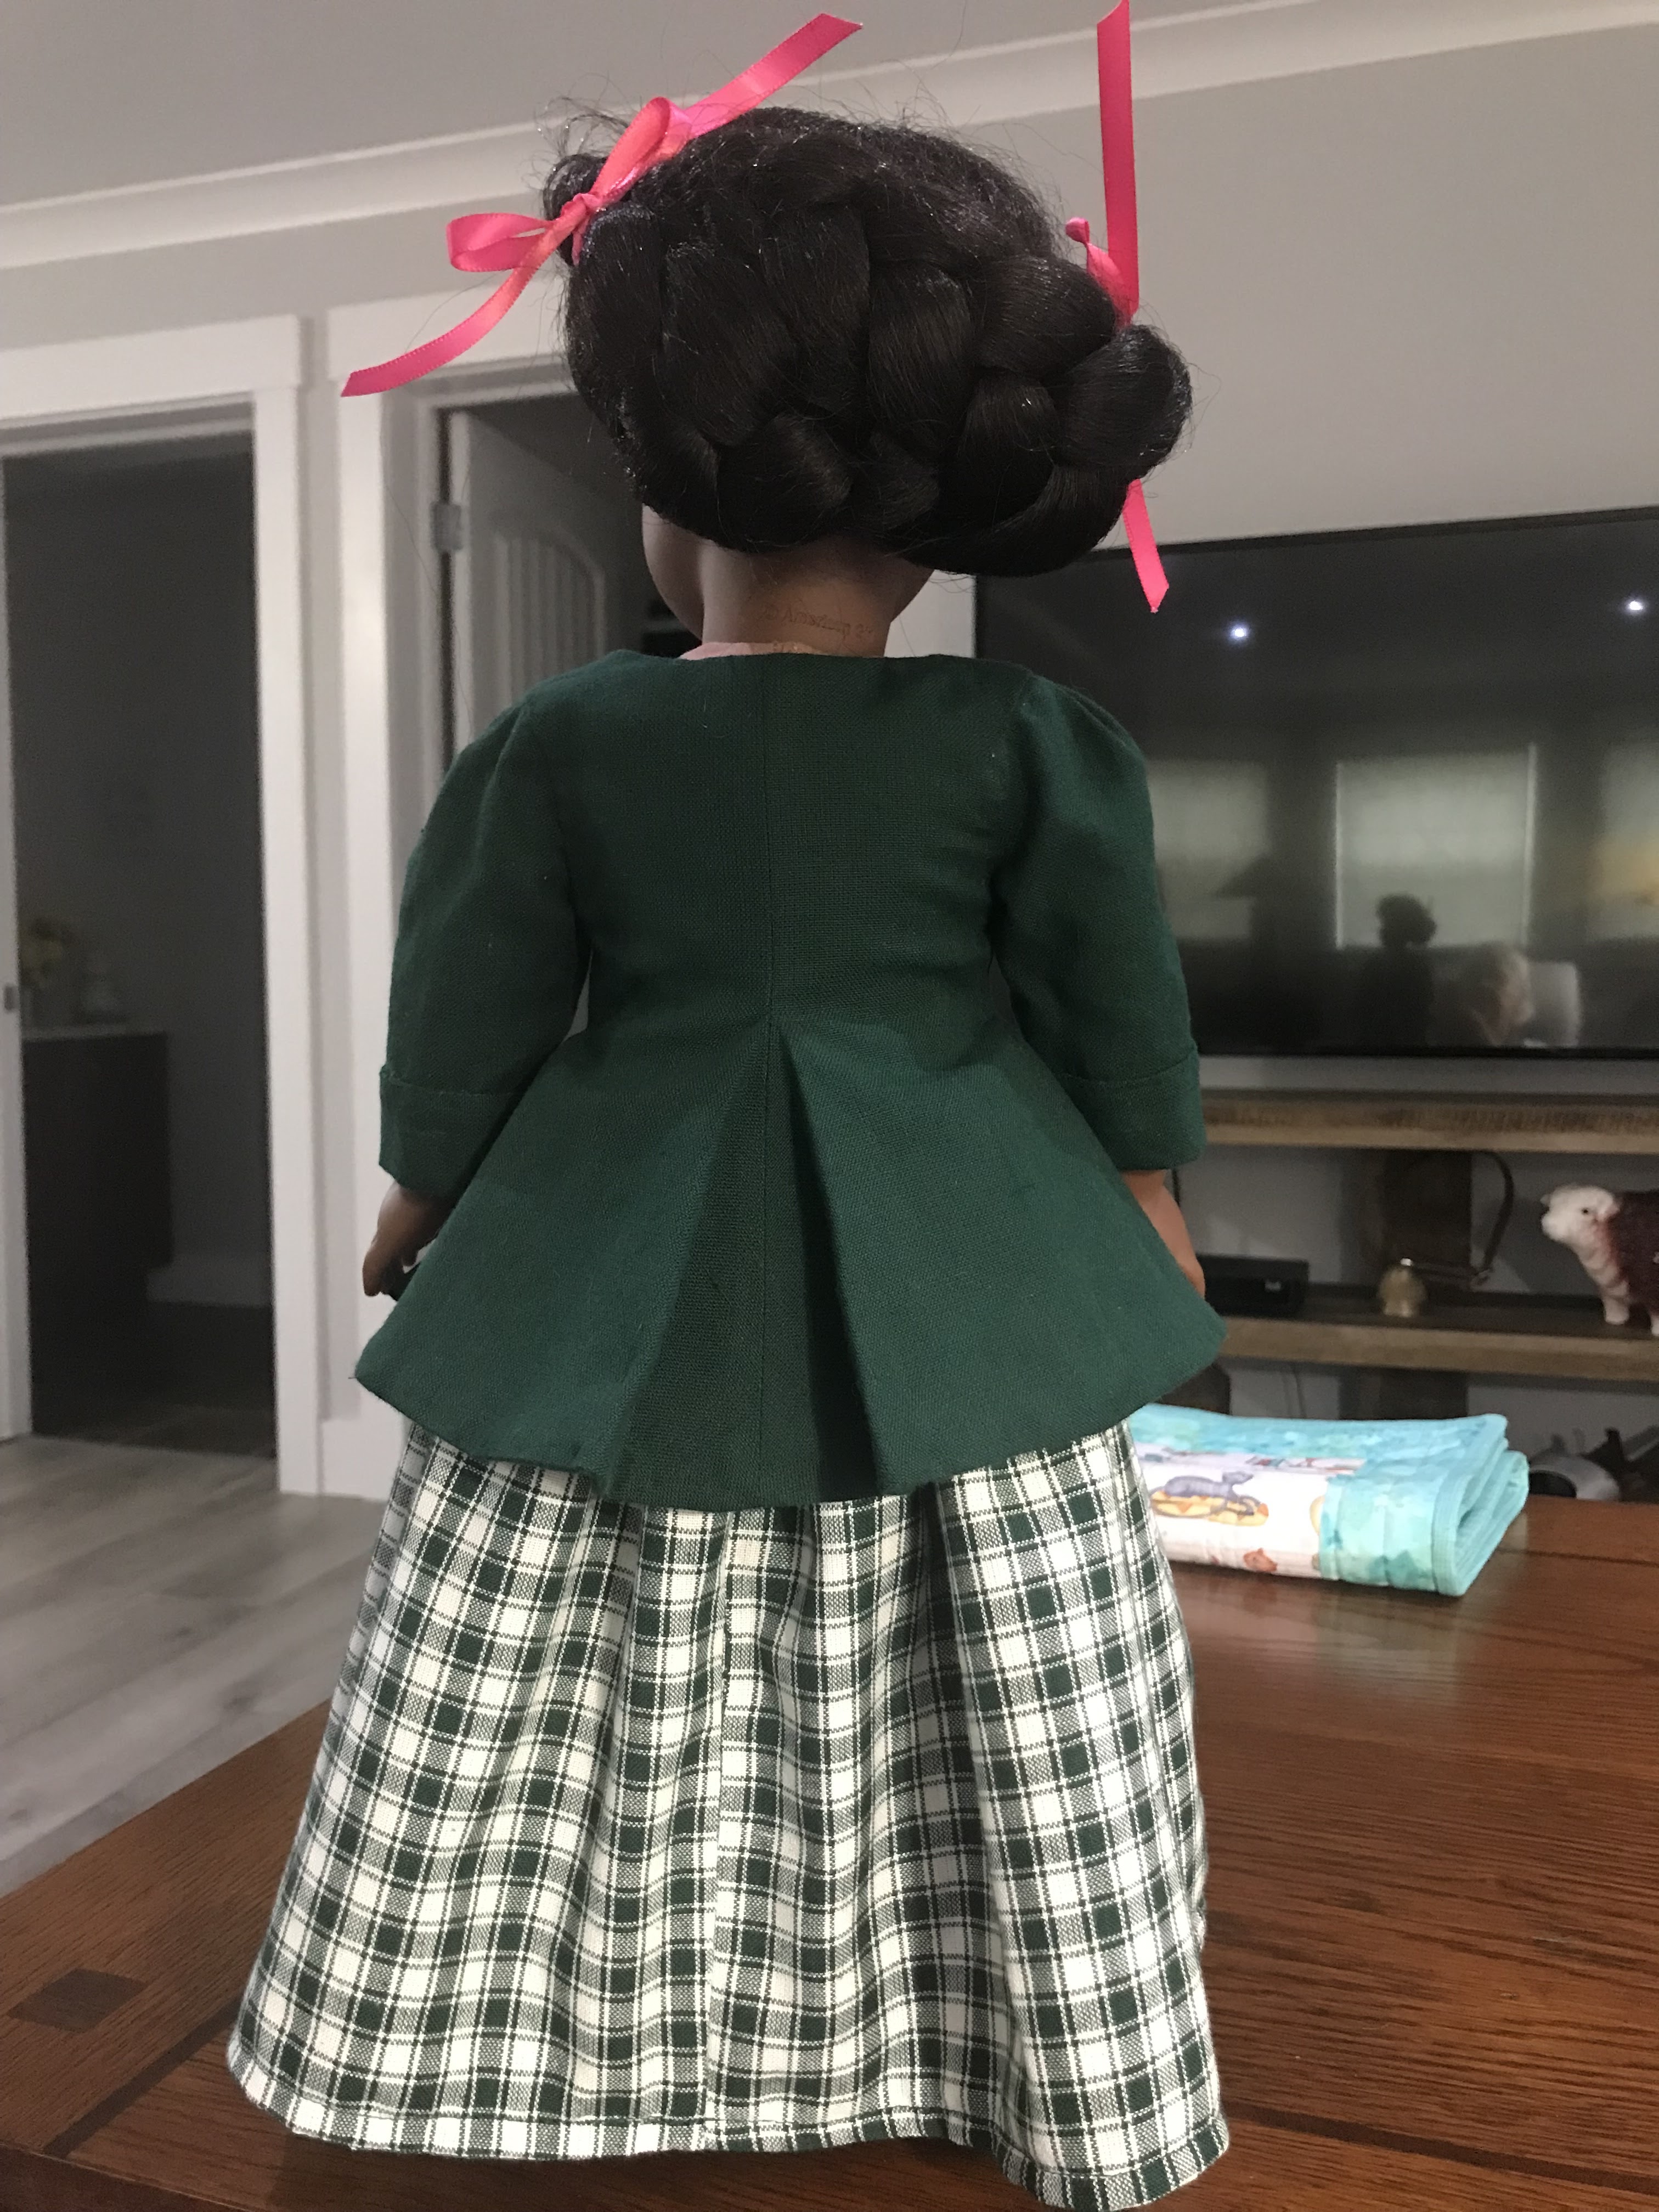
5. Doll's Jacket and Skirt
I had issues with the jacket when I first made it a while ago. I fixed the pattern and decided to use fabrics left from the blue doll's quilt. I had to cut the pieces out very carefully. I did add pockets to the skirt from the jacket fabric. The partial lining in the jacket matches the rest of the skirt.

6. Hooverette Dress
I used the last of the soft beige and blue print to make this dress. In actual fact I had to buy a fat quarter to make the ties as the pattern piece is half the length you are to make them. That important piece of information is hidden in the instructions.

It is almost mid May and I am still sewing up the last of the fabric from March. I have a simple dress to finish using up the last of the heart fabric. I still have to decide what I will make out of the soft beige and blue print. It has to be something simple. When that is made, I will have sewn the fabrics I bought in March plus some from the stash. I have a piece of fabric I bought in April to make gift bags. I am also hand sewing lace on a piece of cotton/linen blend that I had left over from March but it won't be done until June. I have a lot of hand sewing to do on it. But, I am hoping that I will have all but the hand sewing done by the end of May. It had been fun to sew up the fabrics into some cute doll clothes.